I’m always excited to release my new recipe and get the chance to share it with all of you. Today’s recipe is baked kimchi pork buns, called kimchi-ppang!
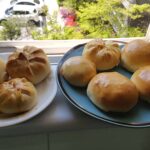
Kimchi-ppang are jumbo, white, fluffy buns baked with a generous kimchi and pork filling inside which is spicy, savory, crispy, and meaty. They have a golden crunchy crust outside and a fluffy bread inside. One large bun with a drink will be a simple and quick light meal or snack.
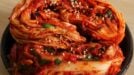
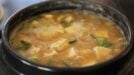
How many of you make kimchi at home? I’m sure so many of you do, and you probably found that you are making bigger and bigger batches as time goes on. You’ll need some nice, well-fermented, aged kimchi for this recipe.
I have to tell you where I got the idea for this recipe. One day last year, on my way to a Korean grocery store in Flushing, New York, I found a small no-name restaurant run by Koreans. Their accent sounded like North Koreans. What drew me in there were the huge racks of steamed buns I could see through the window.
I went inside and ordered their fluffy steamed kimchi pork buns. They were delicious! The texture of the kimchi inside was still crispy, and I had never seen such a huge bun with such a generous amount of filling sold in a restaurant! So I decided to make it at home for myself.
It took me many many tries to get the ratio perfect. After much trial and error I eventually got a perfect recipe. One of the biggest problems was figuring out how to wrap such a plump bun. I first tried to wrap the dough in my hand, but it was impossible to handle it on my palm. So I put the dough on my cutting board and add the filling in the center.
In my recipe, I bake the buns instead of steaming them, and I add a higher quality pork than they use, minced with my kitchen knife. When I finally made a bun that was better than the ones I tasted in Flushing, I couldn’t wait to share this recipe with you!
You can make a lot of them and freeze the extras, so anytime you want one, you can thaw it out and put it back in the oven or the microwave. My freezer is actually full of frozen kimchi-ppang experiments right now, but I will eventually eat them all!
Enjoy the recipe, and make some kimchi-ppang!
Ingredients
For the dough
- 1 cup warm water
- 1 tablespoon of sugar
- 1 teaspoon active dry yeast
- ½ teaspoon kosher salt
- 1 tablespoon of vegetable oil
- 2½ cups all purpose flour (plus 2 tablespoons for dusting, when shaping the buns)
- 1 egg (for the egg wash)
For the filling
(total a little more than 3 cups)
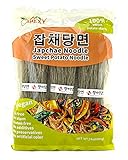
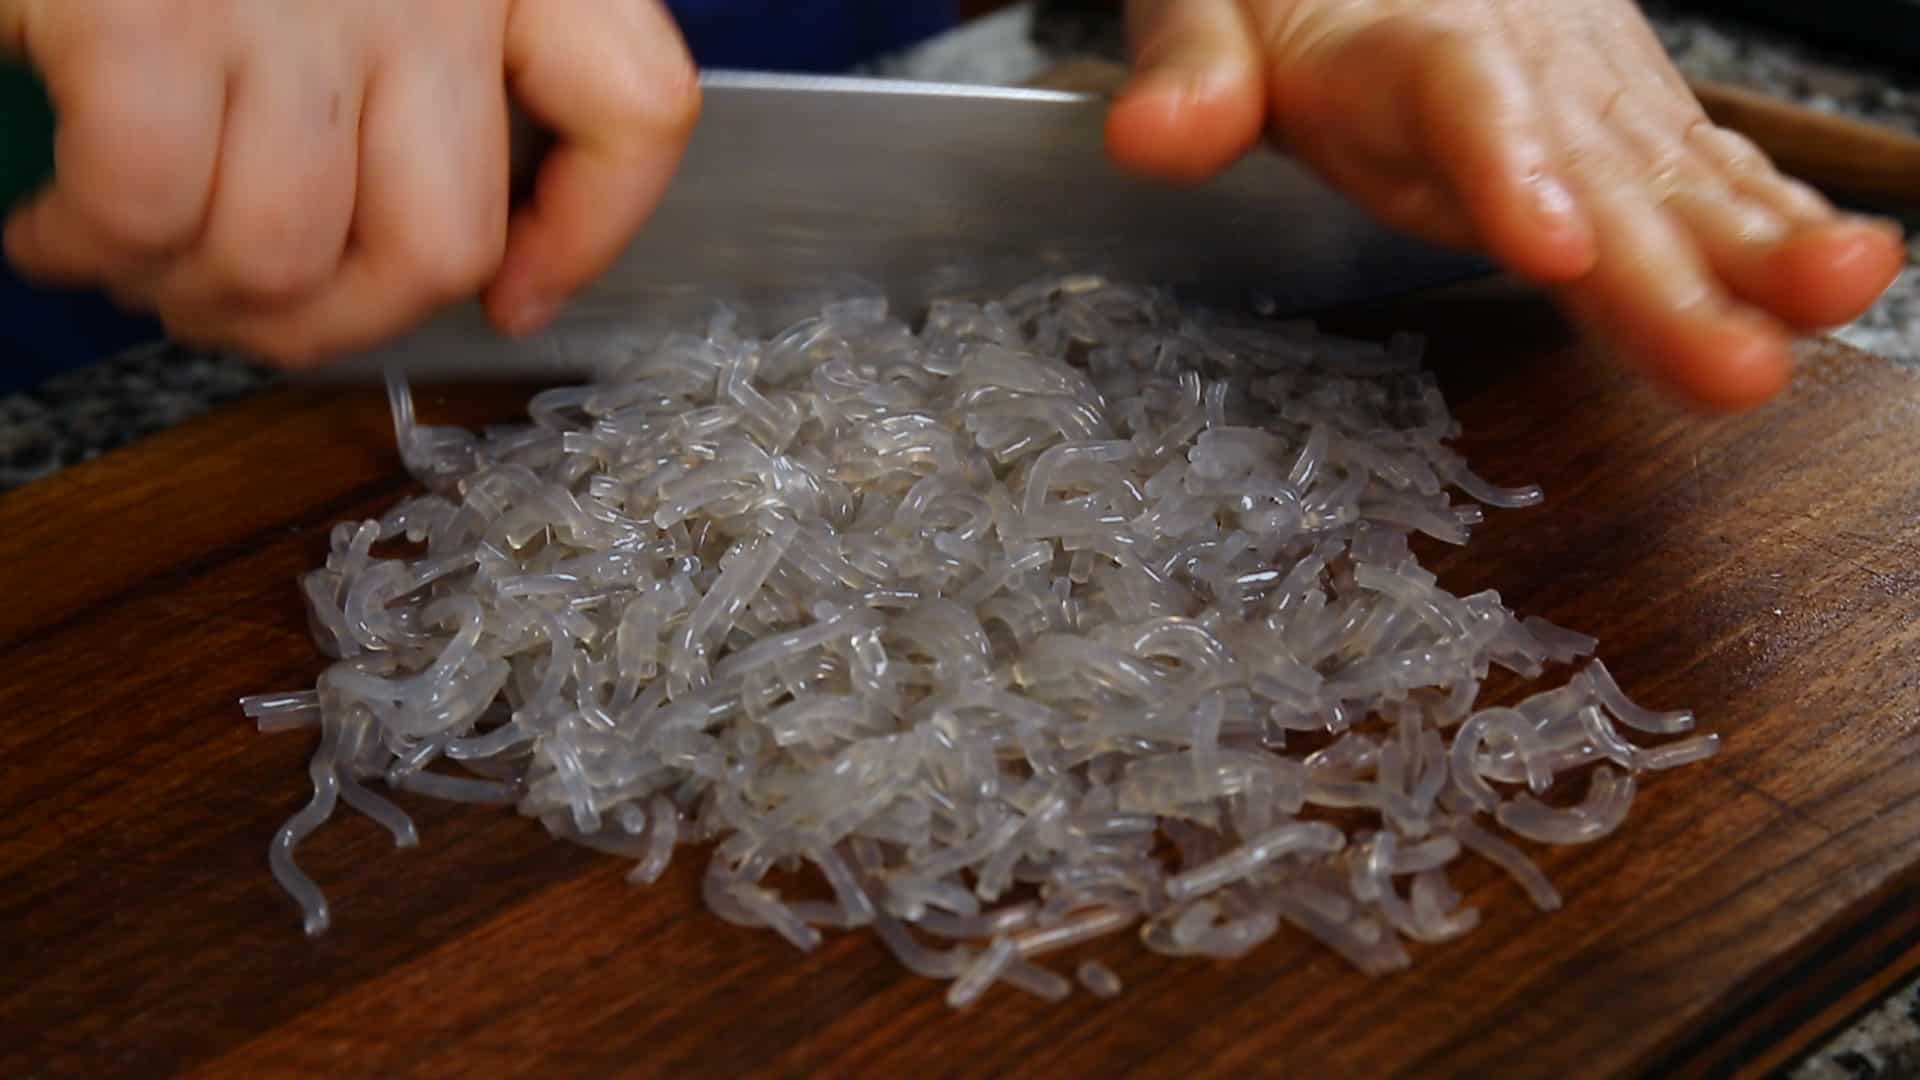
- 1 ounce of dangmyeon (sweet potato starch noodles)
- 8 ounces pork belly, minced
- 1 teaspoon soy sauce
- 2 teaspoons toasted sesame oil
- ½ teaspoon ground black pepper
- 1 garlic clove, minced
- 2 green onions, chopped
- ¼ cup chopped onion
- 8 ounces fermented kimchi, chopped into small pieces
- ½ teaspoon sugar
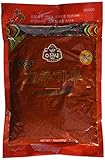
- 1 teaspoon Korean hot pepper flakes (gochugaru)
Directions (for 6 buns)
Make the dough:
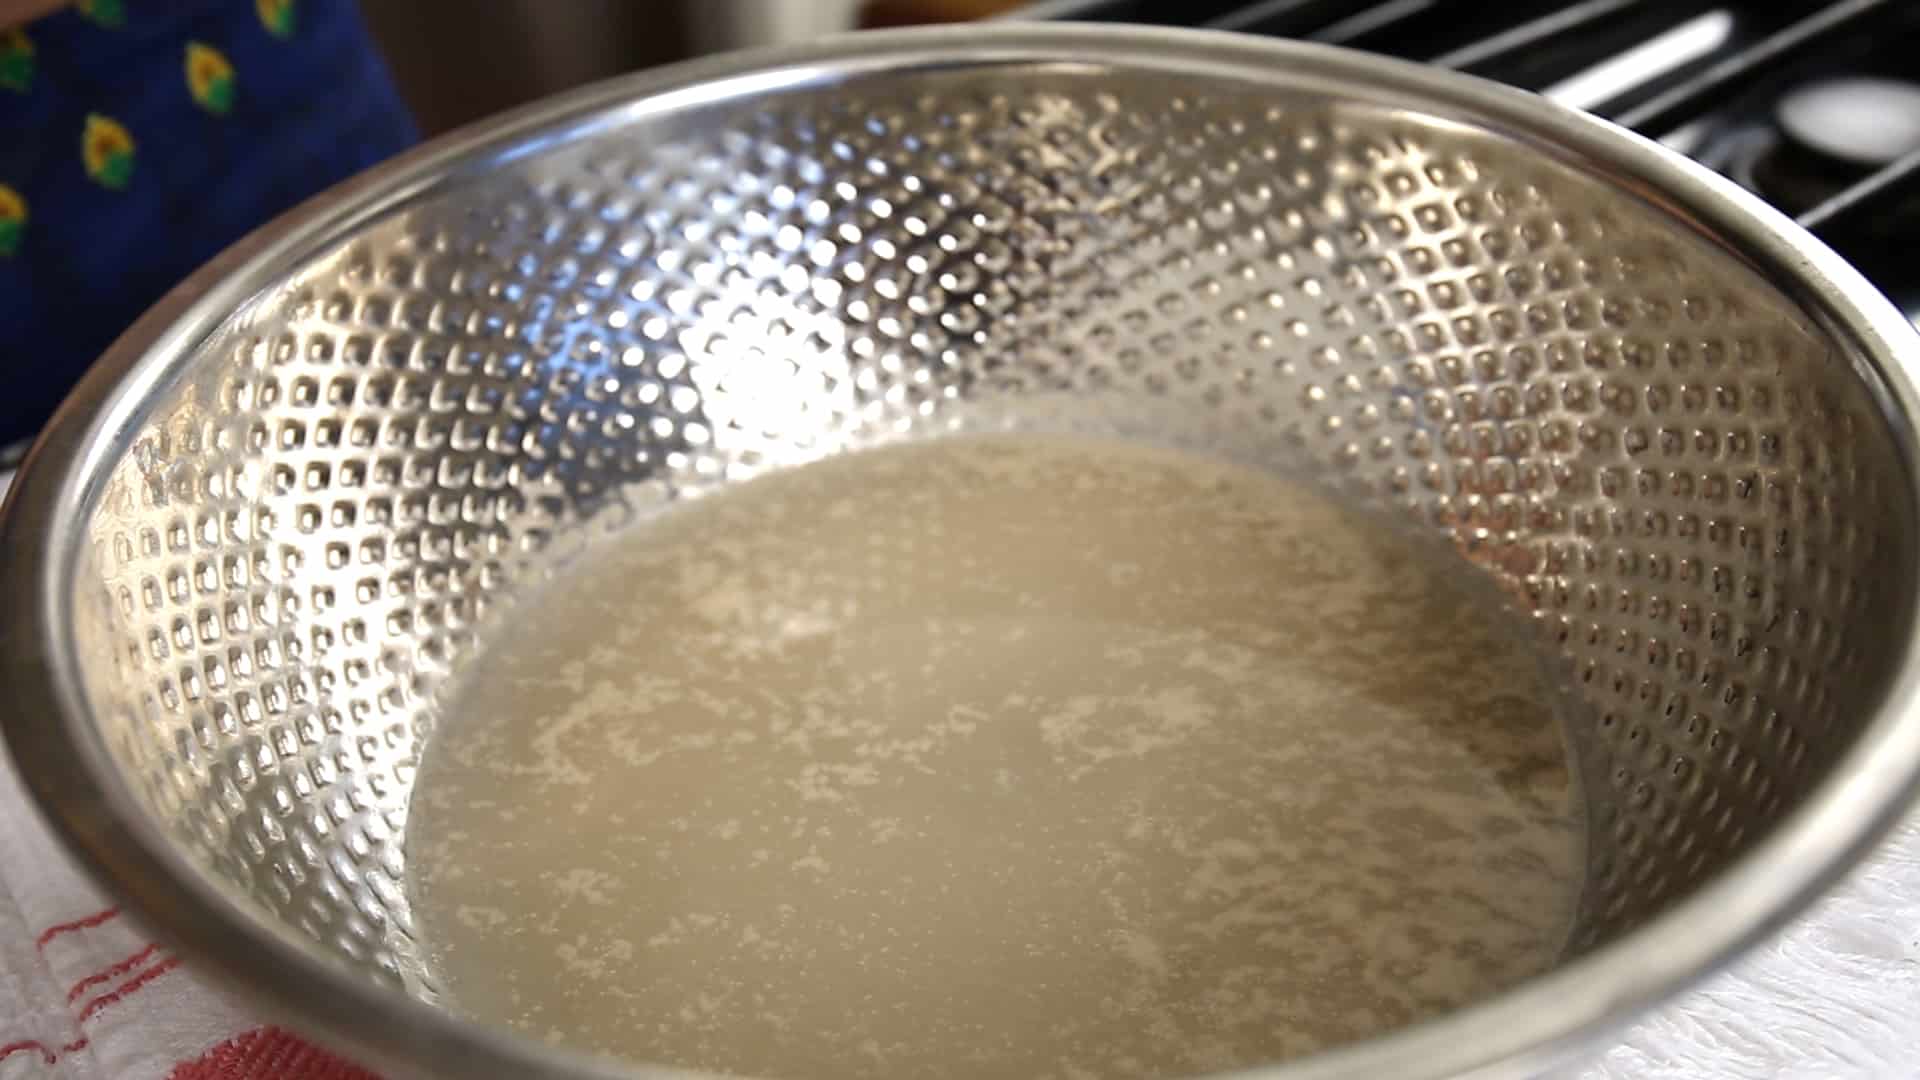
- Mix warm water and sugar in a large bowl. Add the active dry yeast. Let it sit for a few minutes until the yeast floats.

- Stir with salt and vegetable oil until the salt is dissolved.
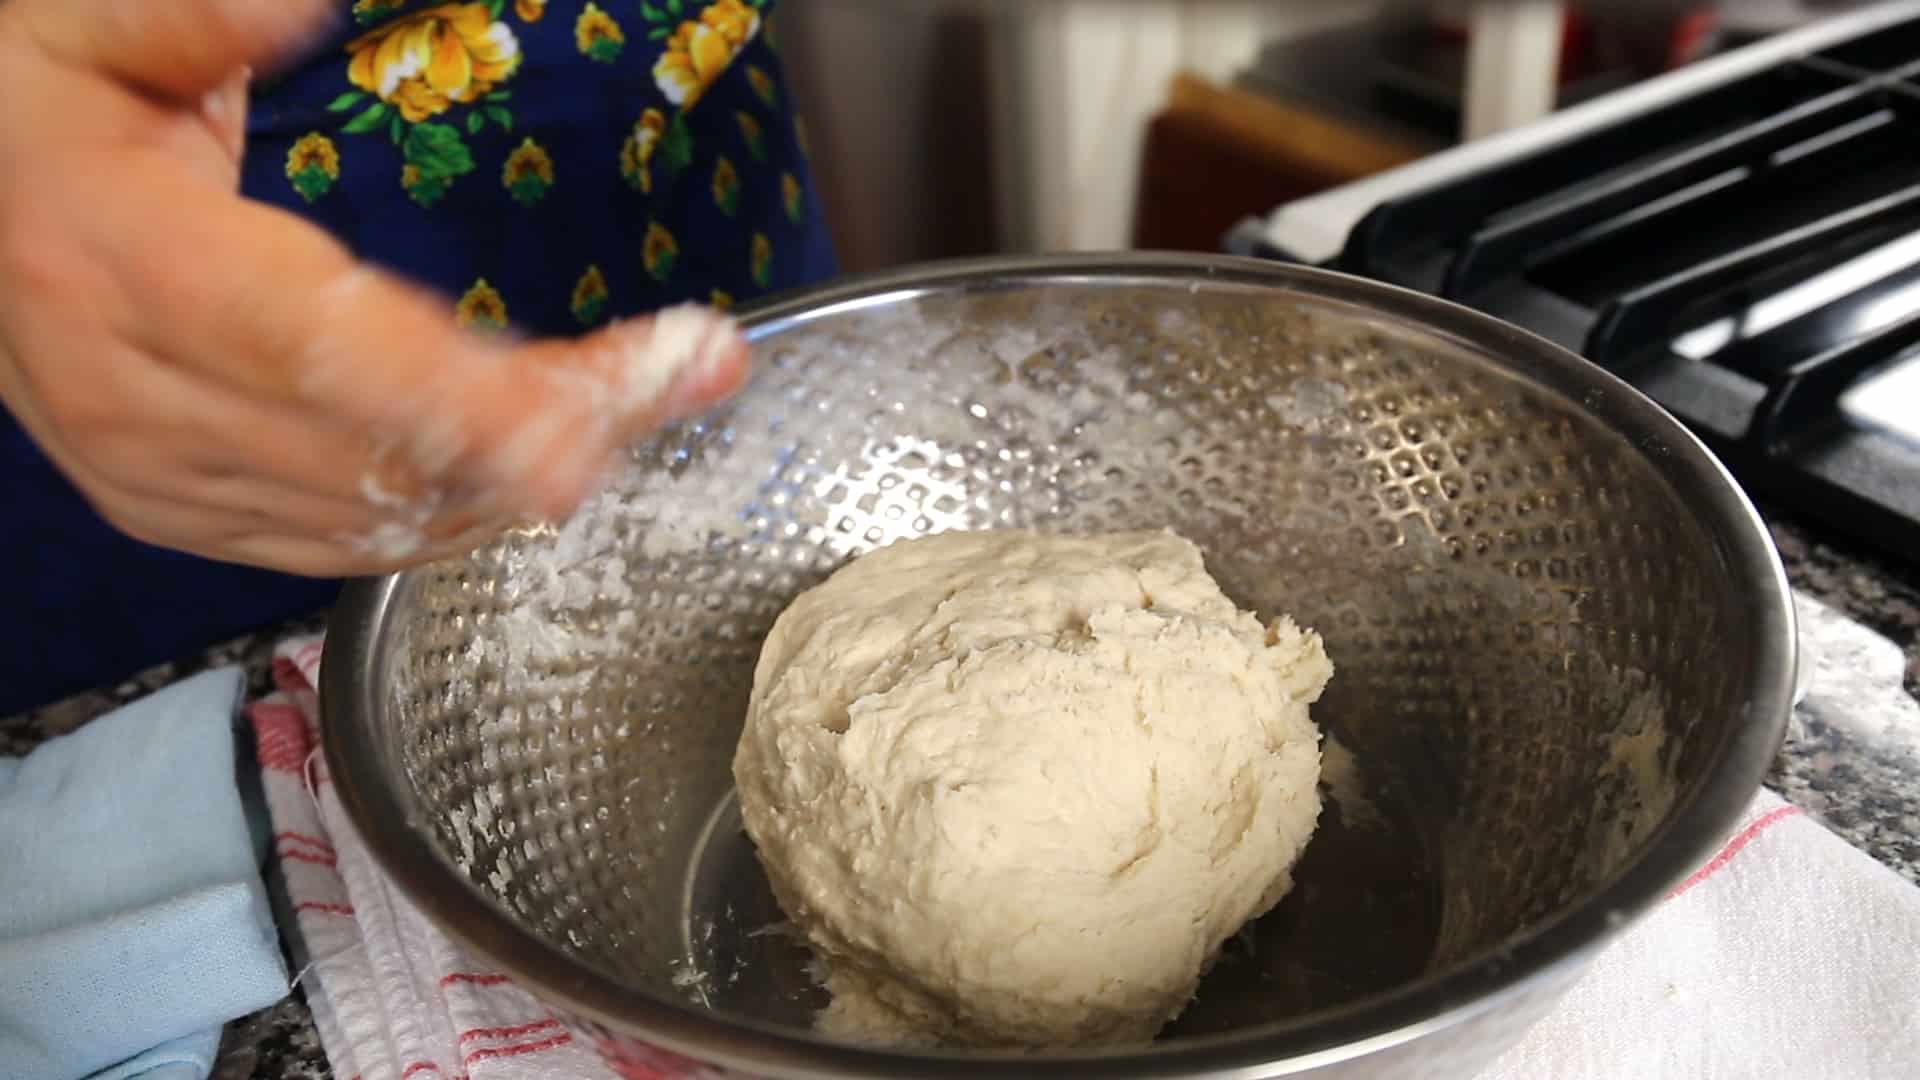
- Mix in 2½ cups flour and then knead it by hand for about 2 minutes, until the dough gets smooth.


- Cover and let it sit on the kitchen counter for about 1 hour until it doubles in size.
- Deflate the dough and knead it again for a few minutes.

- Cover and let it sit for another hour.

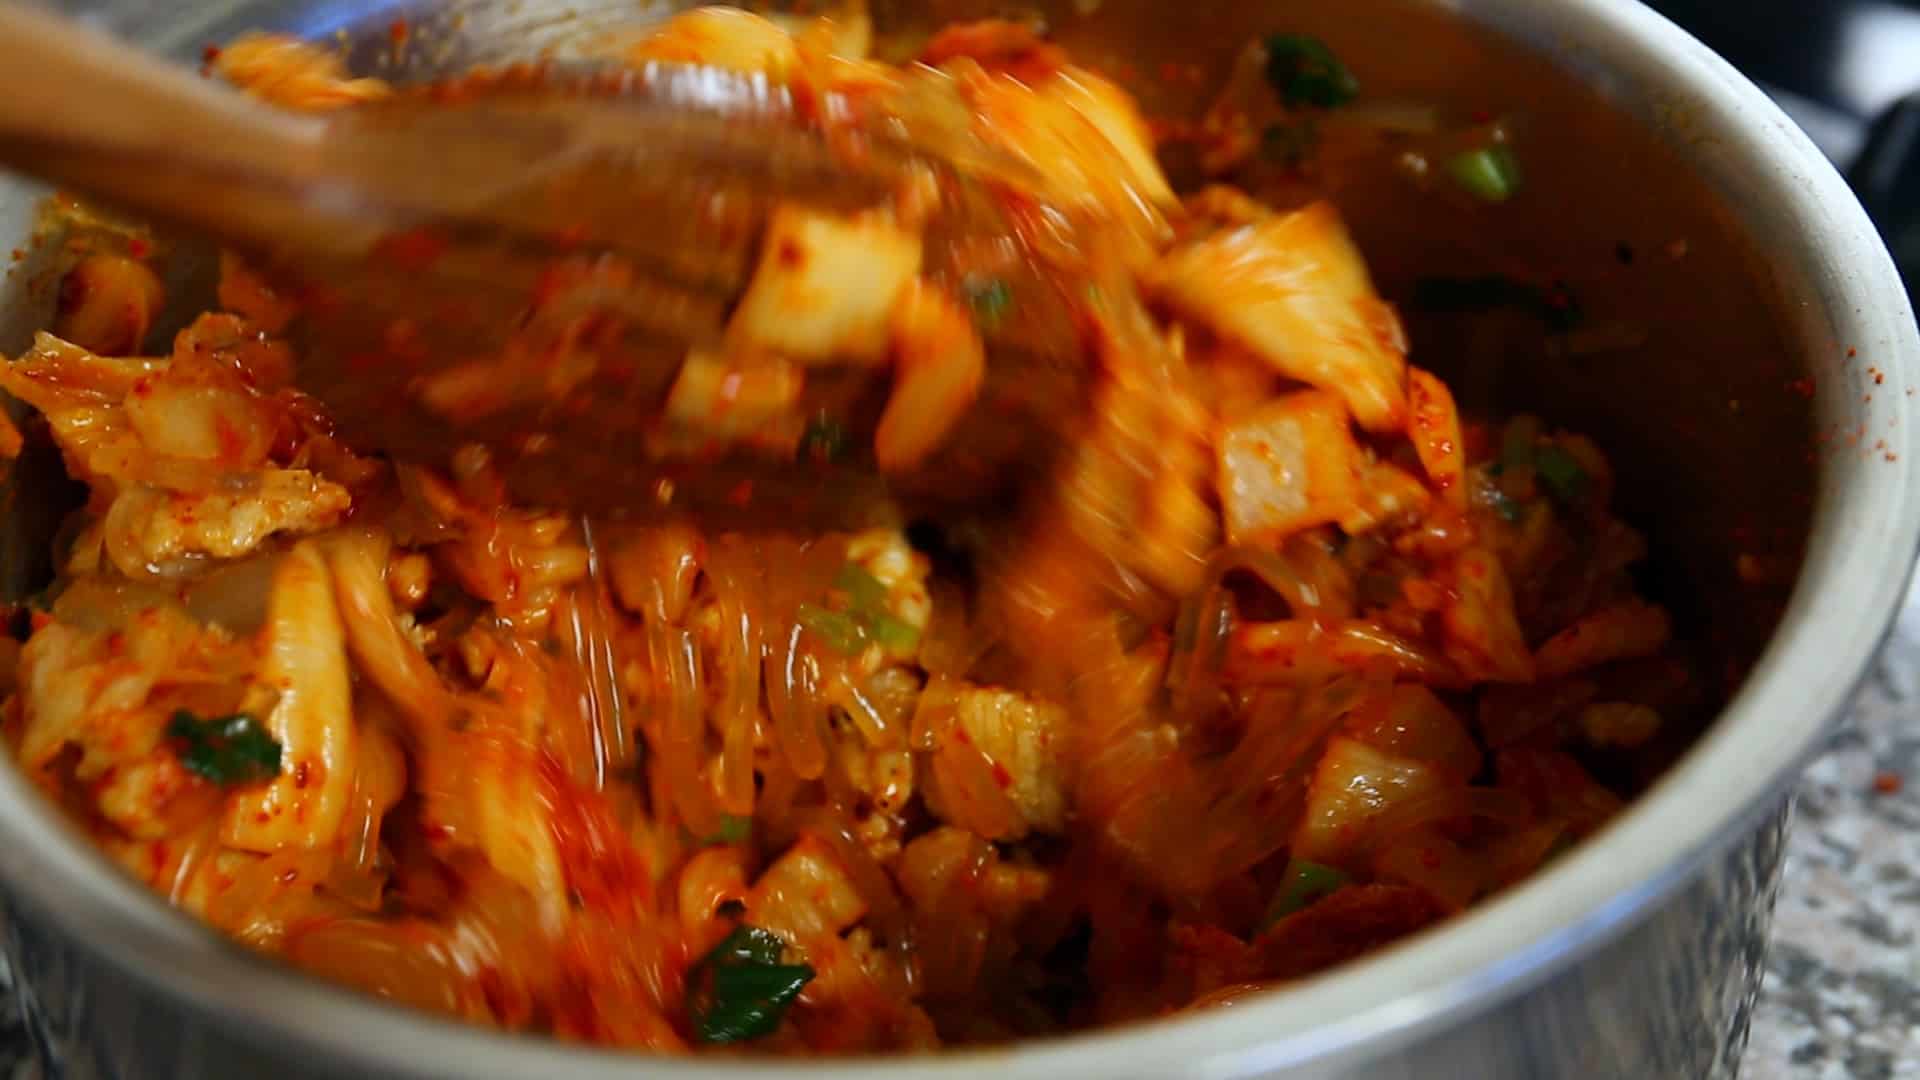
Make the fillings:
- Bring 5 to 7 cups of water to a boil over medium high heat. Add the noodles and cook for 7 minutes. Strain and rinse them in cold running water. Strain and chop the noodles into small pieces. Set aside.

- Heat a pan over medium high heat. Add the pork, soy sauce, toasted sesame oil, and ground black pepper.
- Stir with a wooden spoon and cook until the pork is no longer pink and is cooked thoroughly.
- Add garlic, green onion, and onion and stir for 30 seconds. Remove from the heat. Stir in the noodles.

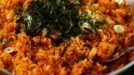
- Add kimchi, sugar, and hot pepper flakes. Mix well.


Make and shape the buns:
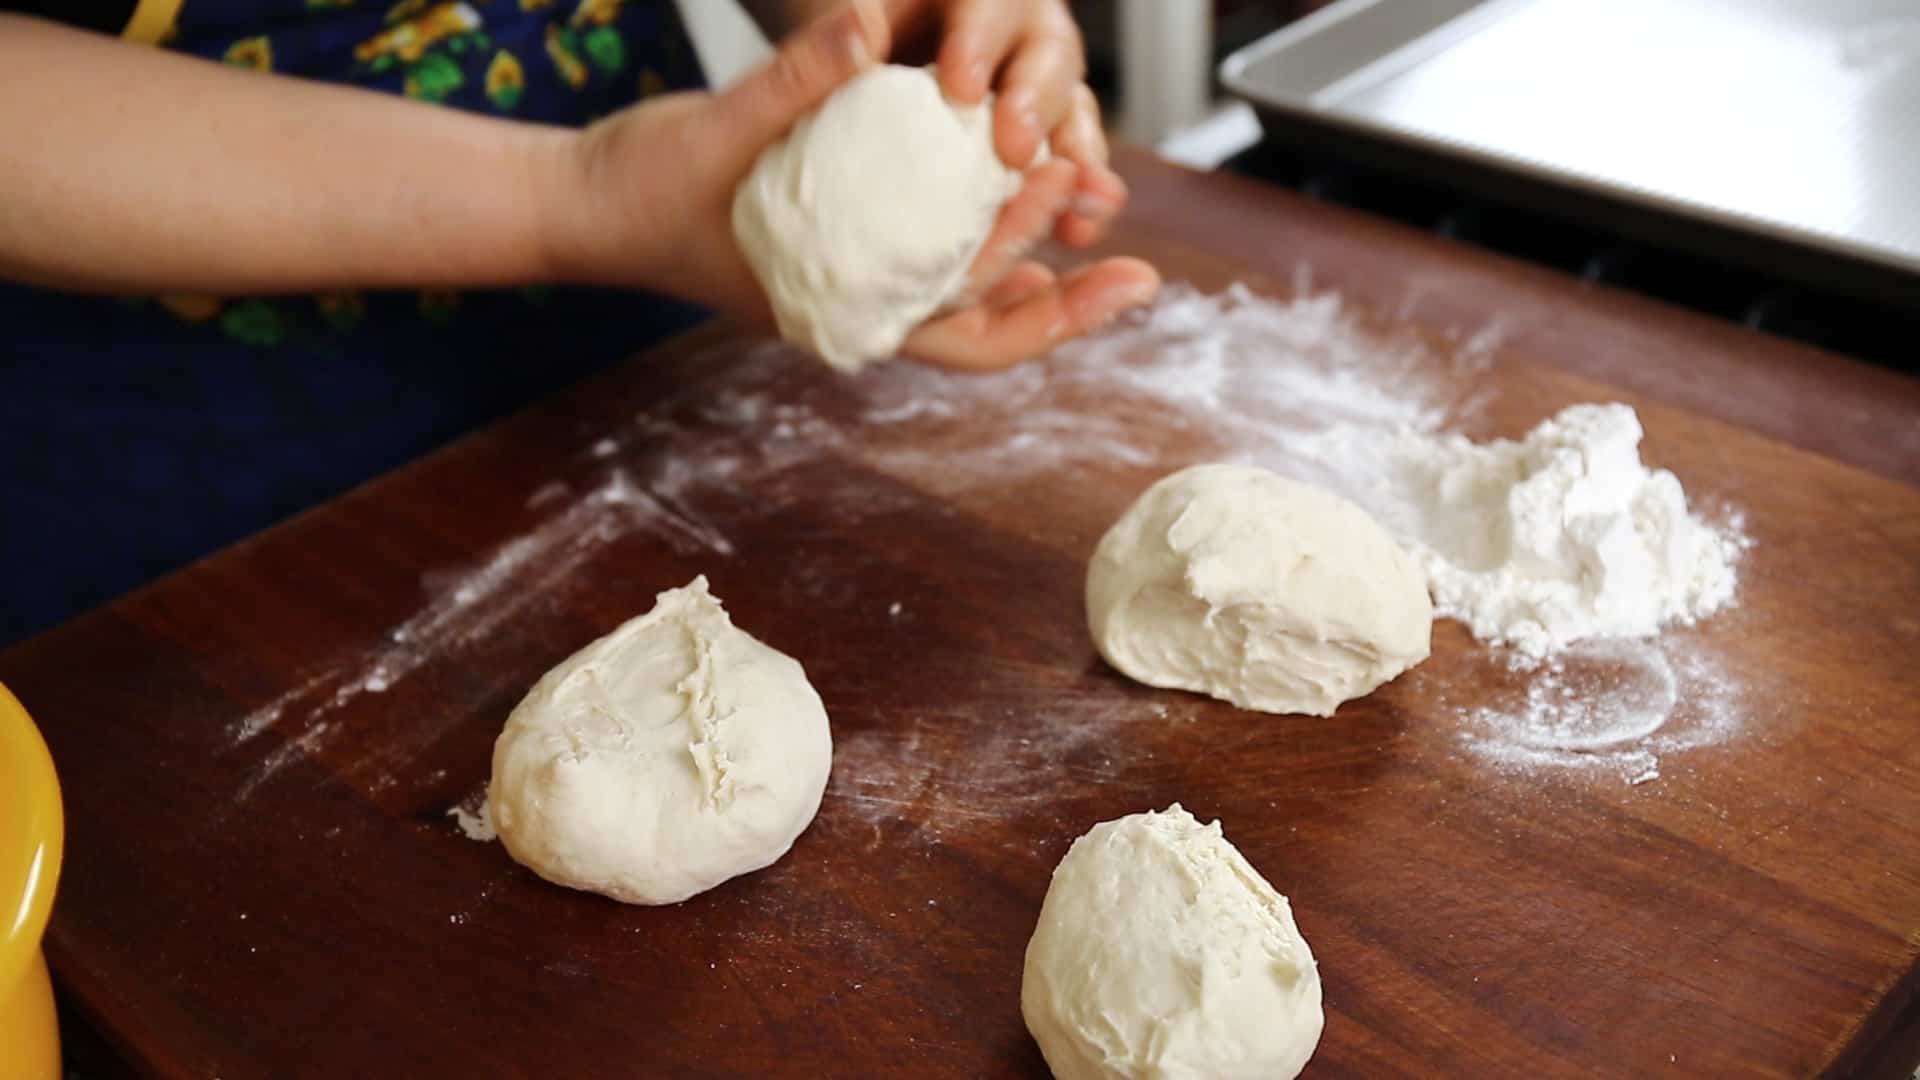
- Deflate the dough and fold it over on itself for a minute, until it becomes a smooth, soft ball.
- Dust a large cutting board (or any workspace) with a little flour. Put the dough ball on the cutting board and divide it into 6 equal-sized pieces. Form each of them into smooth balls, weighing about 3 ounces each.

- Cover the 6 balls with plastic wrap to keep them from drying out.

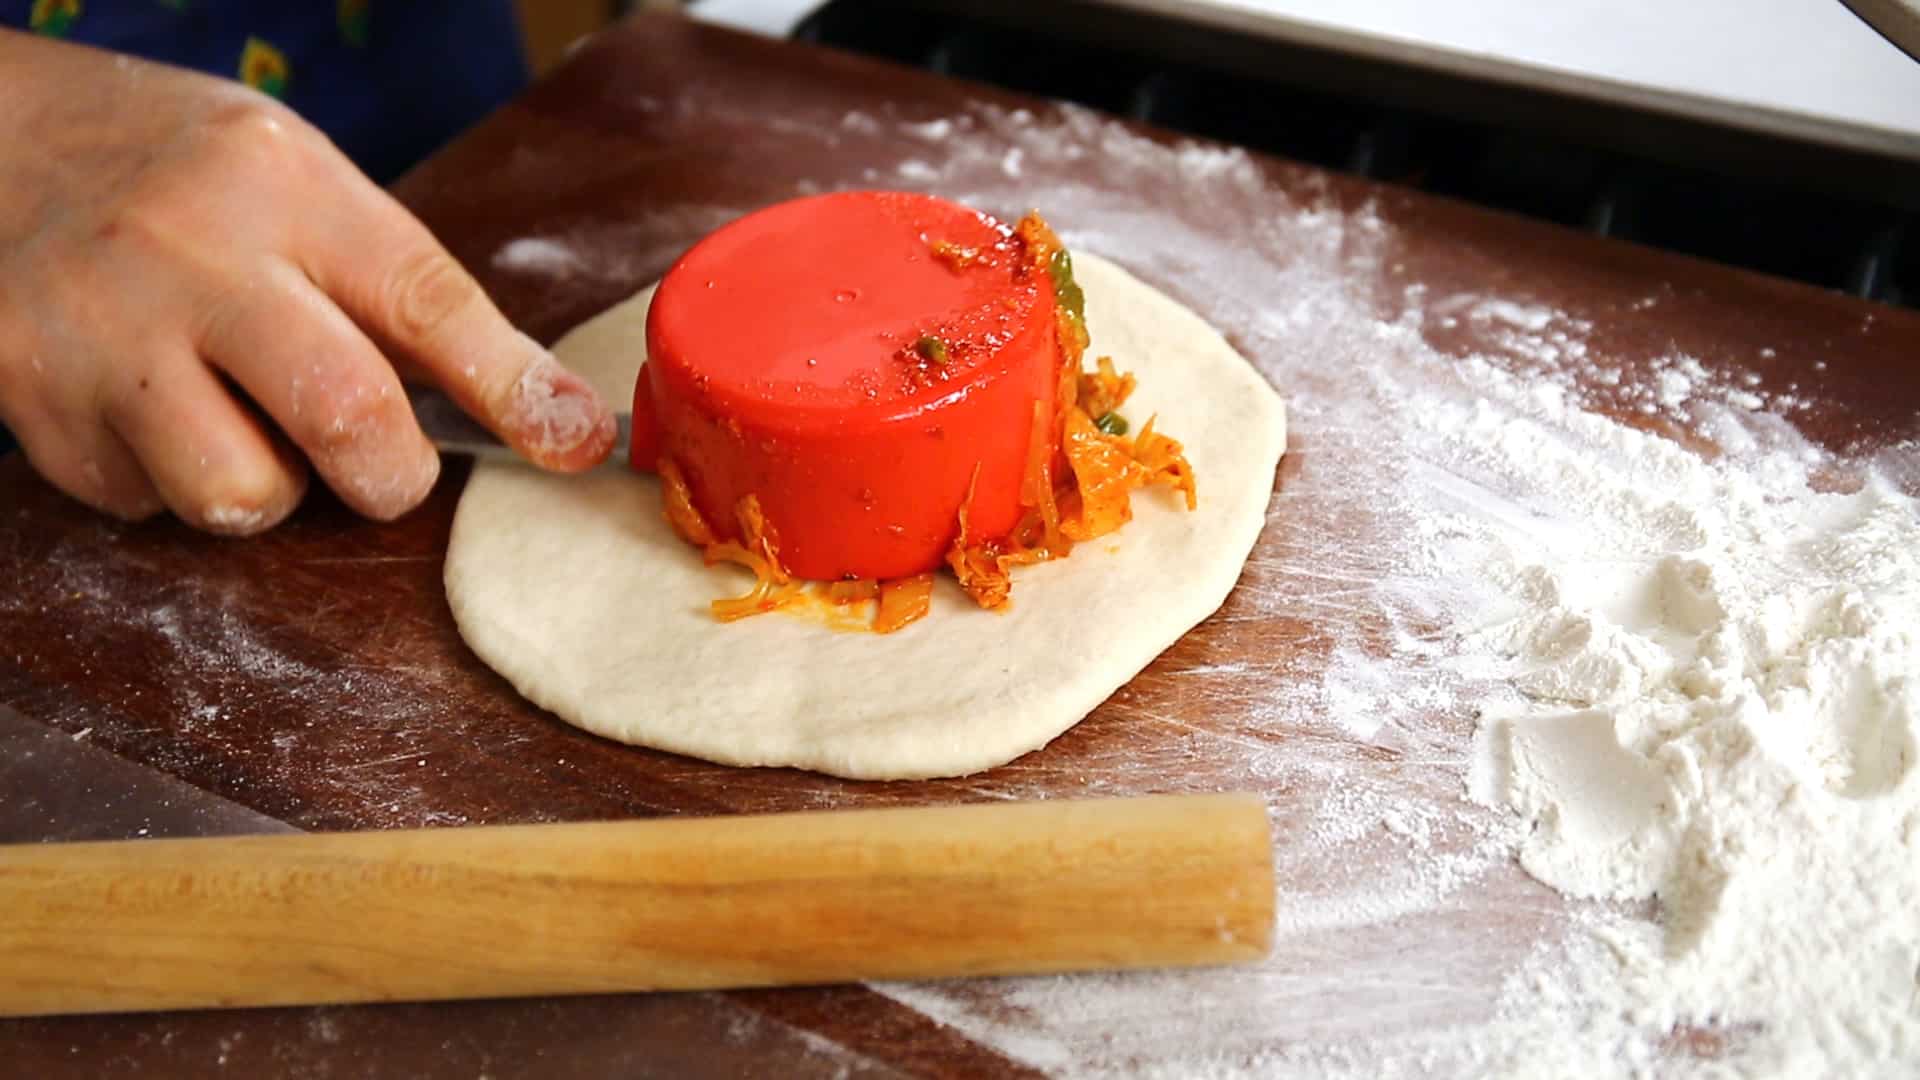
- Take out a ball and roll it out with a rolling pin into a round circle about 6 inches in diameter. The thickness of the dough at the edges should be thinner than at the middle.
- Place ½ cup of filling in the center of the dough disk.

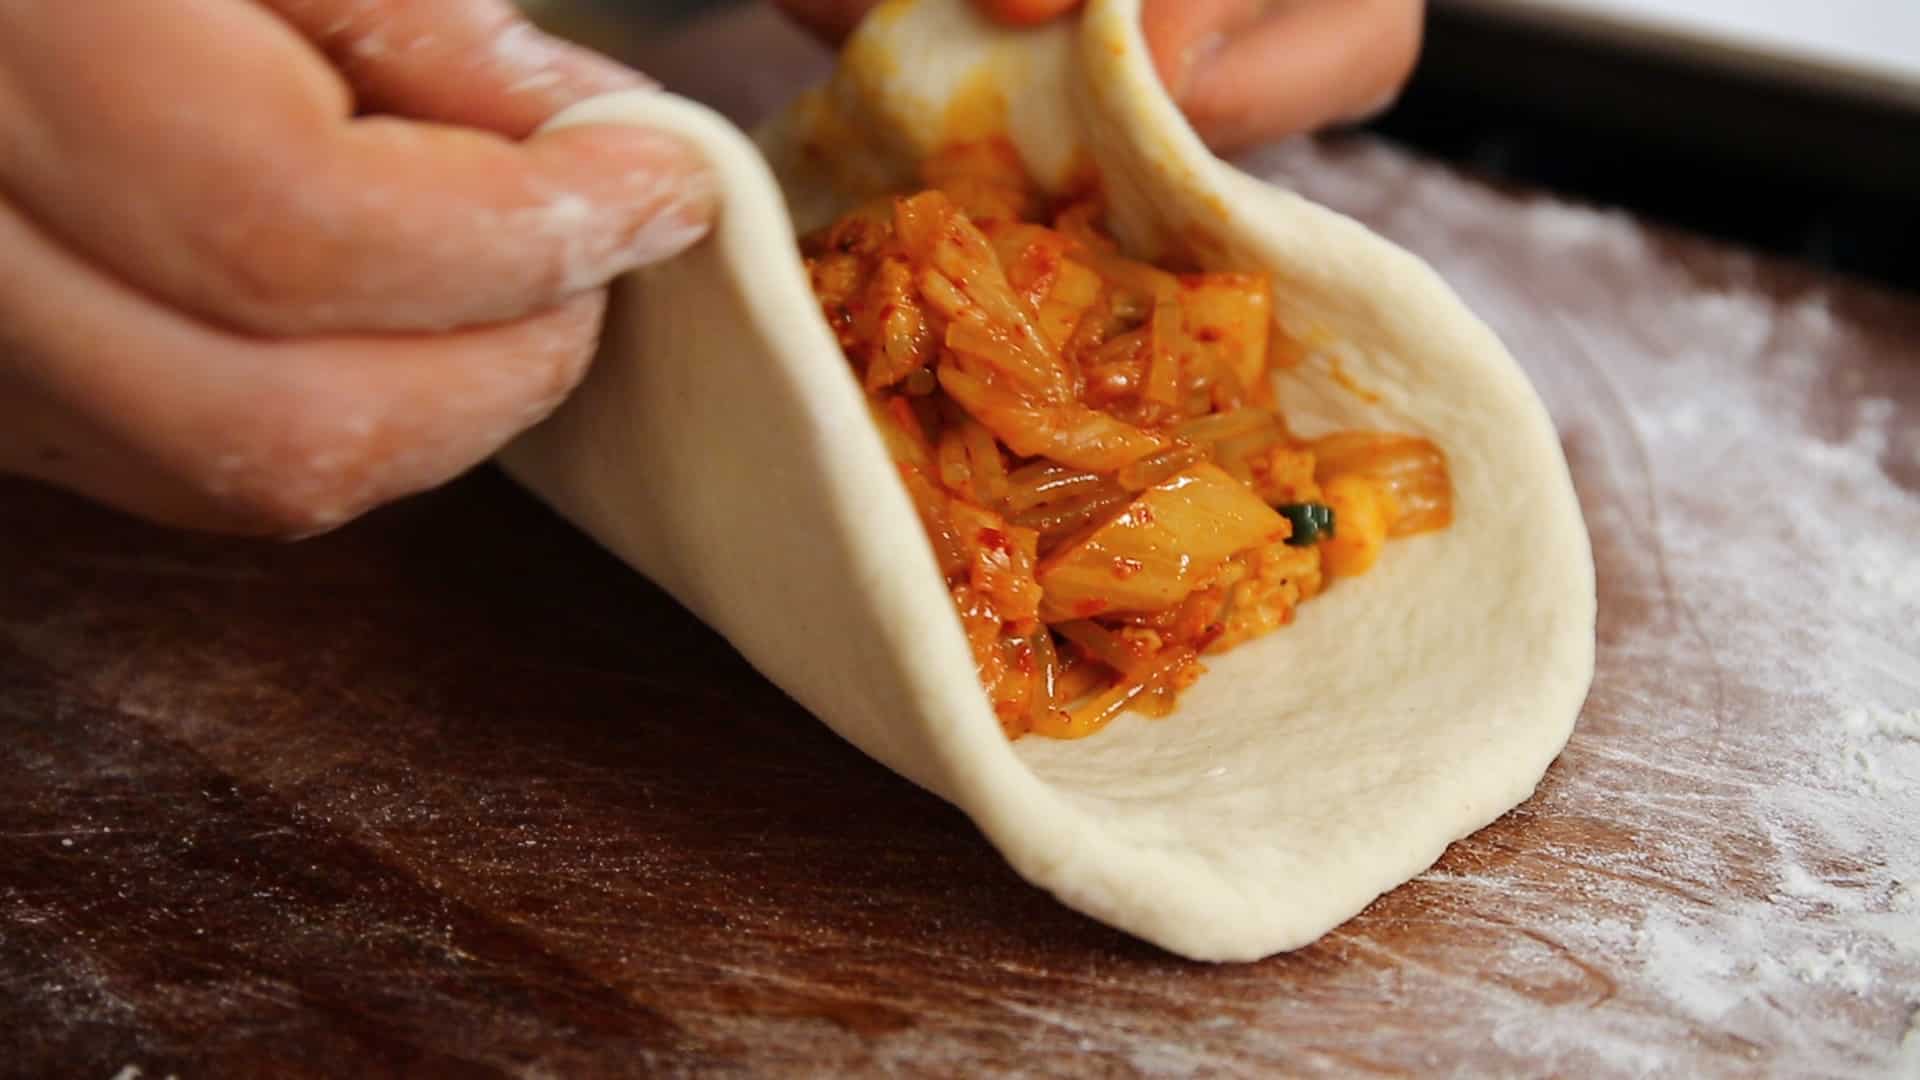
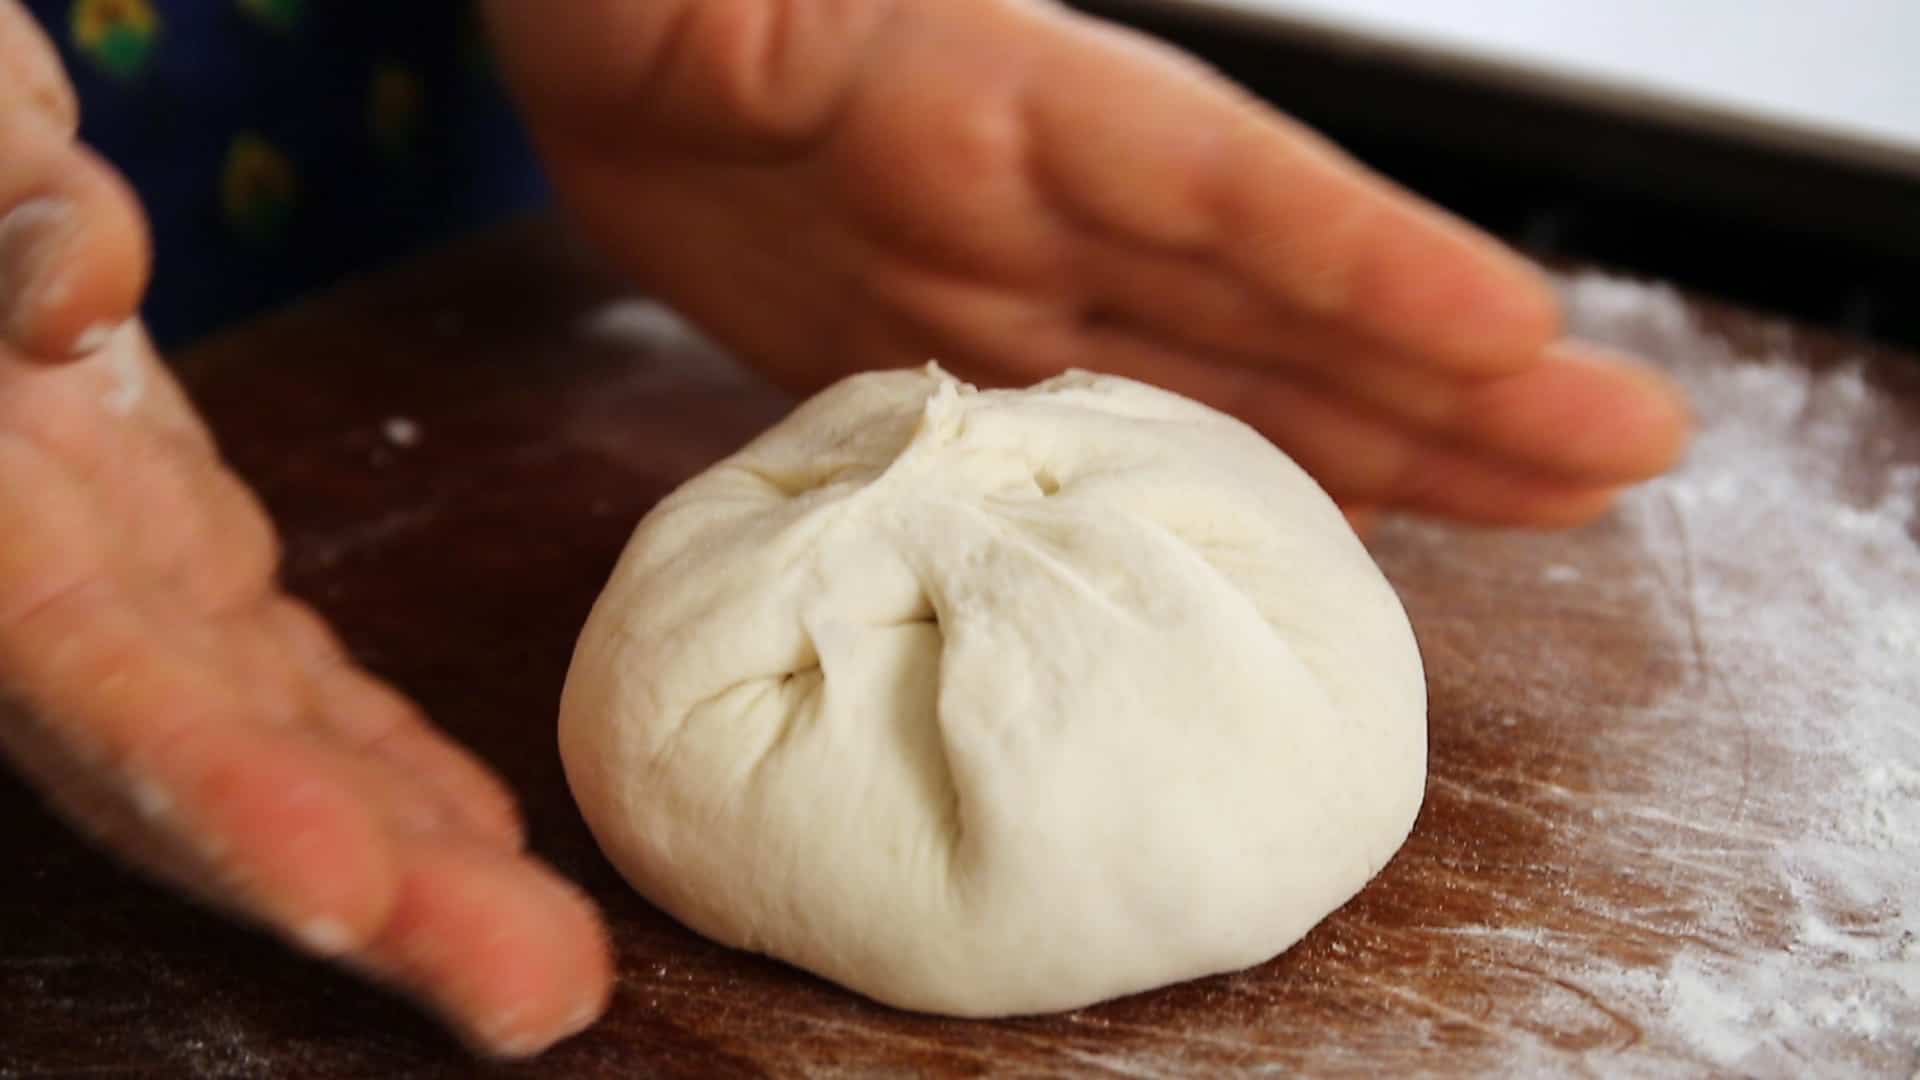
- Lift the edges of the disk up around the filling, and pinch them together to seal tightly.


- Put it on the cutting board with the sealed side down. Turn it and shape it with your hands into a small mountain. It should have height because it will flatten when it bakes, and we don’t want it too flat. Move the bun and rub the seal on the cutting board to smooth it out. Pinch shut any holes or weak spots.

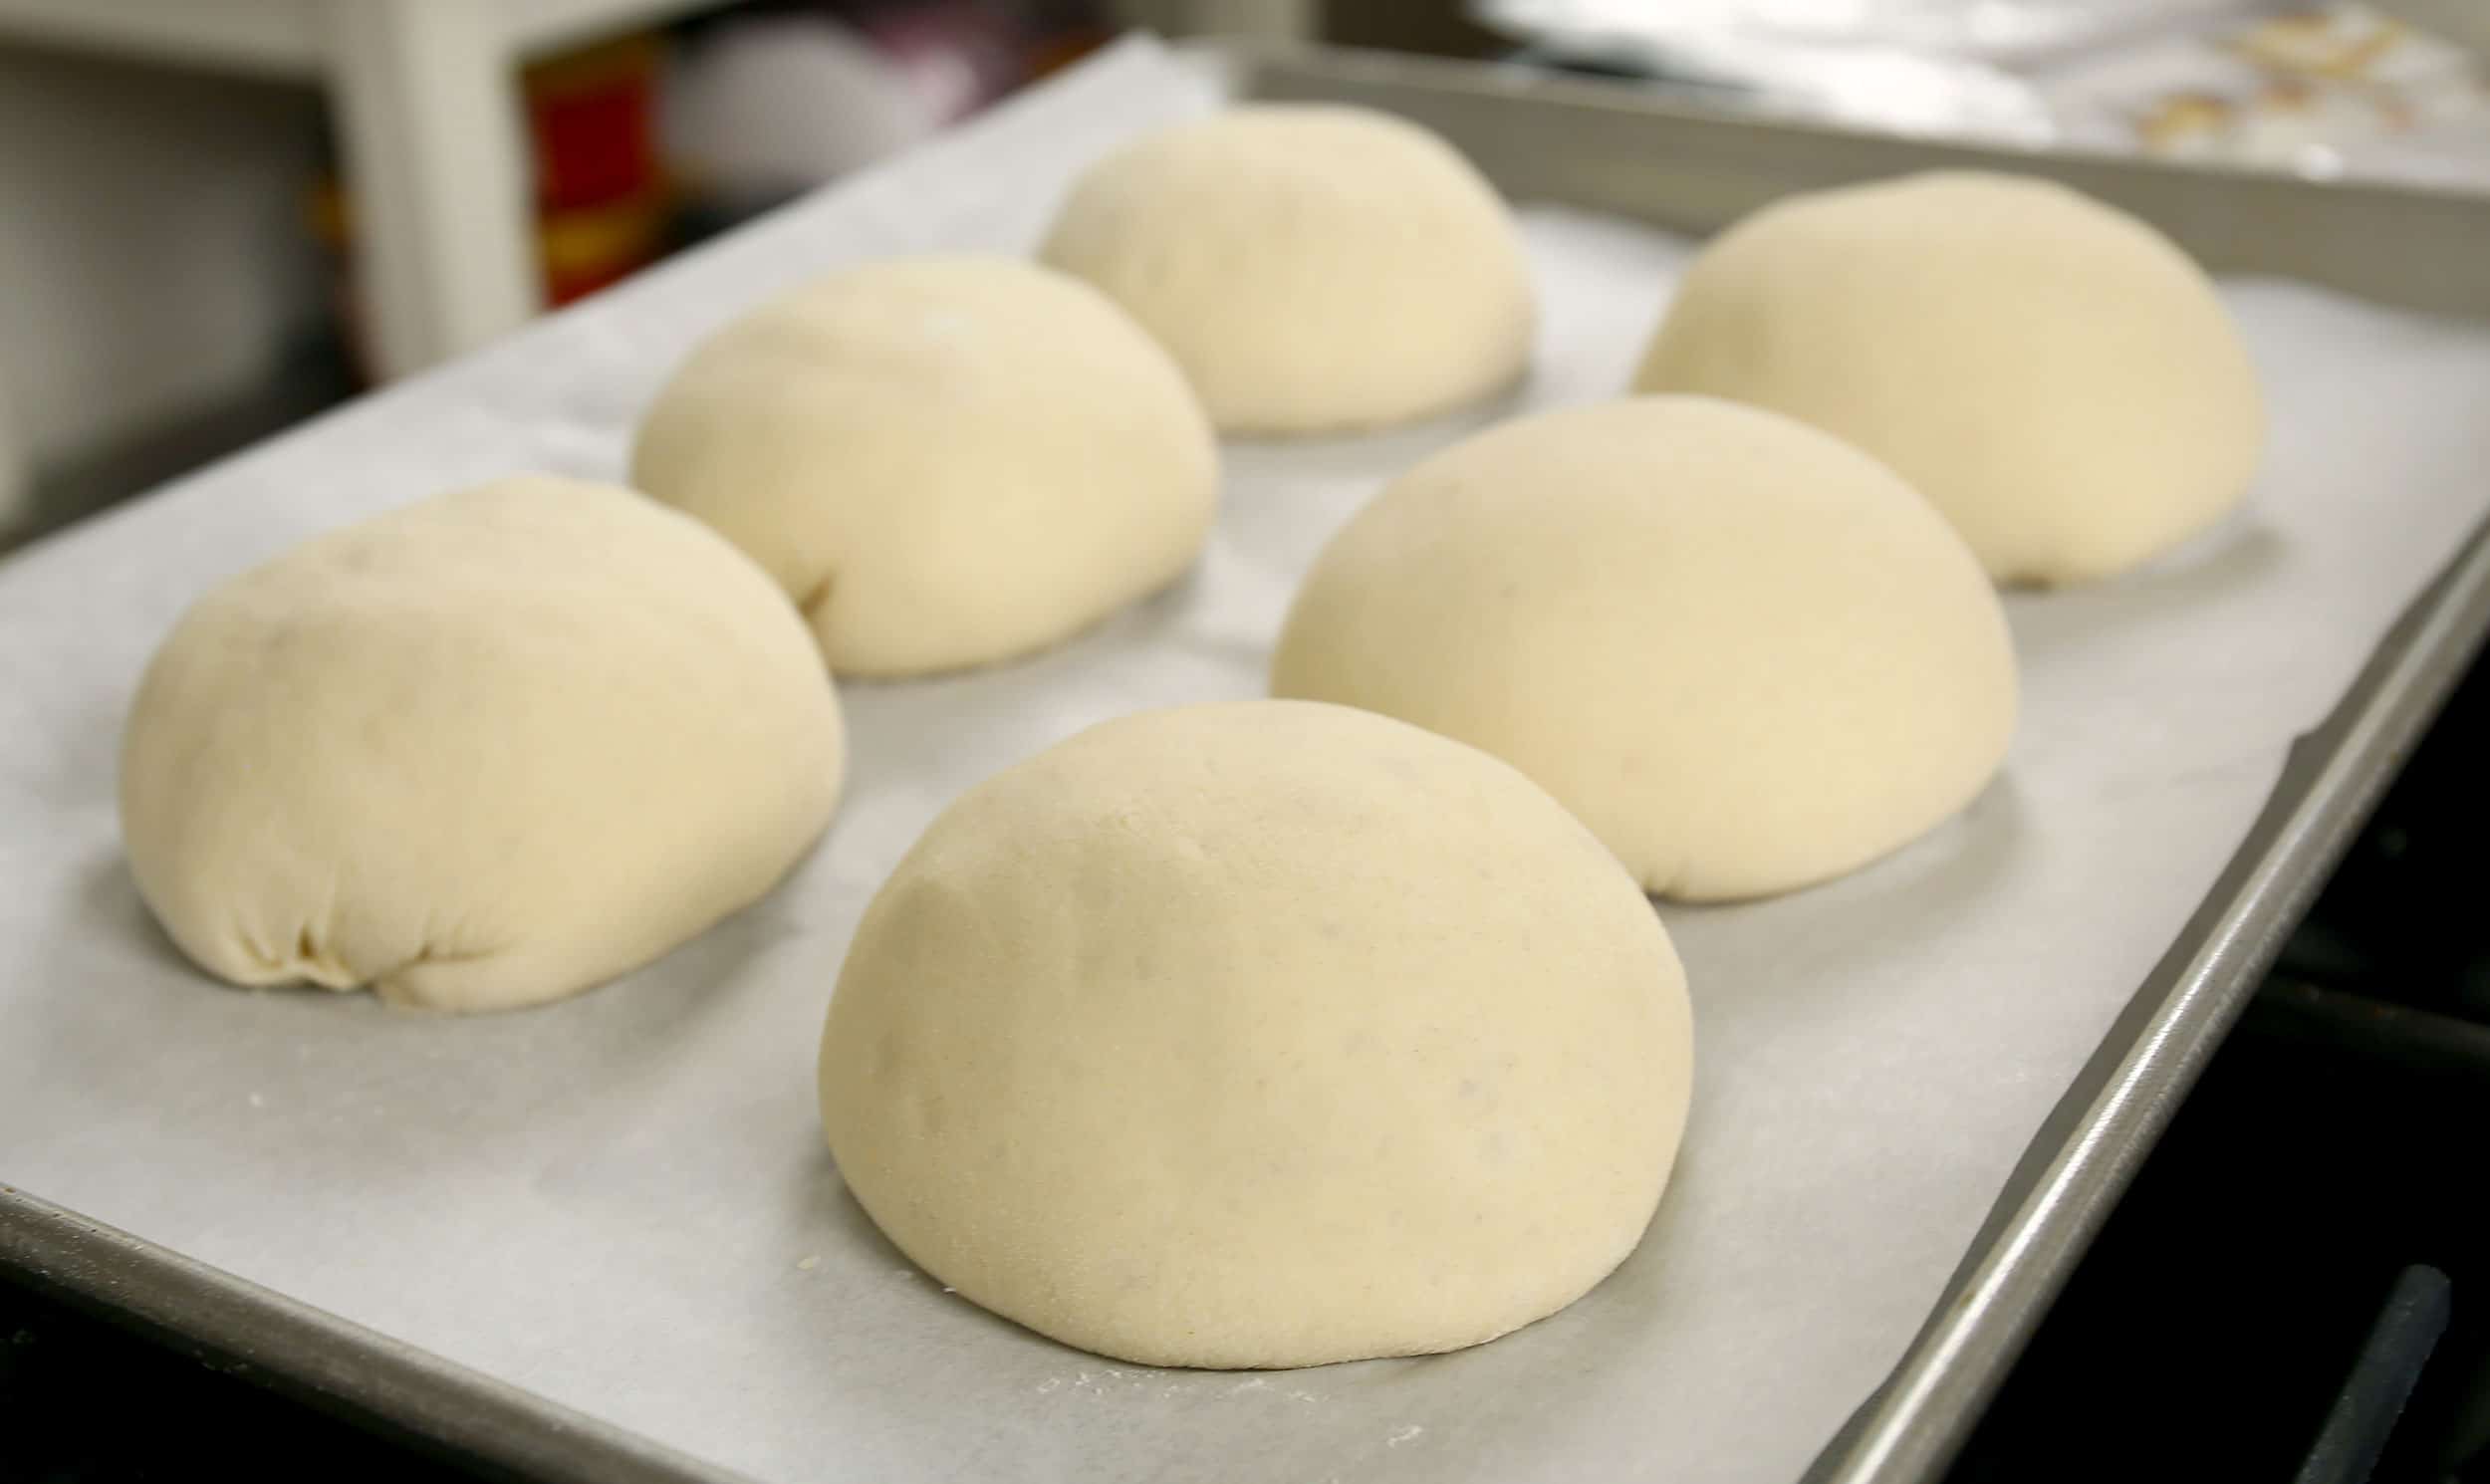
- Put the ball on to a baking pan lined with parchment paper.
- Repeat with the remaining dough balls and filling. Space them 1 inch apart on the pan so they have room to expand. Let them rise for another hour, or until they are about 6 inches wide.


Bake and serve:
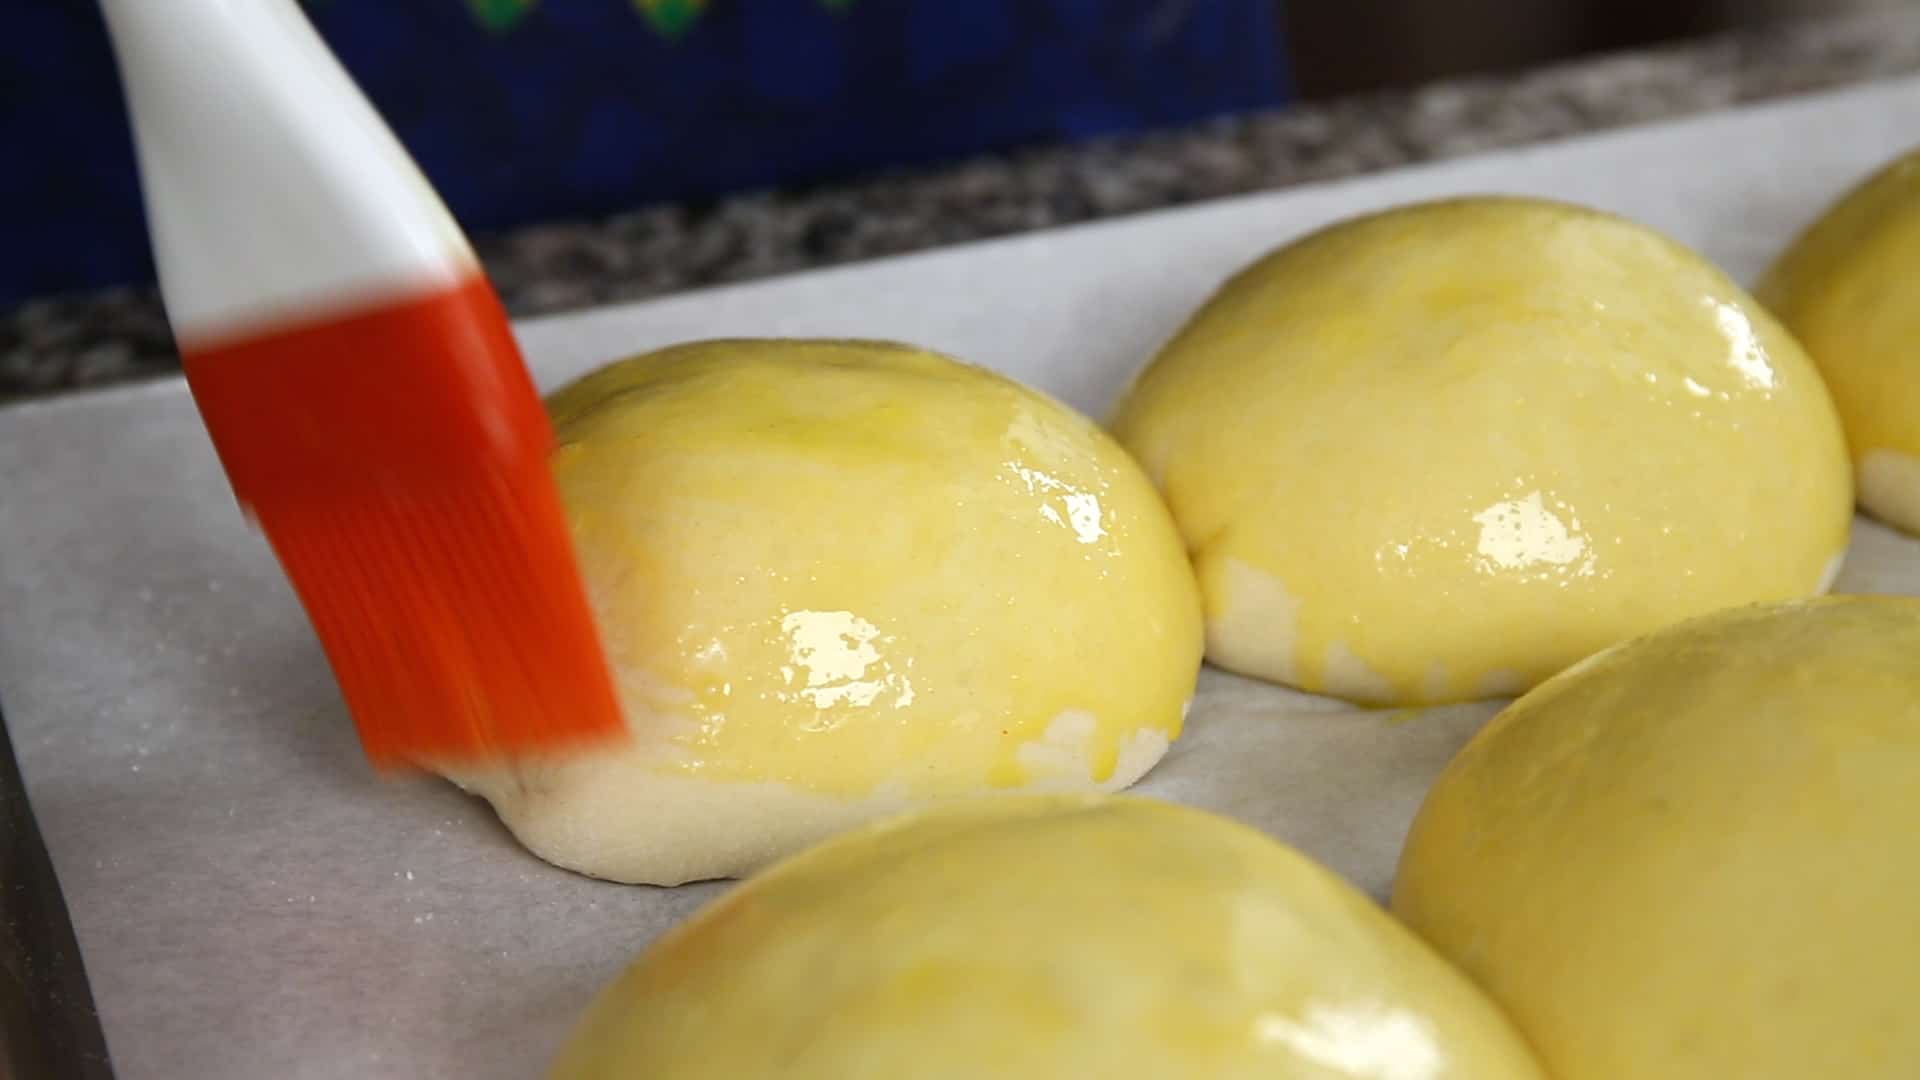
- Preheat your oven to 350° F.
- To make a clear, even egg wash, beat and egg mixed with 1 teaspoon of water and strain it through a fine strainer. Brush it over the buns.


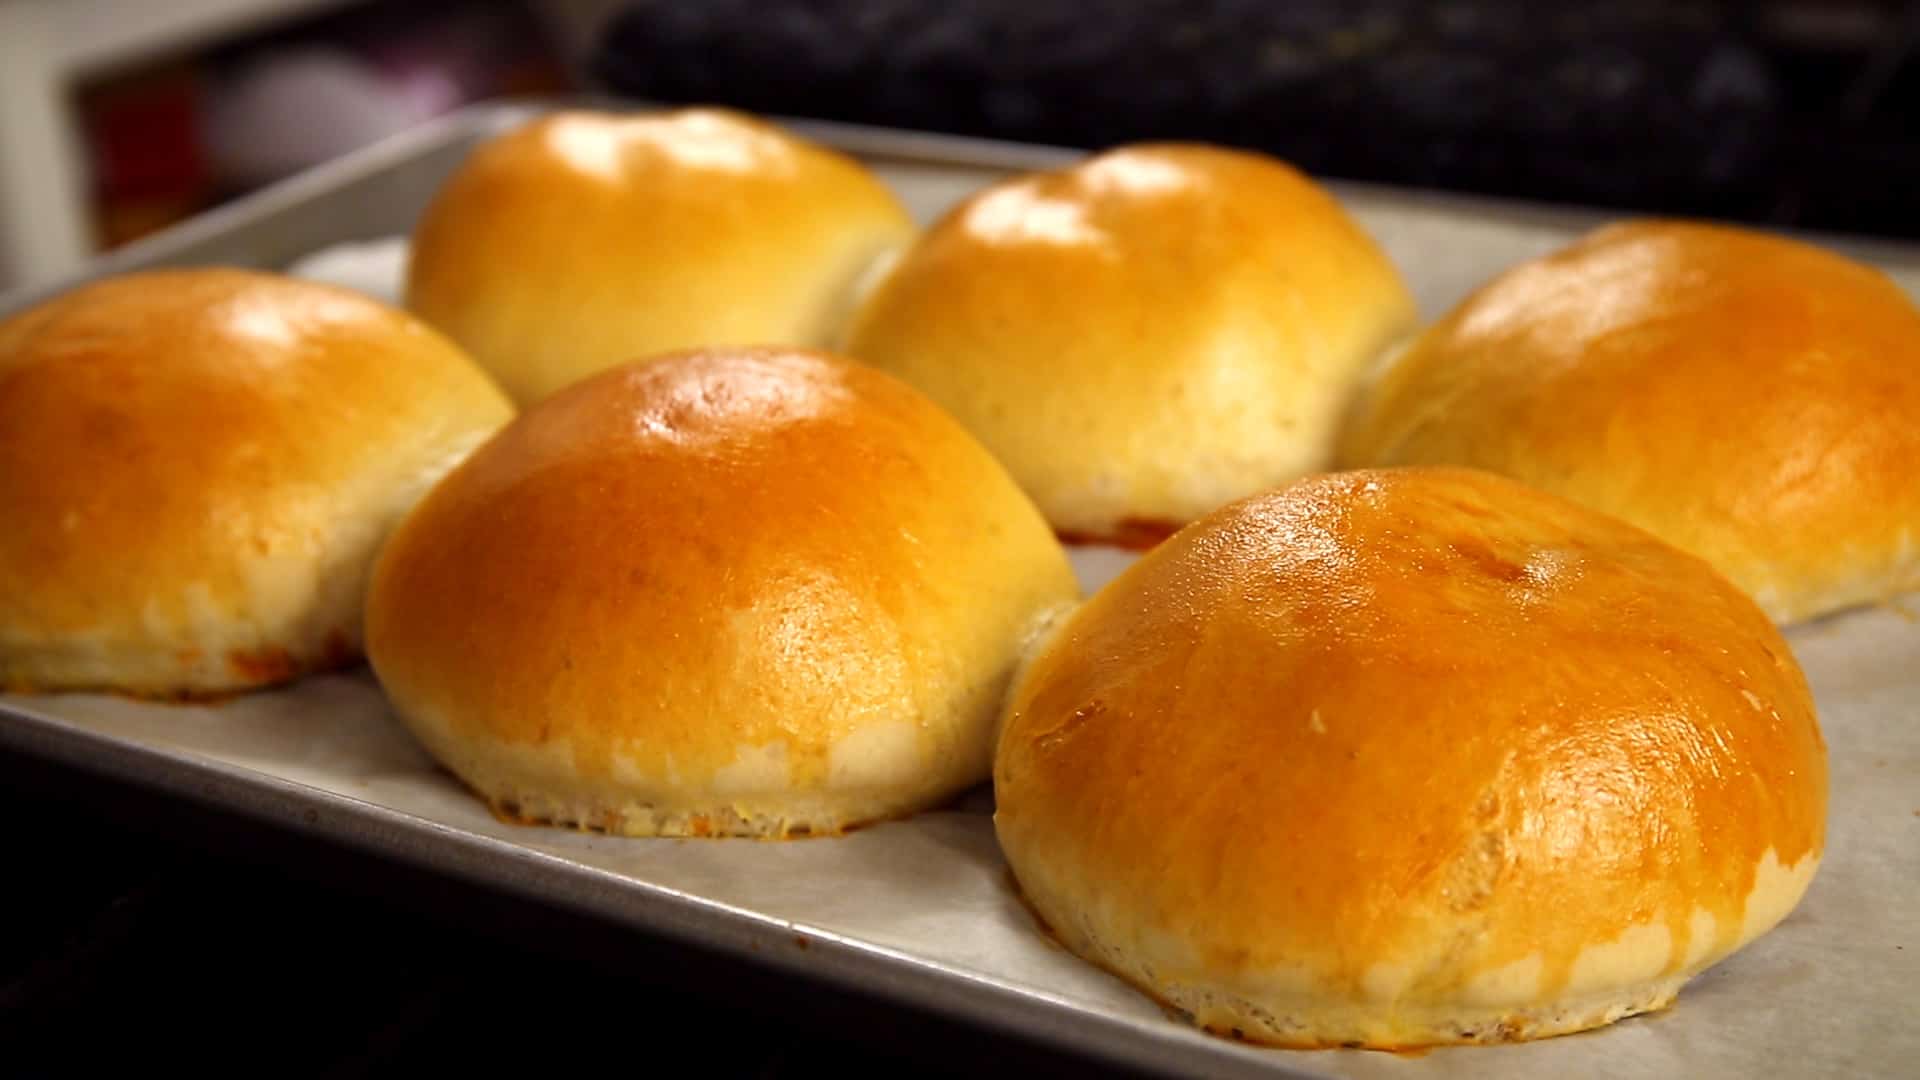
- Bake for 25 minutes until shiny and golden brown.

- Serve as a snack or a meal.

Maangchi's Amazon picks for this recipe
It's always best to buy Korean items at your local Korean grocery store, but I know that's not always possible so I chose these products on Amazon that are good quality. See more about how these items were chosen.