Hello everybody!
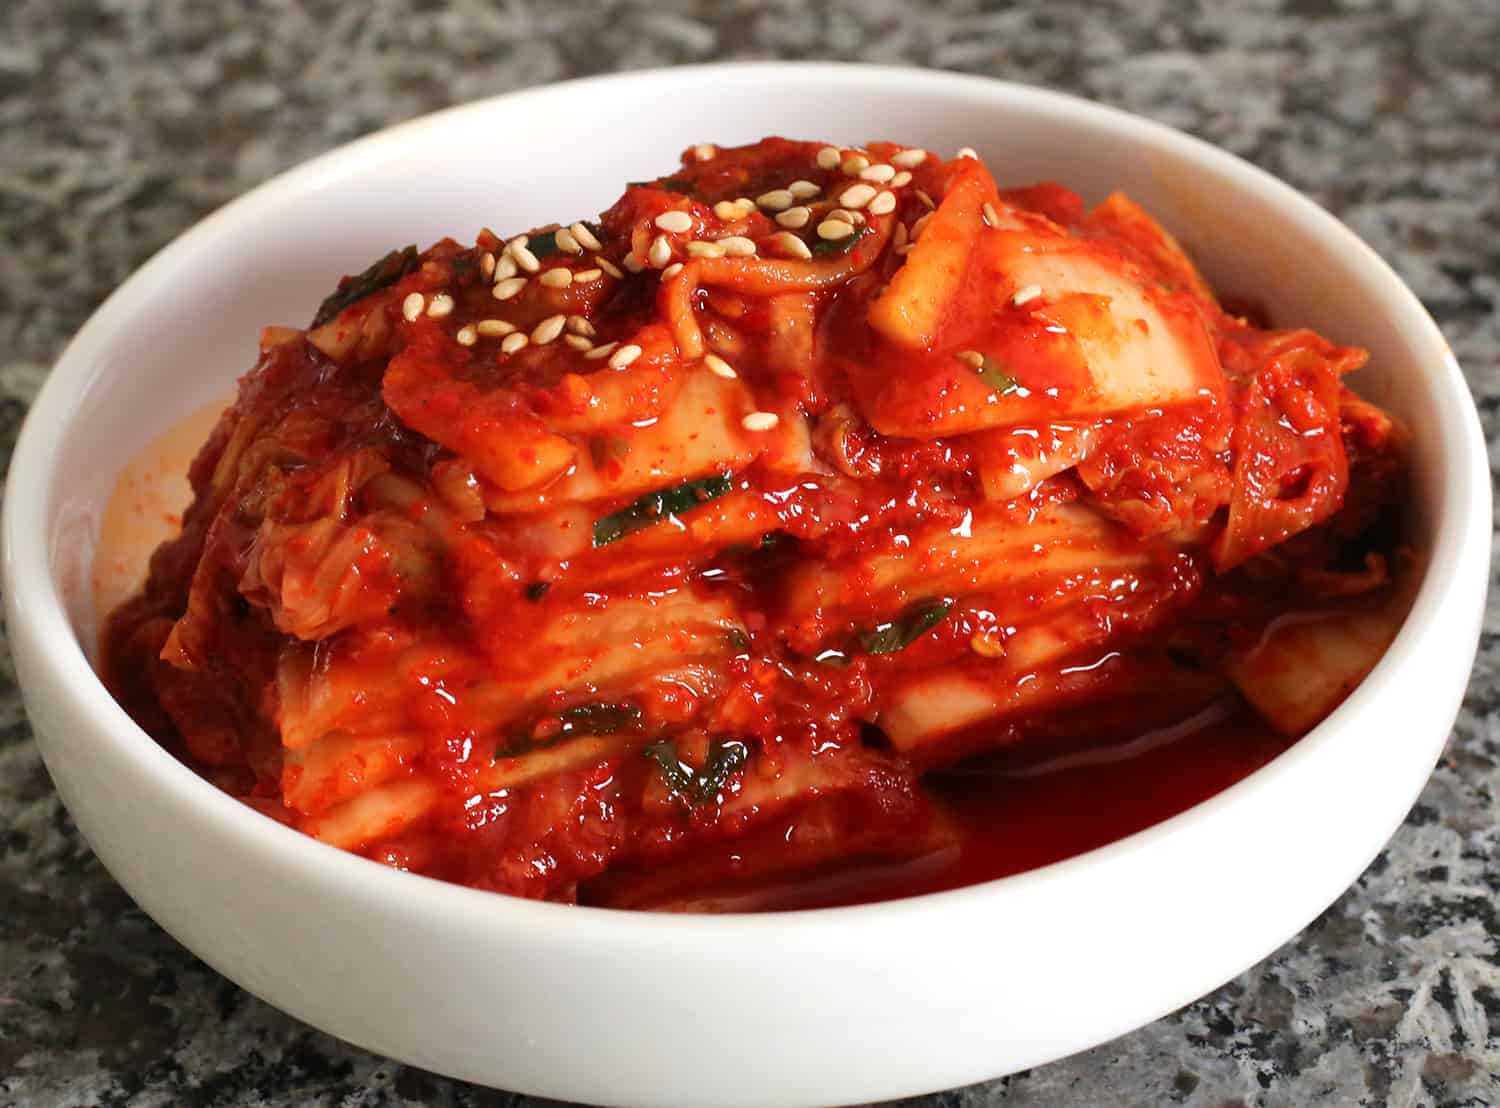
Today I’m going to show you how to make classic, spicy, traditional napa cabbage kimchi called tongbaechu-kimchi, a.k.a. baechu-kimchi or pogi-kimchi. But this dish is so common and iconic among Koreans that we simply call it “kimchi.” When people talk about kimchi, this is the side dish they’re referring to, despite the fact that there are many kinds of kimchi in Korean cuisine, and many made with napa cabbage, too.
Over the years I’ve posted recipes for a few of them, but I’ve never made an in-depth video for making tongbaechu-kimchi! I’ve made a video for mak-kimchi (easy kimchi recipe), which is very similar but is easier because you to chop up the cabbage into bite size pieces first, and I’ve made an ultra simple yangbaechu-kimchi (emergency kimchi). Many years ago I even posted a recipe showing how to make baechu-kimchi with kkakdugi in one batch. But until now, I’ve never posted the most classic and traditional napa cabbage kimchi. (I also have a vegan kimchi version of this recipe, too!)
For me, this kimchi recipe has the traditional flavor I am looking for. It uses the whole cabbage leaf, which makes it more labor-intensive than the other ones on my website, because you’ll need to take time to spread the spicy paste leaf by leaf. It’s more work, but this is the traditional style and if you can make this kind of kimchi well, you can consider yourself good at Korean cooking.
To make this kimchi we need to first soak the cabbage in a salty brine to soften the leaves (some people swear by sea salt but I always use Kosher salt in all my Korean dishes). Then lactobacillus bacteria can do their work and convert sugar into lactic acid, which preserves the cabbage and changes the flavor over time. But you don’t have to wait for the kimchi to ferment before you enjoy it, you can eat it right away and keep eating it as it ferments and eventually goes sour. Then it’s perfect for dishes like kimchi-jjigae and kimchi stir fried rice.
As I mention in the video, my mom used to make kimchi from 200 heads of cabbage! This was kimjang kimchi, made with her friends at the beginning of winter, and meant to last until the spring. 3 to 4 of her friends would come over and help her chop vegetables and most importantly, spread the paste on the leaves. This always needs to be done by hand. They would bring their own rubber gloves, and spend the day talking and laughing, and always had pollock stew or beef radish soup for lunch. They had a lot of fun!
At the end of the day they would take some kimchi home with them, but my mom would get all the rest, which lasted my whole family through the winter. And when my mom’s friends needed to make their winter kimchi, my mom brought her gloves over to their houses and helped them, like they did for her.
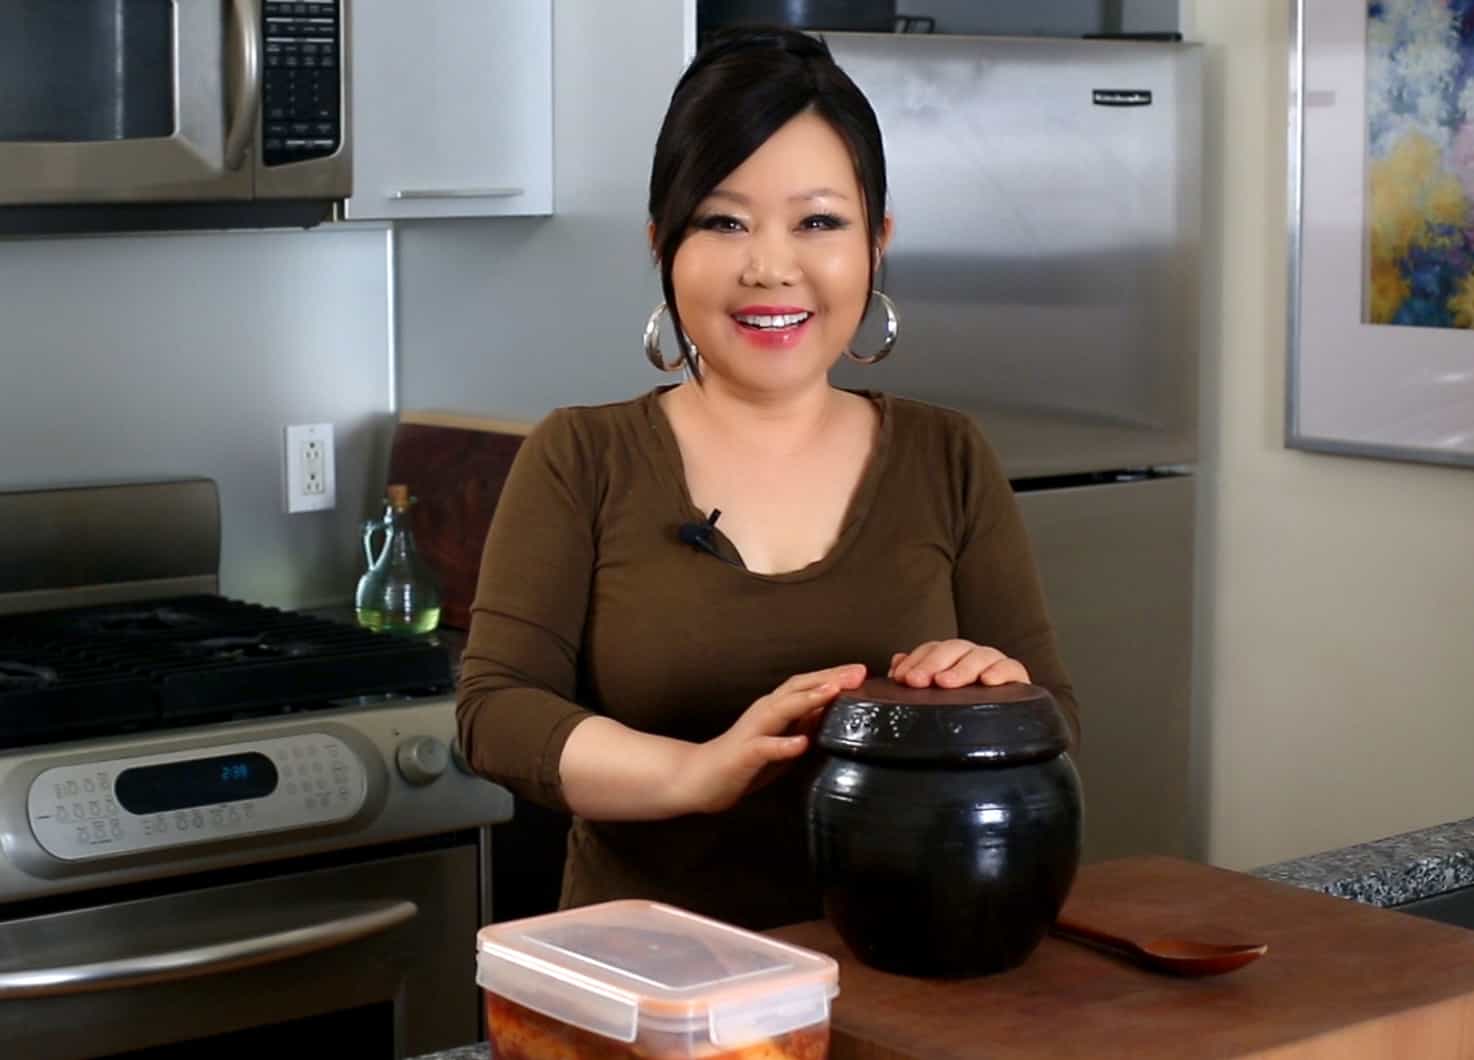
In the video I also show you how to ferment it in a traditional onggi. Using an onggi is not mandatory, but for those of you who have one already, this is how you use it! If you don’t have one, just use a BPA-free plastic container, or a glass container.
I answer many other frequently asked questions about kimchi-making in this video.
I hope you enjoy the recipe, and if you love kimchi, I encourage you to make your own kimchi at home. It’s delicious, easy, and a fun thing to do!
Ingredients
Makes about 8 pounds (3.6 kg) of Kimchi
For salting cabbage:
- 6 pounds (about 2.7 kg) napa cabbage
- ½ cup Kosher salt (2.5 ounces: 72 grams)
For making porridge:
- 2 cups water
- 2 tablespoons sweet rice flour (aka glutinous rice flour)
- 2 tablespoons Turbinado sugar (or brown or white sugar)
Vegetables:
- 2 cups Korean radish matchsticks (or daikon radish)
- 1 cup carrot matchsticks
- 7 to 8 green onions (scallions), chopped
- 1 cup chopped Asian chives (buchu), optional (substitute with 3 green onions, chopped)
- 1 cup water dropwort (minari), optional
Seasonings and spices:
- ½ cup garlic cloves (24 garlic cloves), minced
- 2 teaspoon ginger, minced
- 1 medium onion, minced
- ½ cup fish sauce
- ¼ cup fermented salted shrimp (saeujeot) with the salty brine, chopped
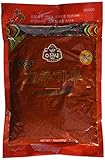
- 2 cups red pepper flakes (gochugaru)
Directions
Prepare and salt the cabbage
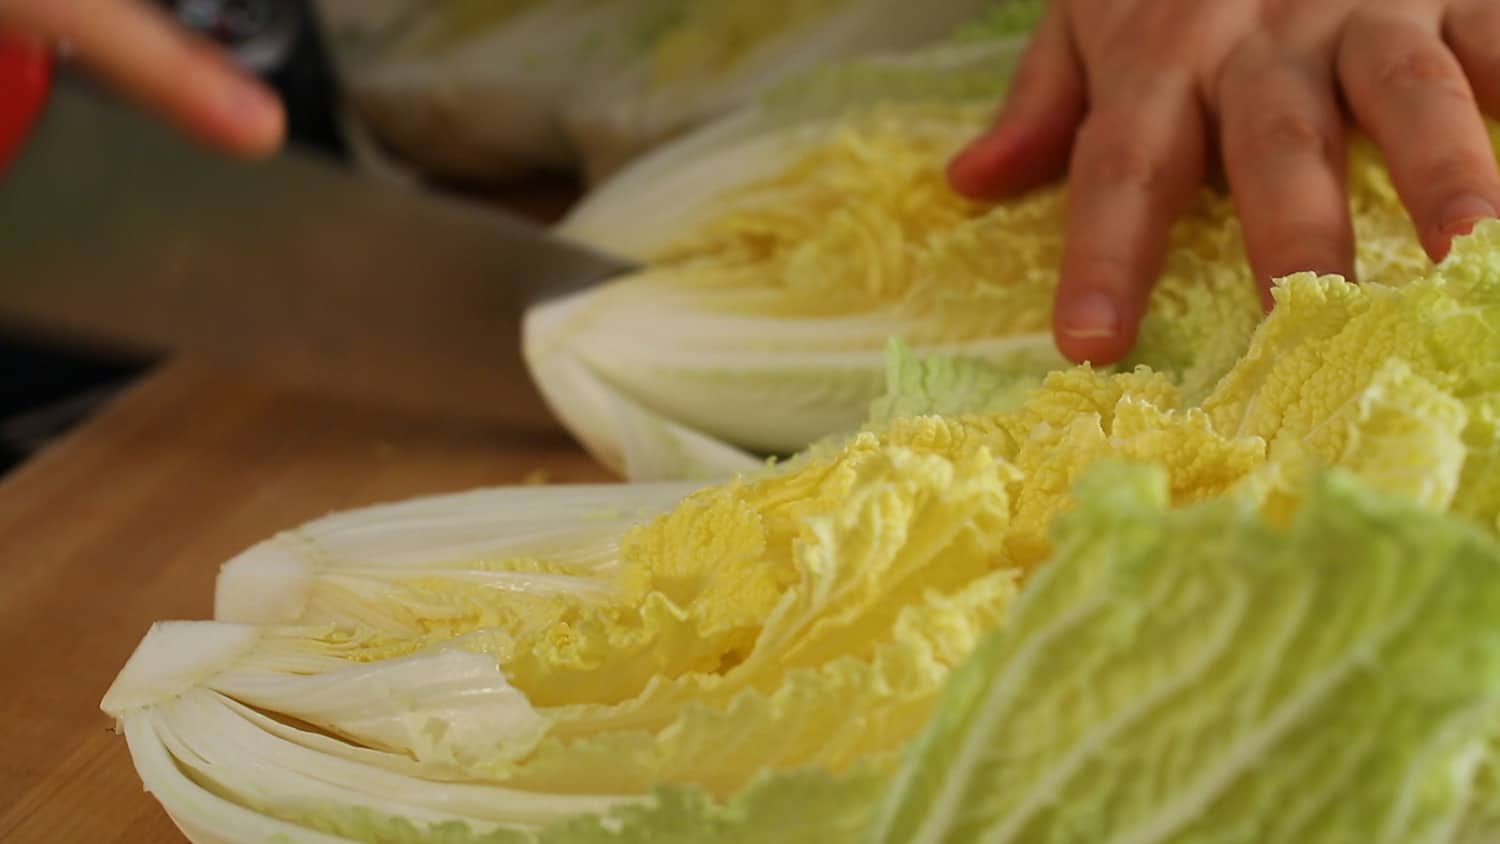
- If the cabbage cores stick out too much, trim them off with your knife over your cutting board.
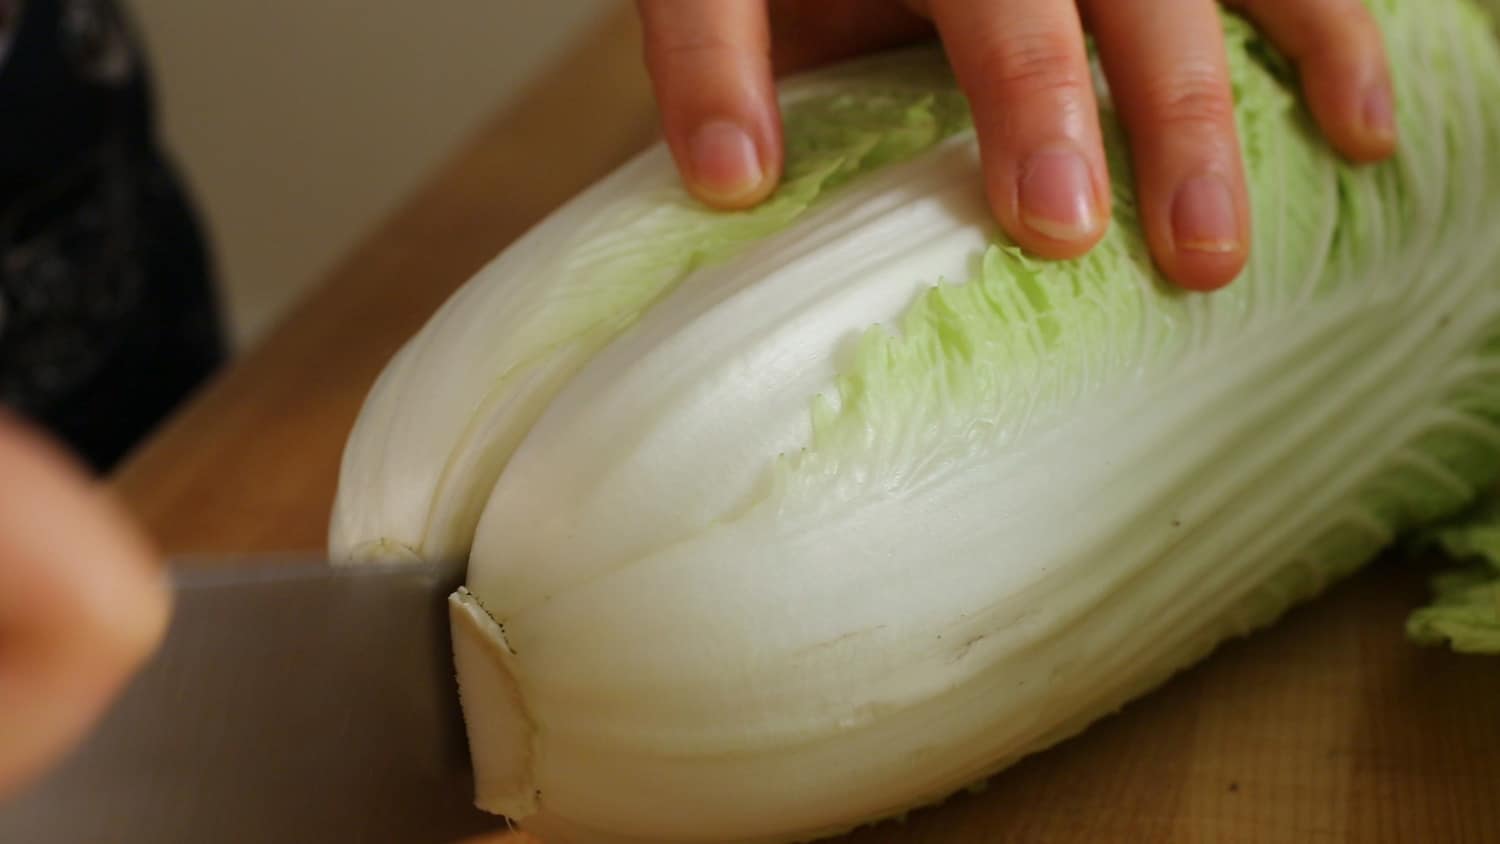
- To split a cabbage in half without shredding the densely packed leaves inside, first cut a short slit in the base of the cabbage, enough to get a grip on either half, and then gently pull the halves apart so the cabbage splits open.


- Cut a slit through the core of each half, 2 inches above the stem. You want the cabbage leaves to be loose but still attached to the core.
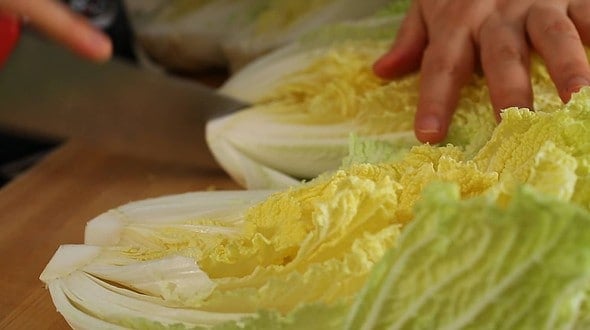
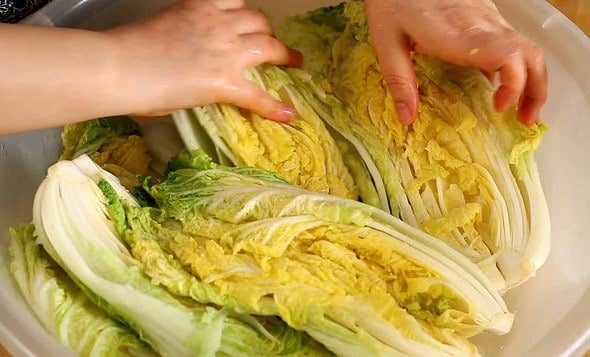
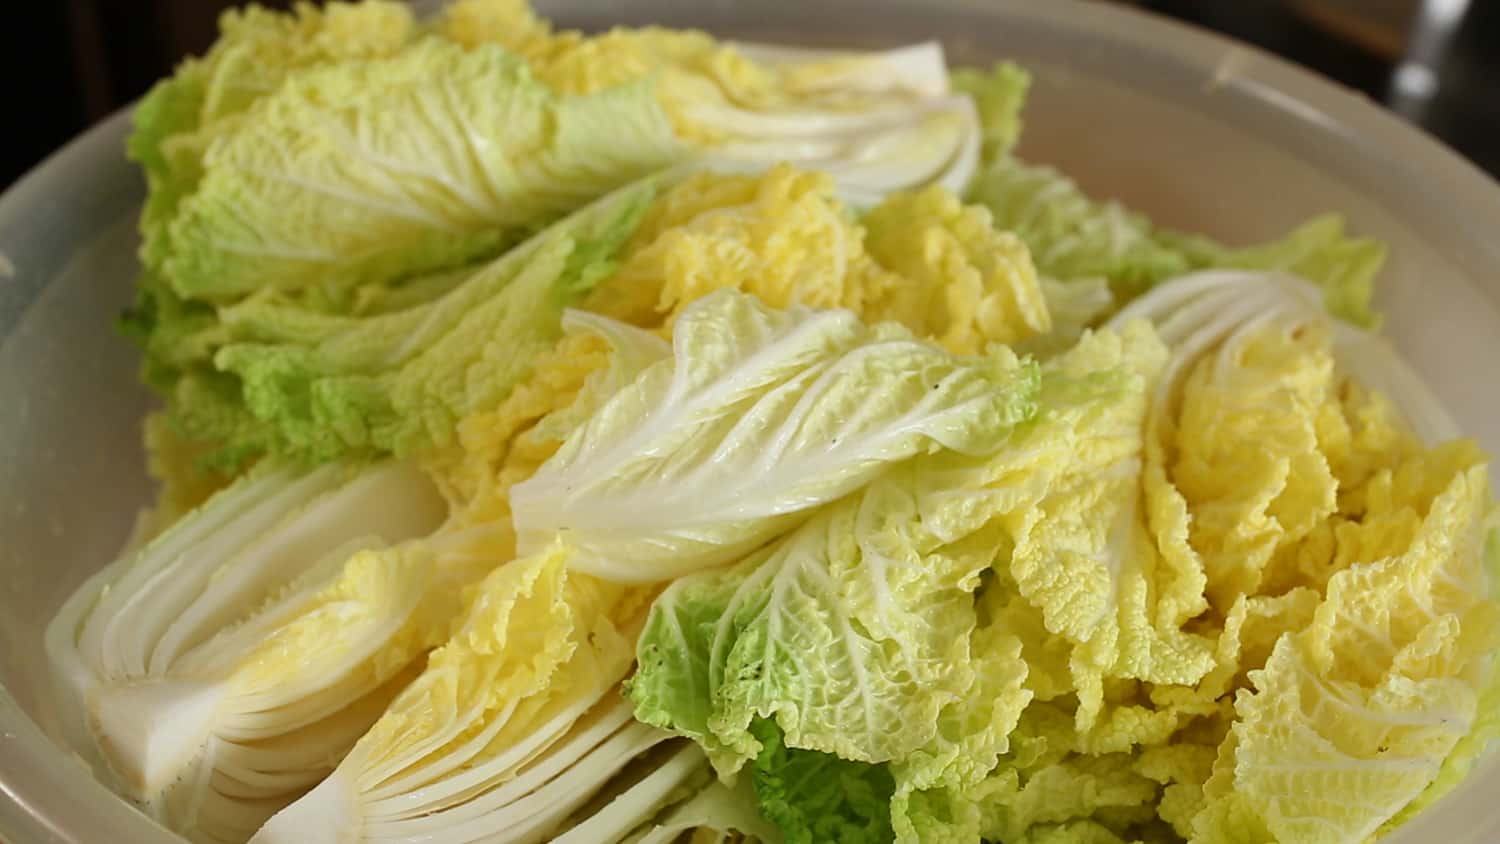
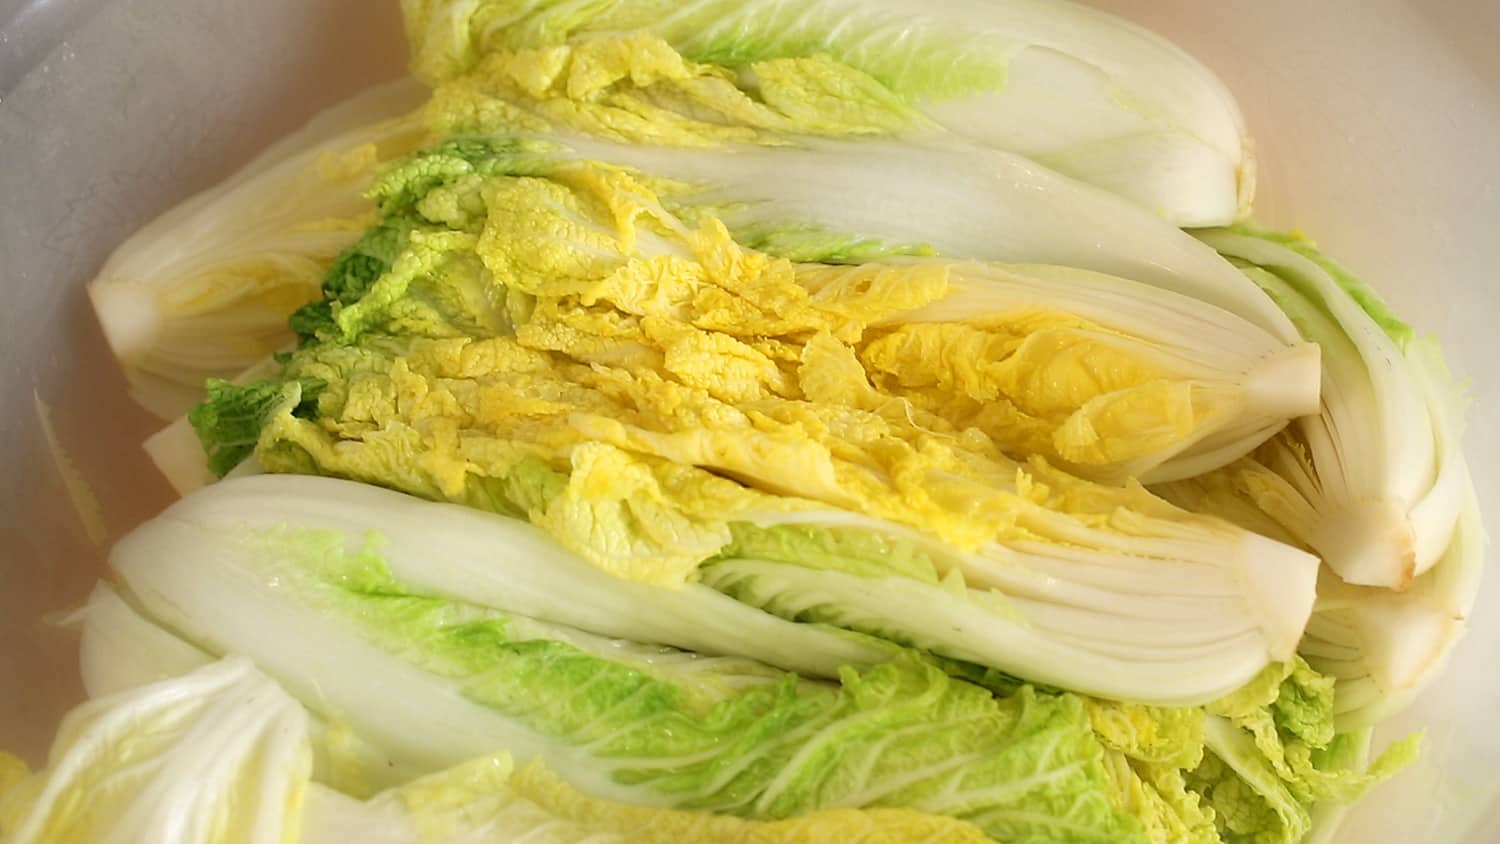
- Dunk the halves in a large basin of water to get them wet. Sprinkle salt between the leaves by lifting up every leaf and getting salt in there. Use more salt closer to the stems, where the leaves are thicker.


- Let the cabbages rest for 2 hours. Turn over every 30 minutes, so they get well salted. From time to time you can ladle some of the salty water from the bottom of the basin over top of the cabbages if you want to.

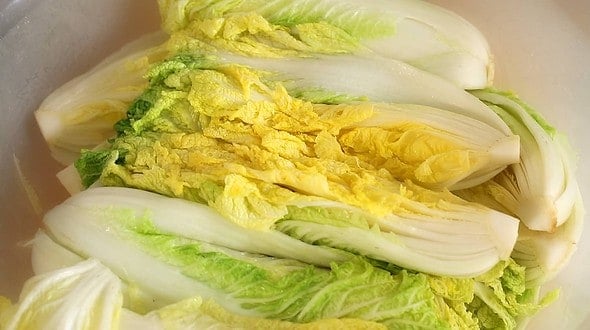
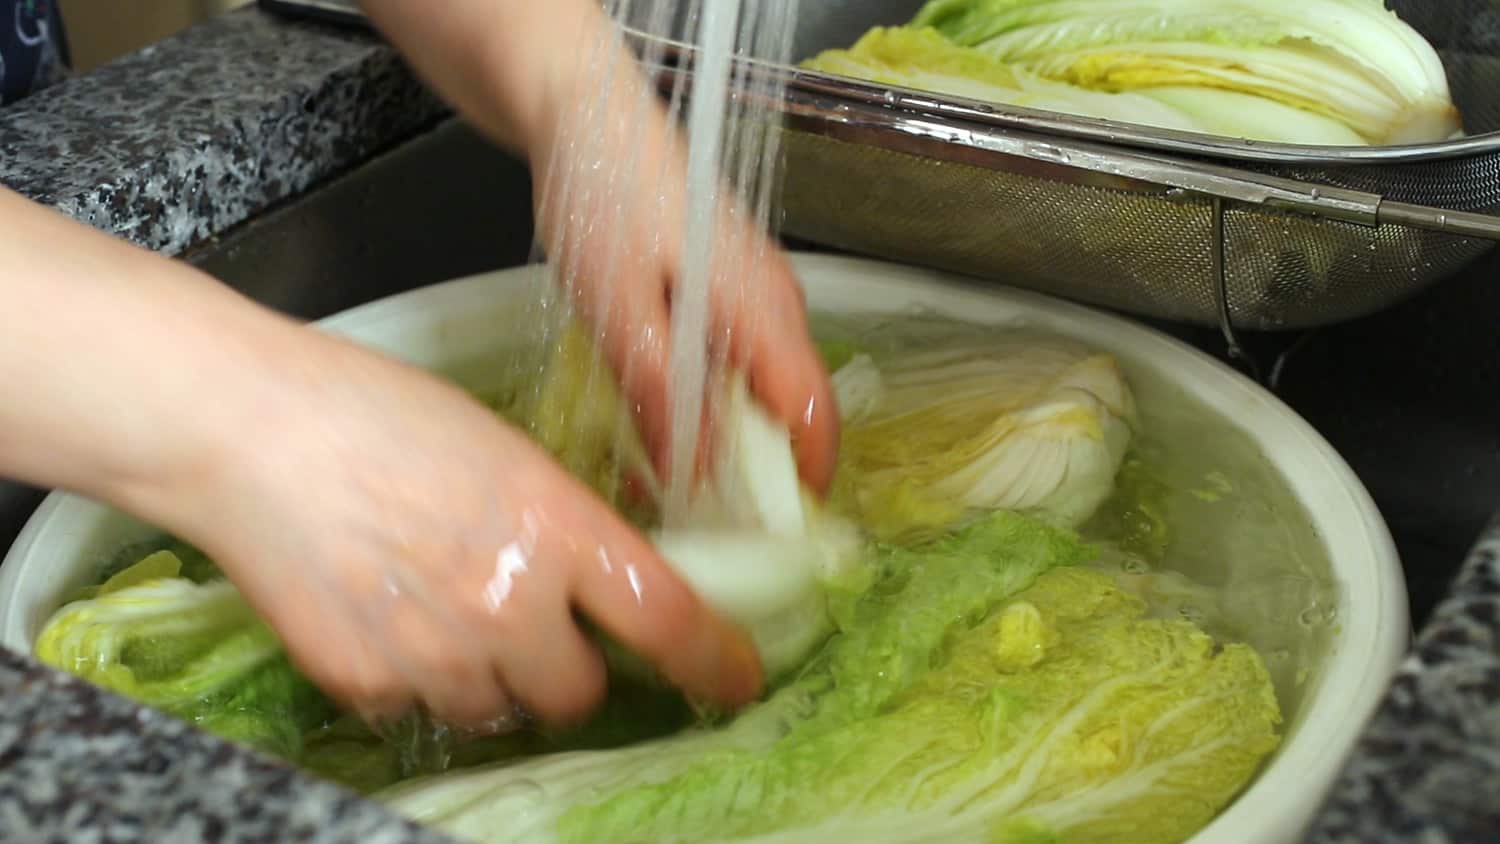
- After 2 hours, wash the cabbage halves a few times under cold running water. Giving them a good washing, to remove the salt and any dirt. As you wash, split the halves into quarters along the slits you cut into earlier. Cut off the cores, give them a final rinse, and put them in a strainer over a basin so they can drain well.


While the cabbage is salting for 2 hours, and in between the times you’re turning it over, you can make the porridge:
- Combine the water and the sweet rice flour in a small pot. Mix well with a wooden spoon and let it cook over medium heat for about 10 minutes until it starts to bubble. Add the sugar and cook 1 more minute, stirring. Remove from the heat and let it cool off completely.
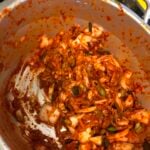
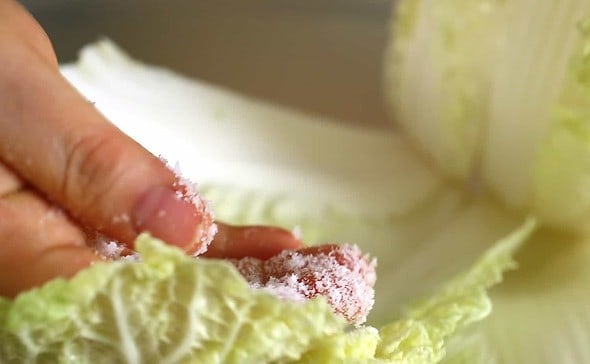
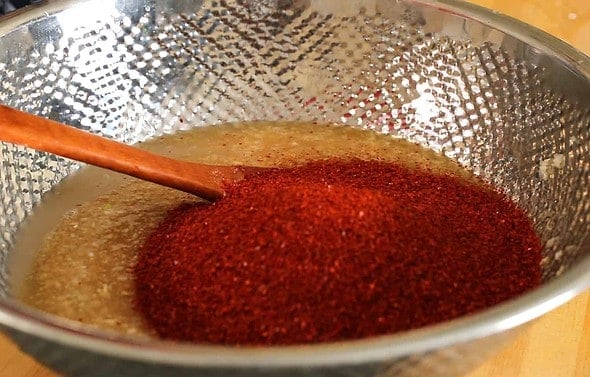
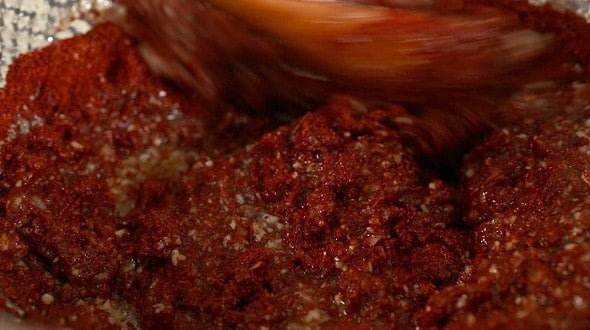
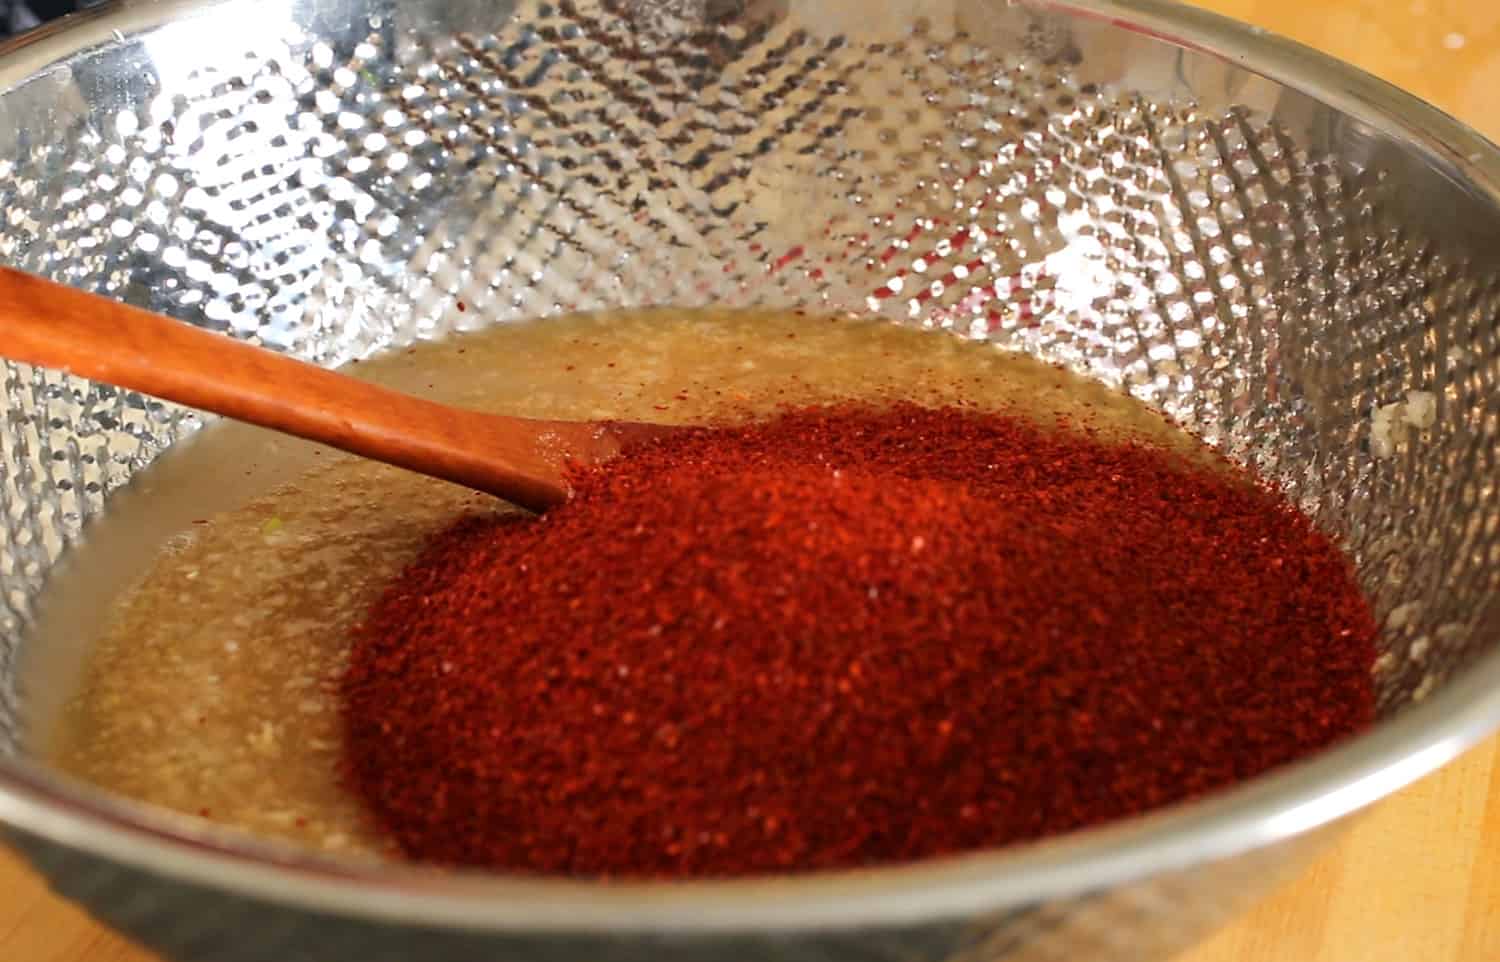
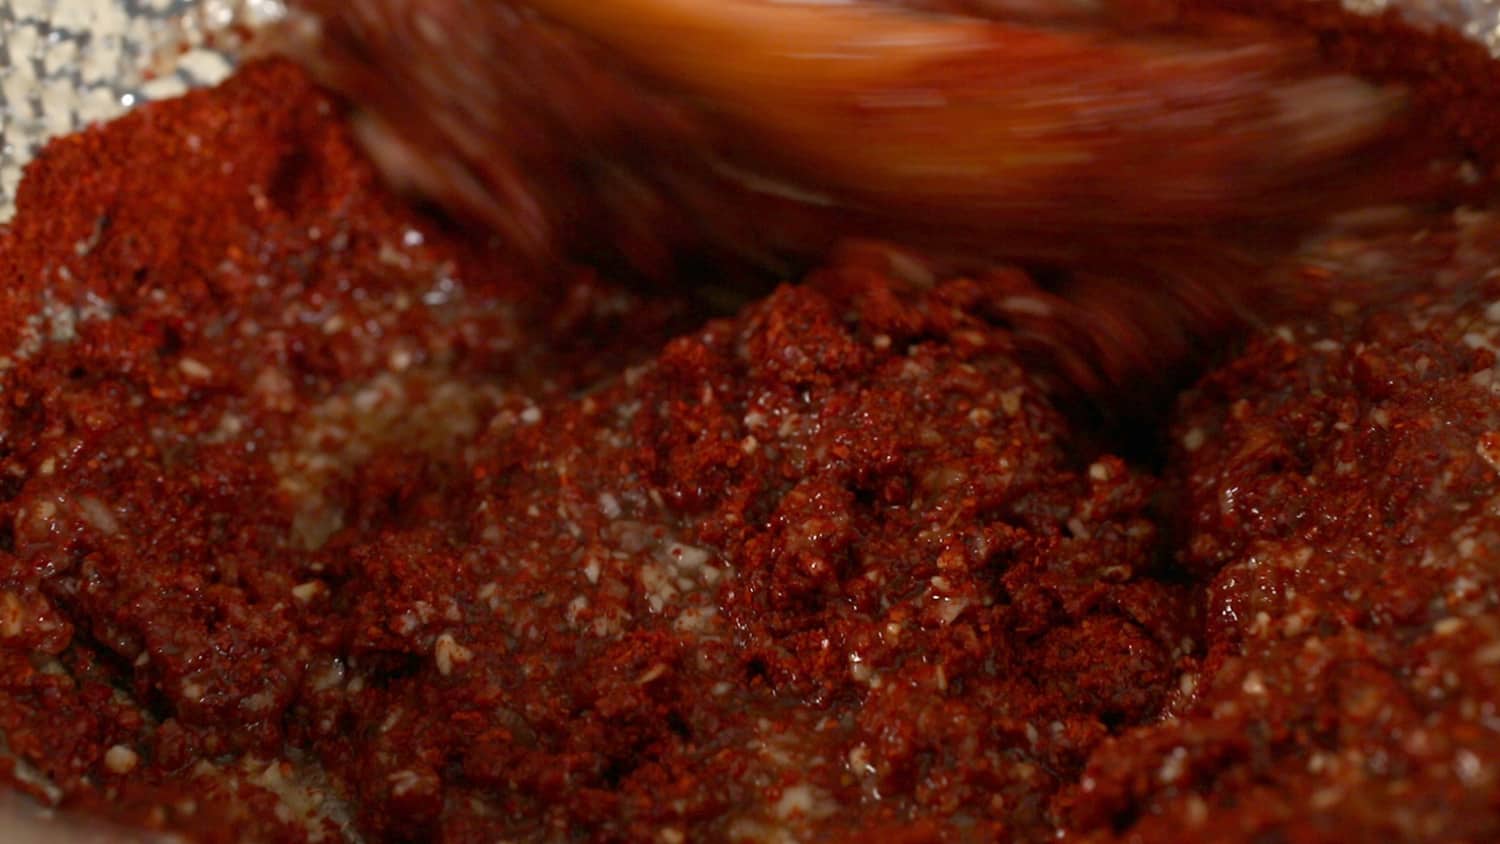
- Pour cooled porridge into a large mixing bowl. Add garlic, ginger, onion, fish sauce, fermented salted shrimp, and hot pepper flakes. Mix well with the wooden spoon until the mixture turns into a thin paste.


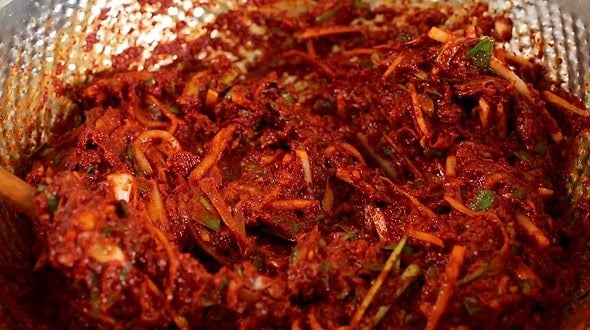
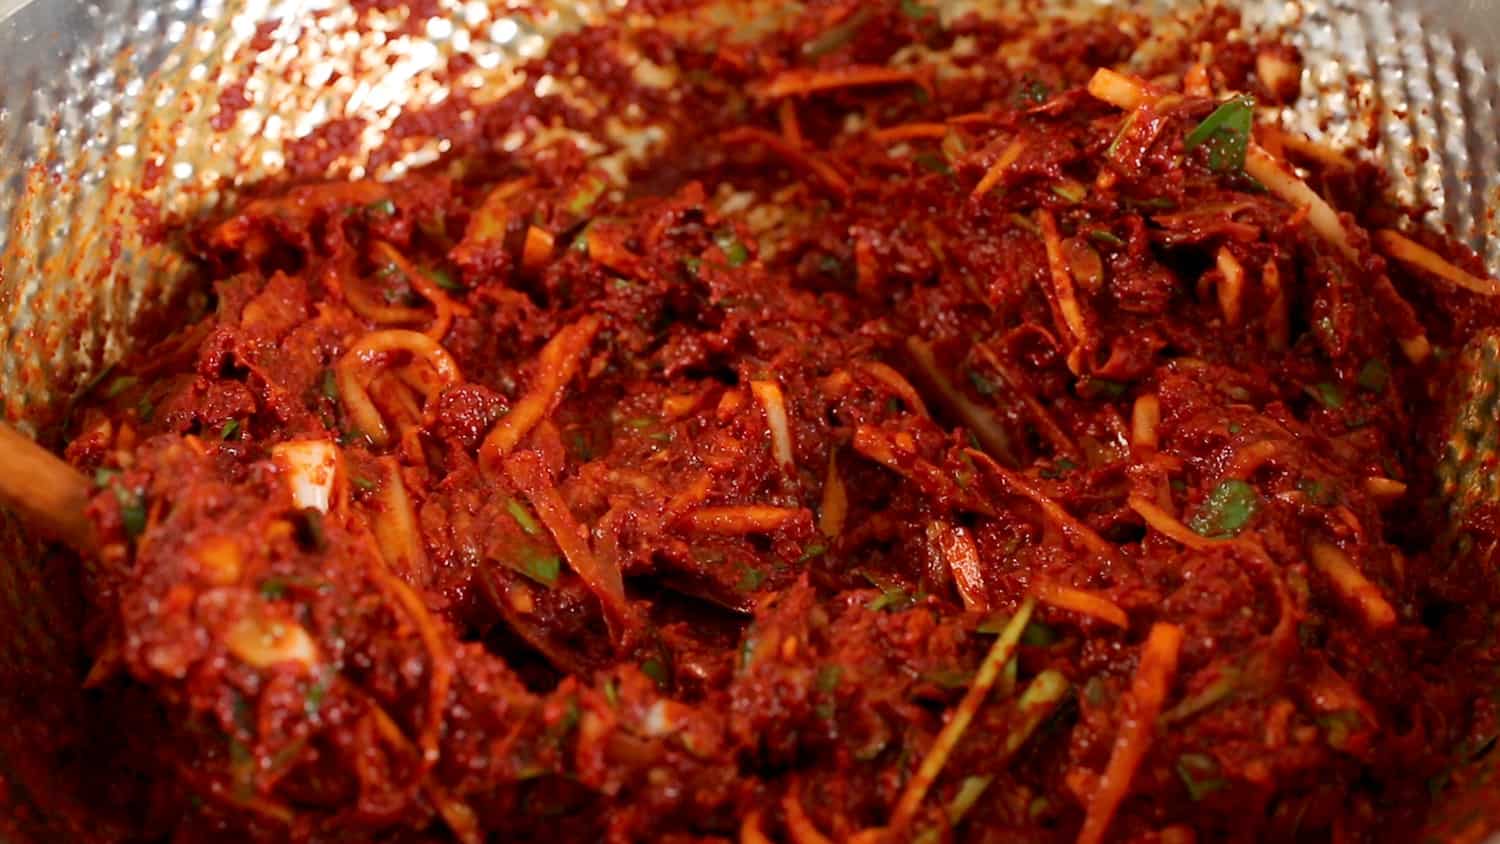
- Add the radish, carrot, and green onion, plus the Asian chives (or more green onions) and the water dropwort if you’re using them. Mix well.


Make kimchi
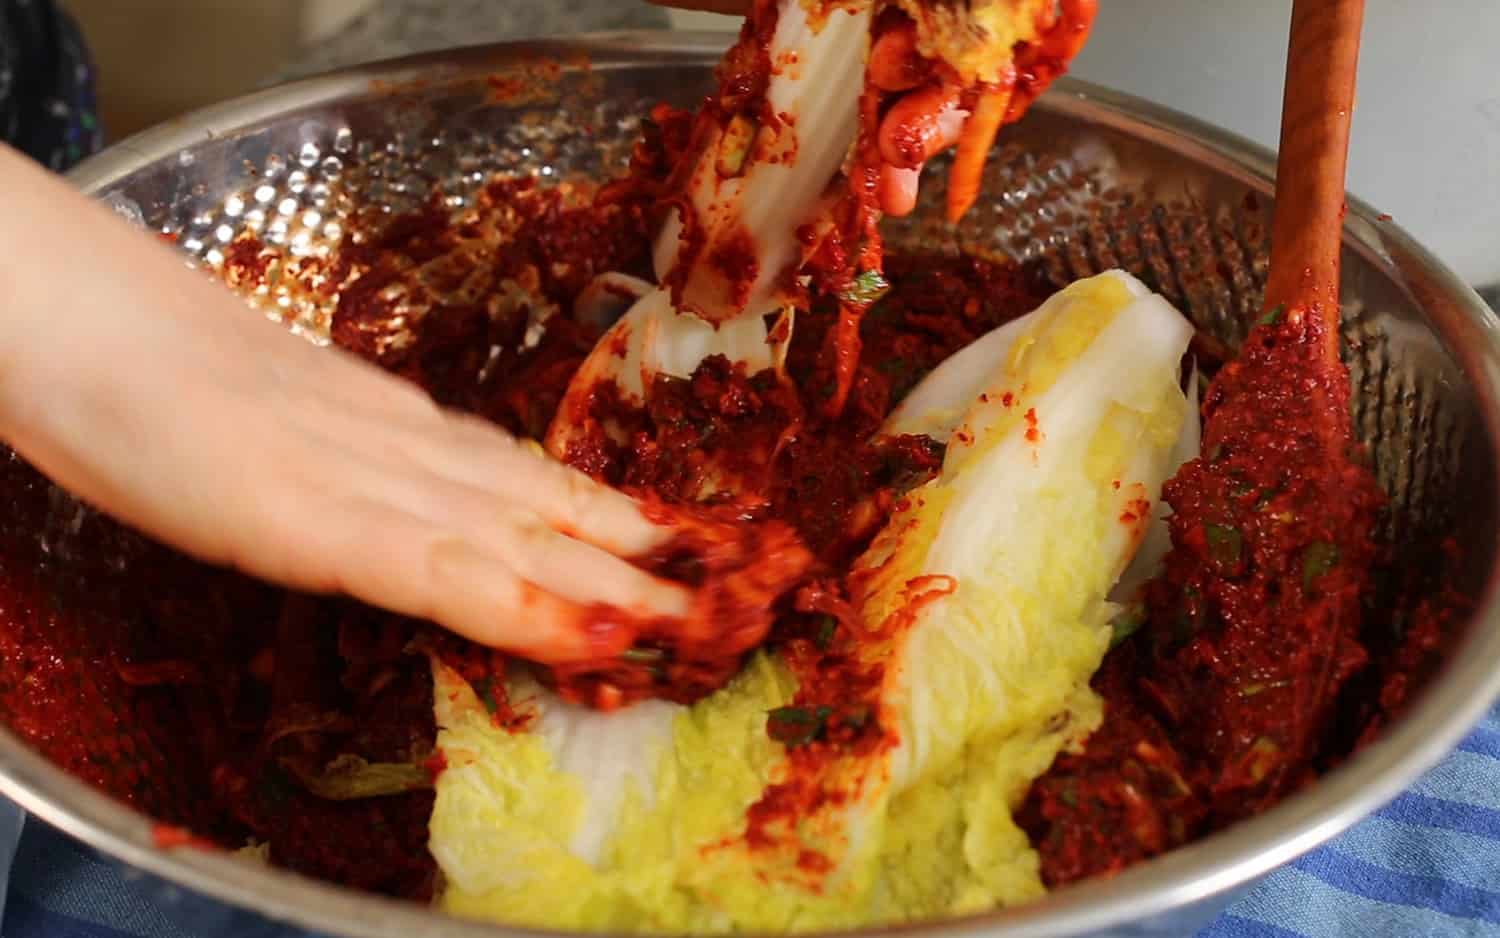
- In a large bowl, spread some kimchi paste on each cabbage leaf. When every leaf in a quarter is covered with paste, wrap it around itself into a small packet, and put into your jar, plastic container, or onggi.
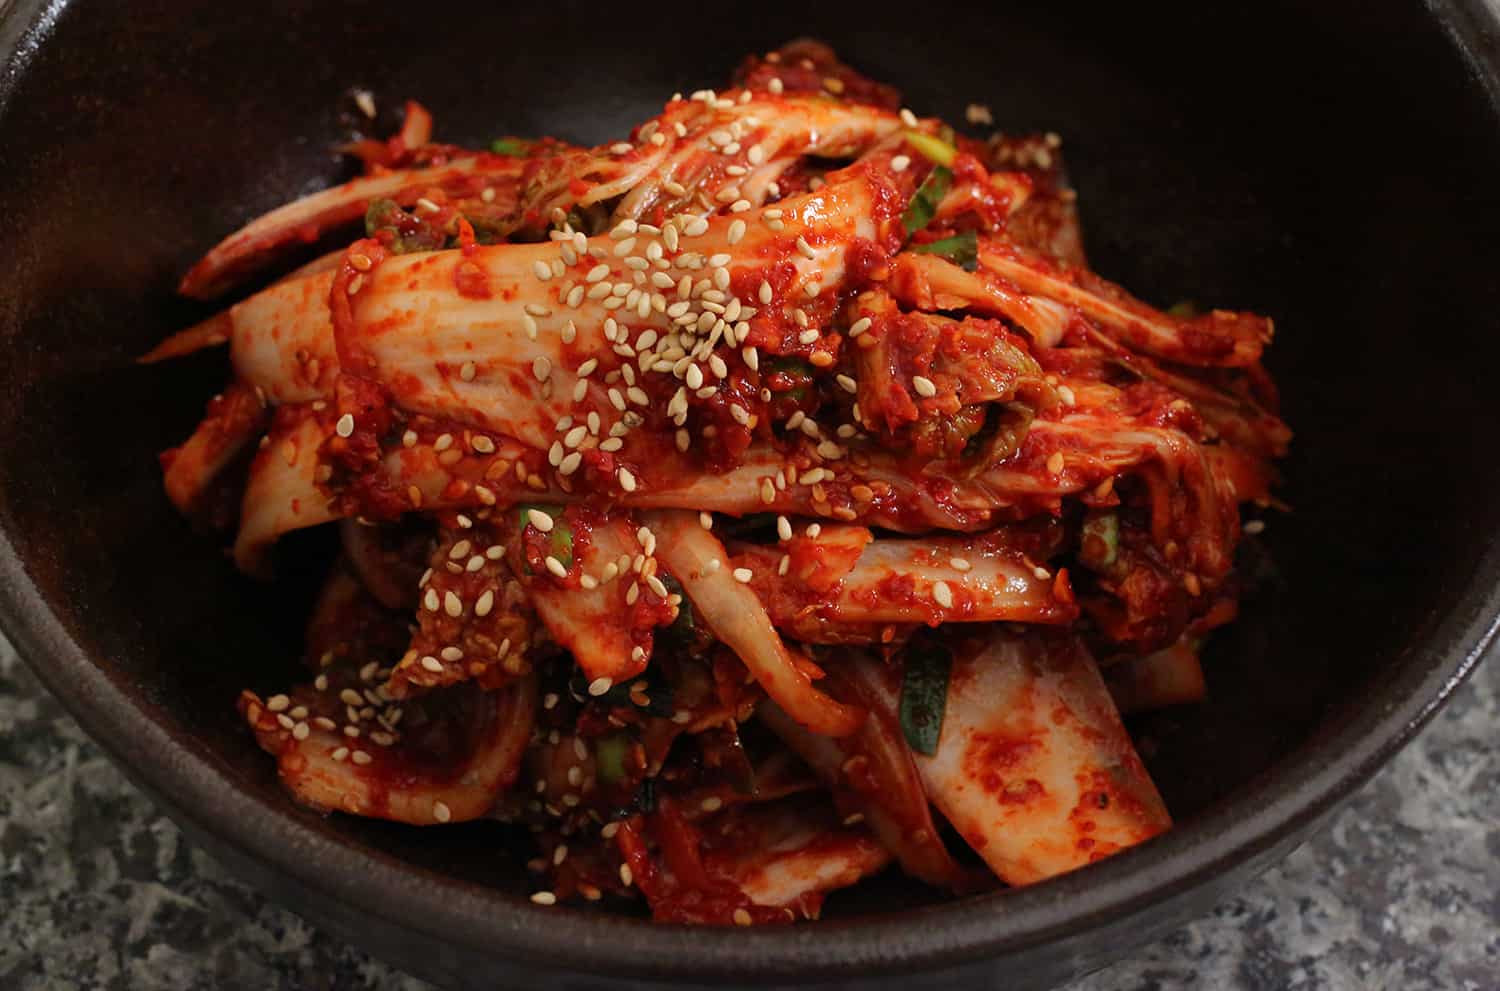
- Eat right away, or let it sit for a few days to ferment.

On fermentation
- The kimchi will start fermenting a day or two at room temperature, depending on the temperature and humidity of your room. The warmer and more humid it is, the faster the kimchi will ferment. Once it starts to ferment it will smell and taste sour, and pressing on the top of the kimchi with a spoon will release bubbles from beneath. If you’re using a sealed jar with a lid, be sure to open it once a while, let it breathe, and press down on the top of the kimchi.
- Once it starts to fermented, store in the refrigerator to use as needed. This slows down the fermentation process, which will make the kimchi more and more sour as time goes on.
Maangchi's Amazon picks for this recipe
It's always best to buy Korean items at your local Korean grocery store, but I know that's not always possible so I chose these products on Amazon that are good quality. See more about how these items were chosen.