


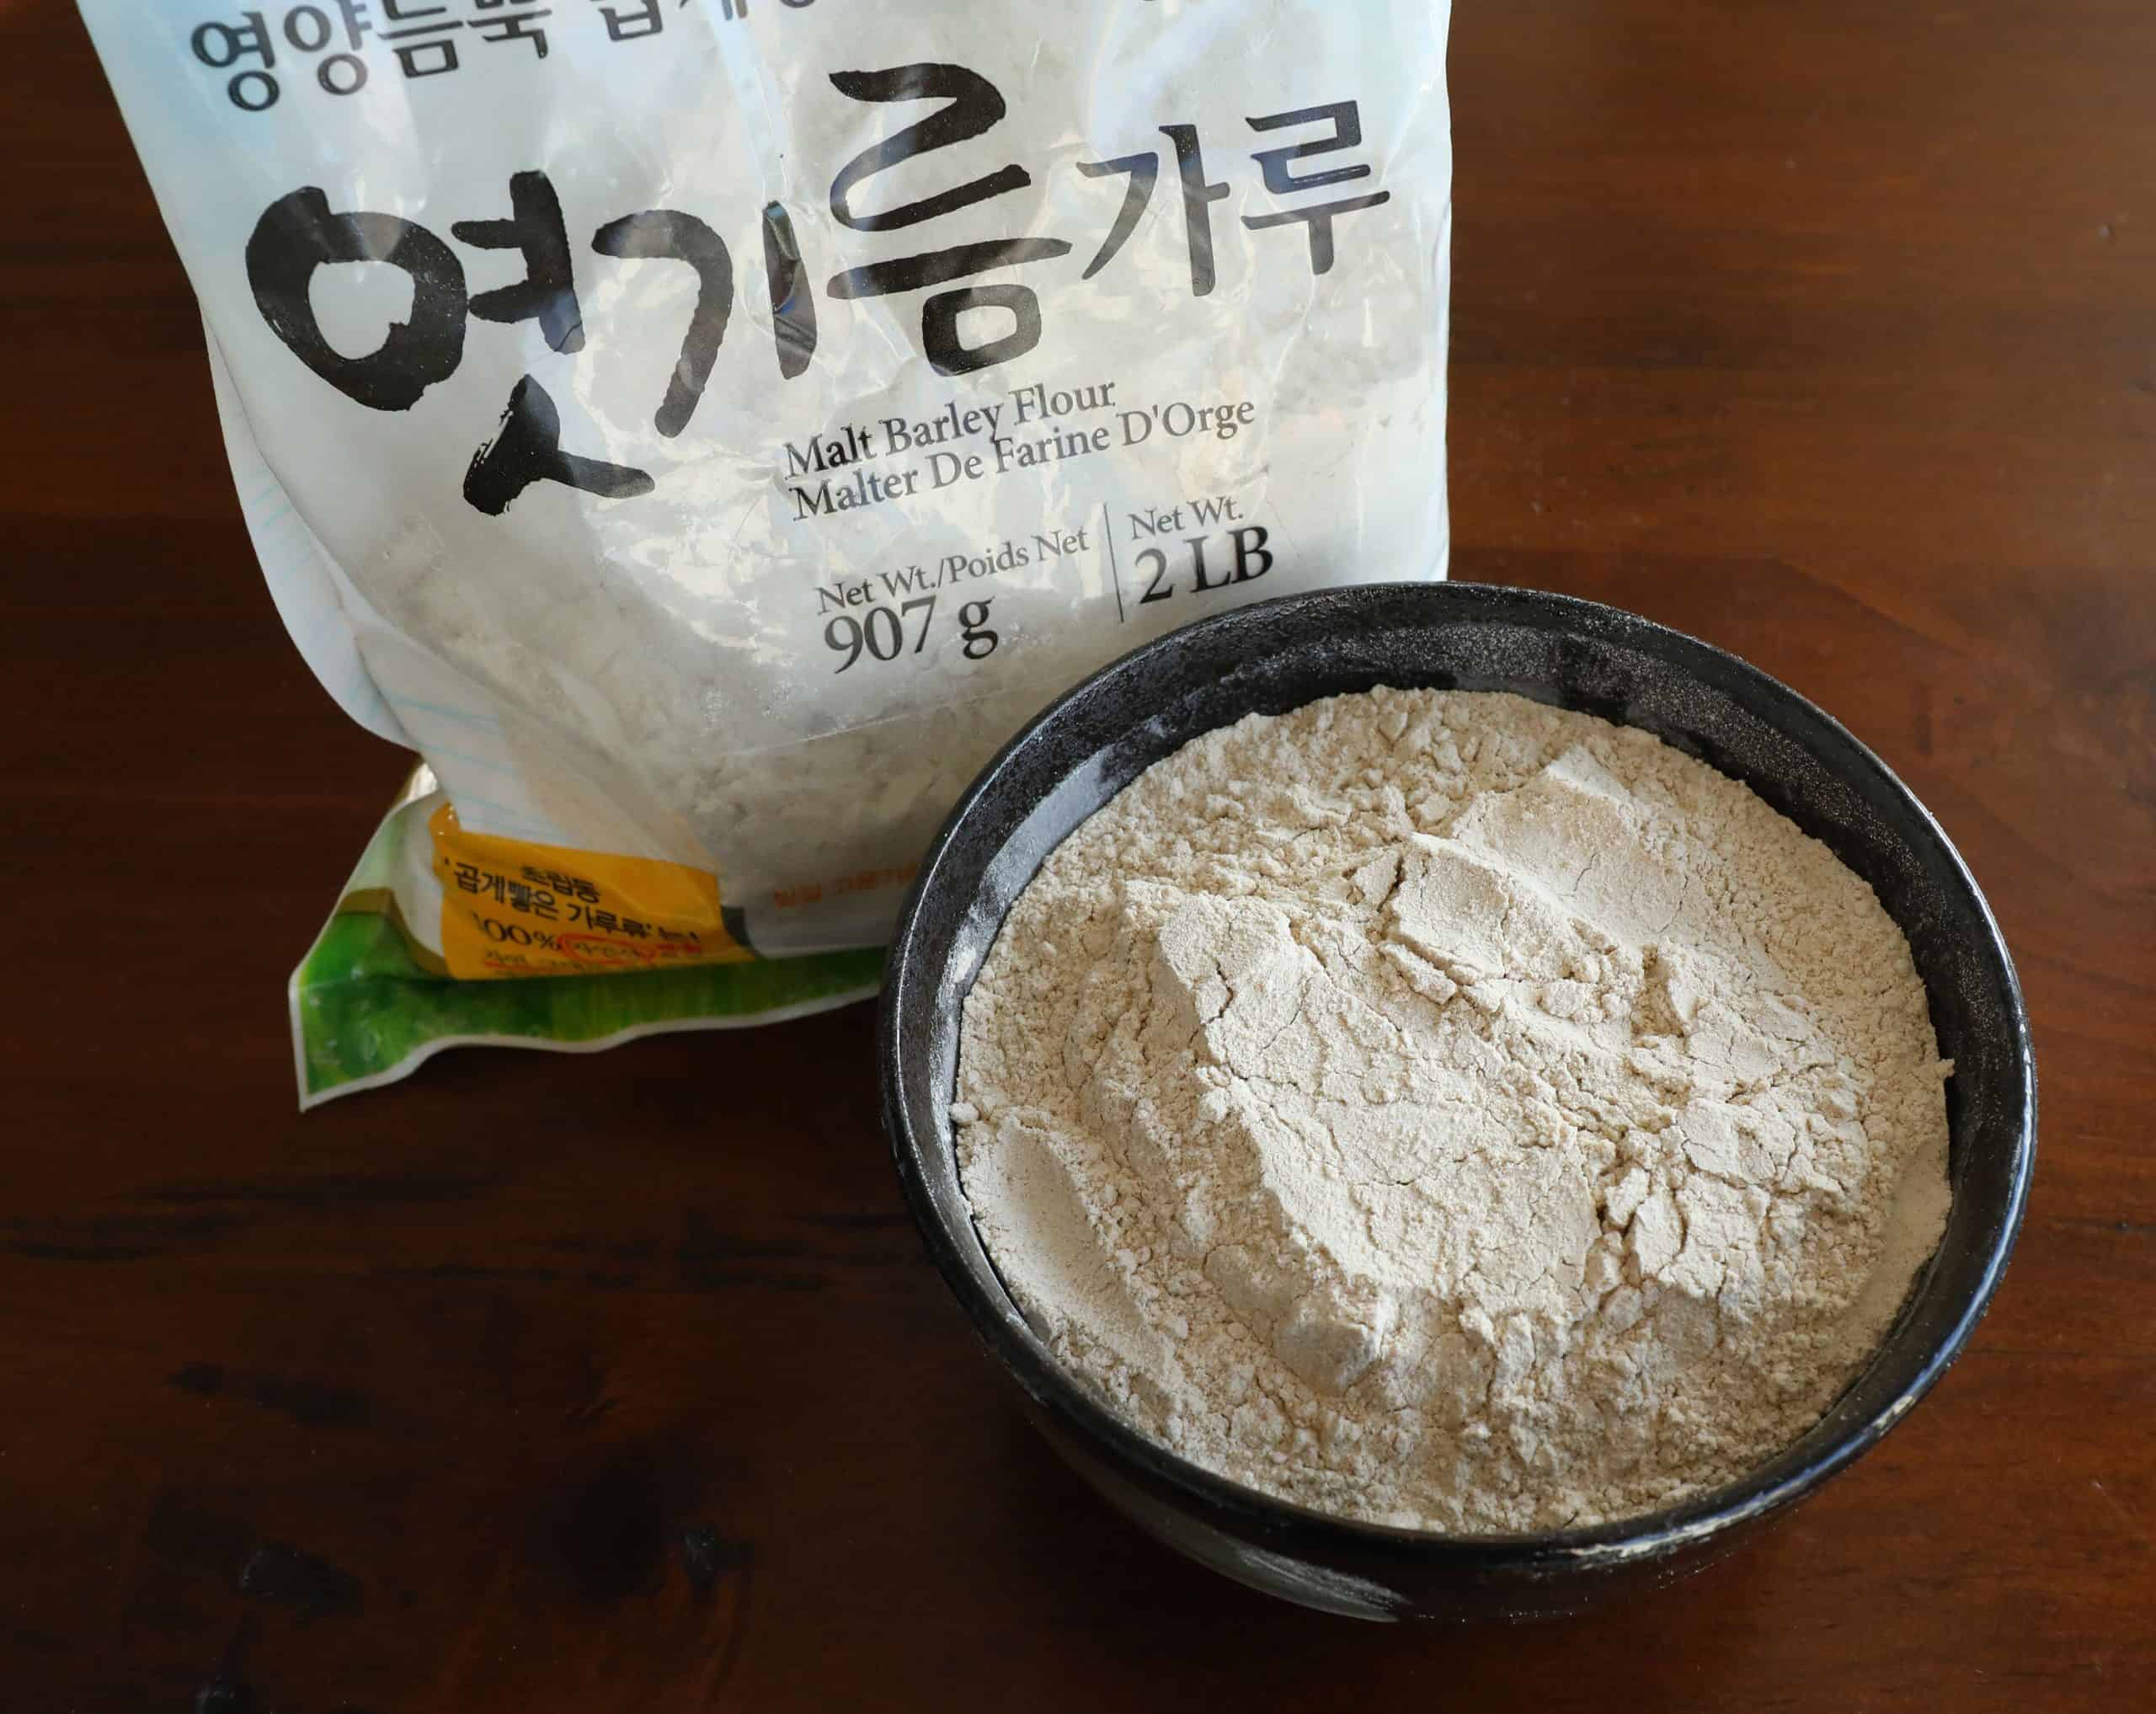
Today’s recipe is a Korean cooking ingredient I’ve been using a long time, rice syrup (Ssal-jocheong: 쌀조청). You can find in a Korean grocery store or even online but some of my readers who don’t have access have asked me how to make this. And even if you can easily get it in the store, the taste doesn’t compare to what you can make yourself. After one bite you will taste the earthy, a little sweet, and nutty flavor and know it is worthwhile. If you are making your own homemade rice syrup, I know that you are a real foodie.
And it’s very easy to make! You only need 2 ingredients, plus water, and time (and no sugar needed!). Koreans have been using this rice syrup for thousands of years as a sweetener, long before refined white sugar became available. We use it for making side dishes and Korean desserts, or even just for dipping rice cake into as a snack. In the old days rice was precious, so if you could afford to make it, it meant that you were wealthy or noble. One spoonful a day was known to be good for your health and digestion. It makes sense because it’s made by activating the enzyme amylase through fermentation.
As you see in the video, I show you the traditional way of making rice syrup on the stovetop. This is a great project for a weekend, since turning the cooked rice into a sweet golden liquid takes about 10 hours. But I also offer a modern method below for making a smaller amount of rice syrup using a large (at least 10-cup) rice cooker with a warm function. It’s very easy, and much quicker than the old-fashioned way. In the old days, they did it in a big cauldron and it took all day!
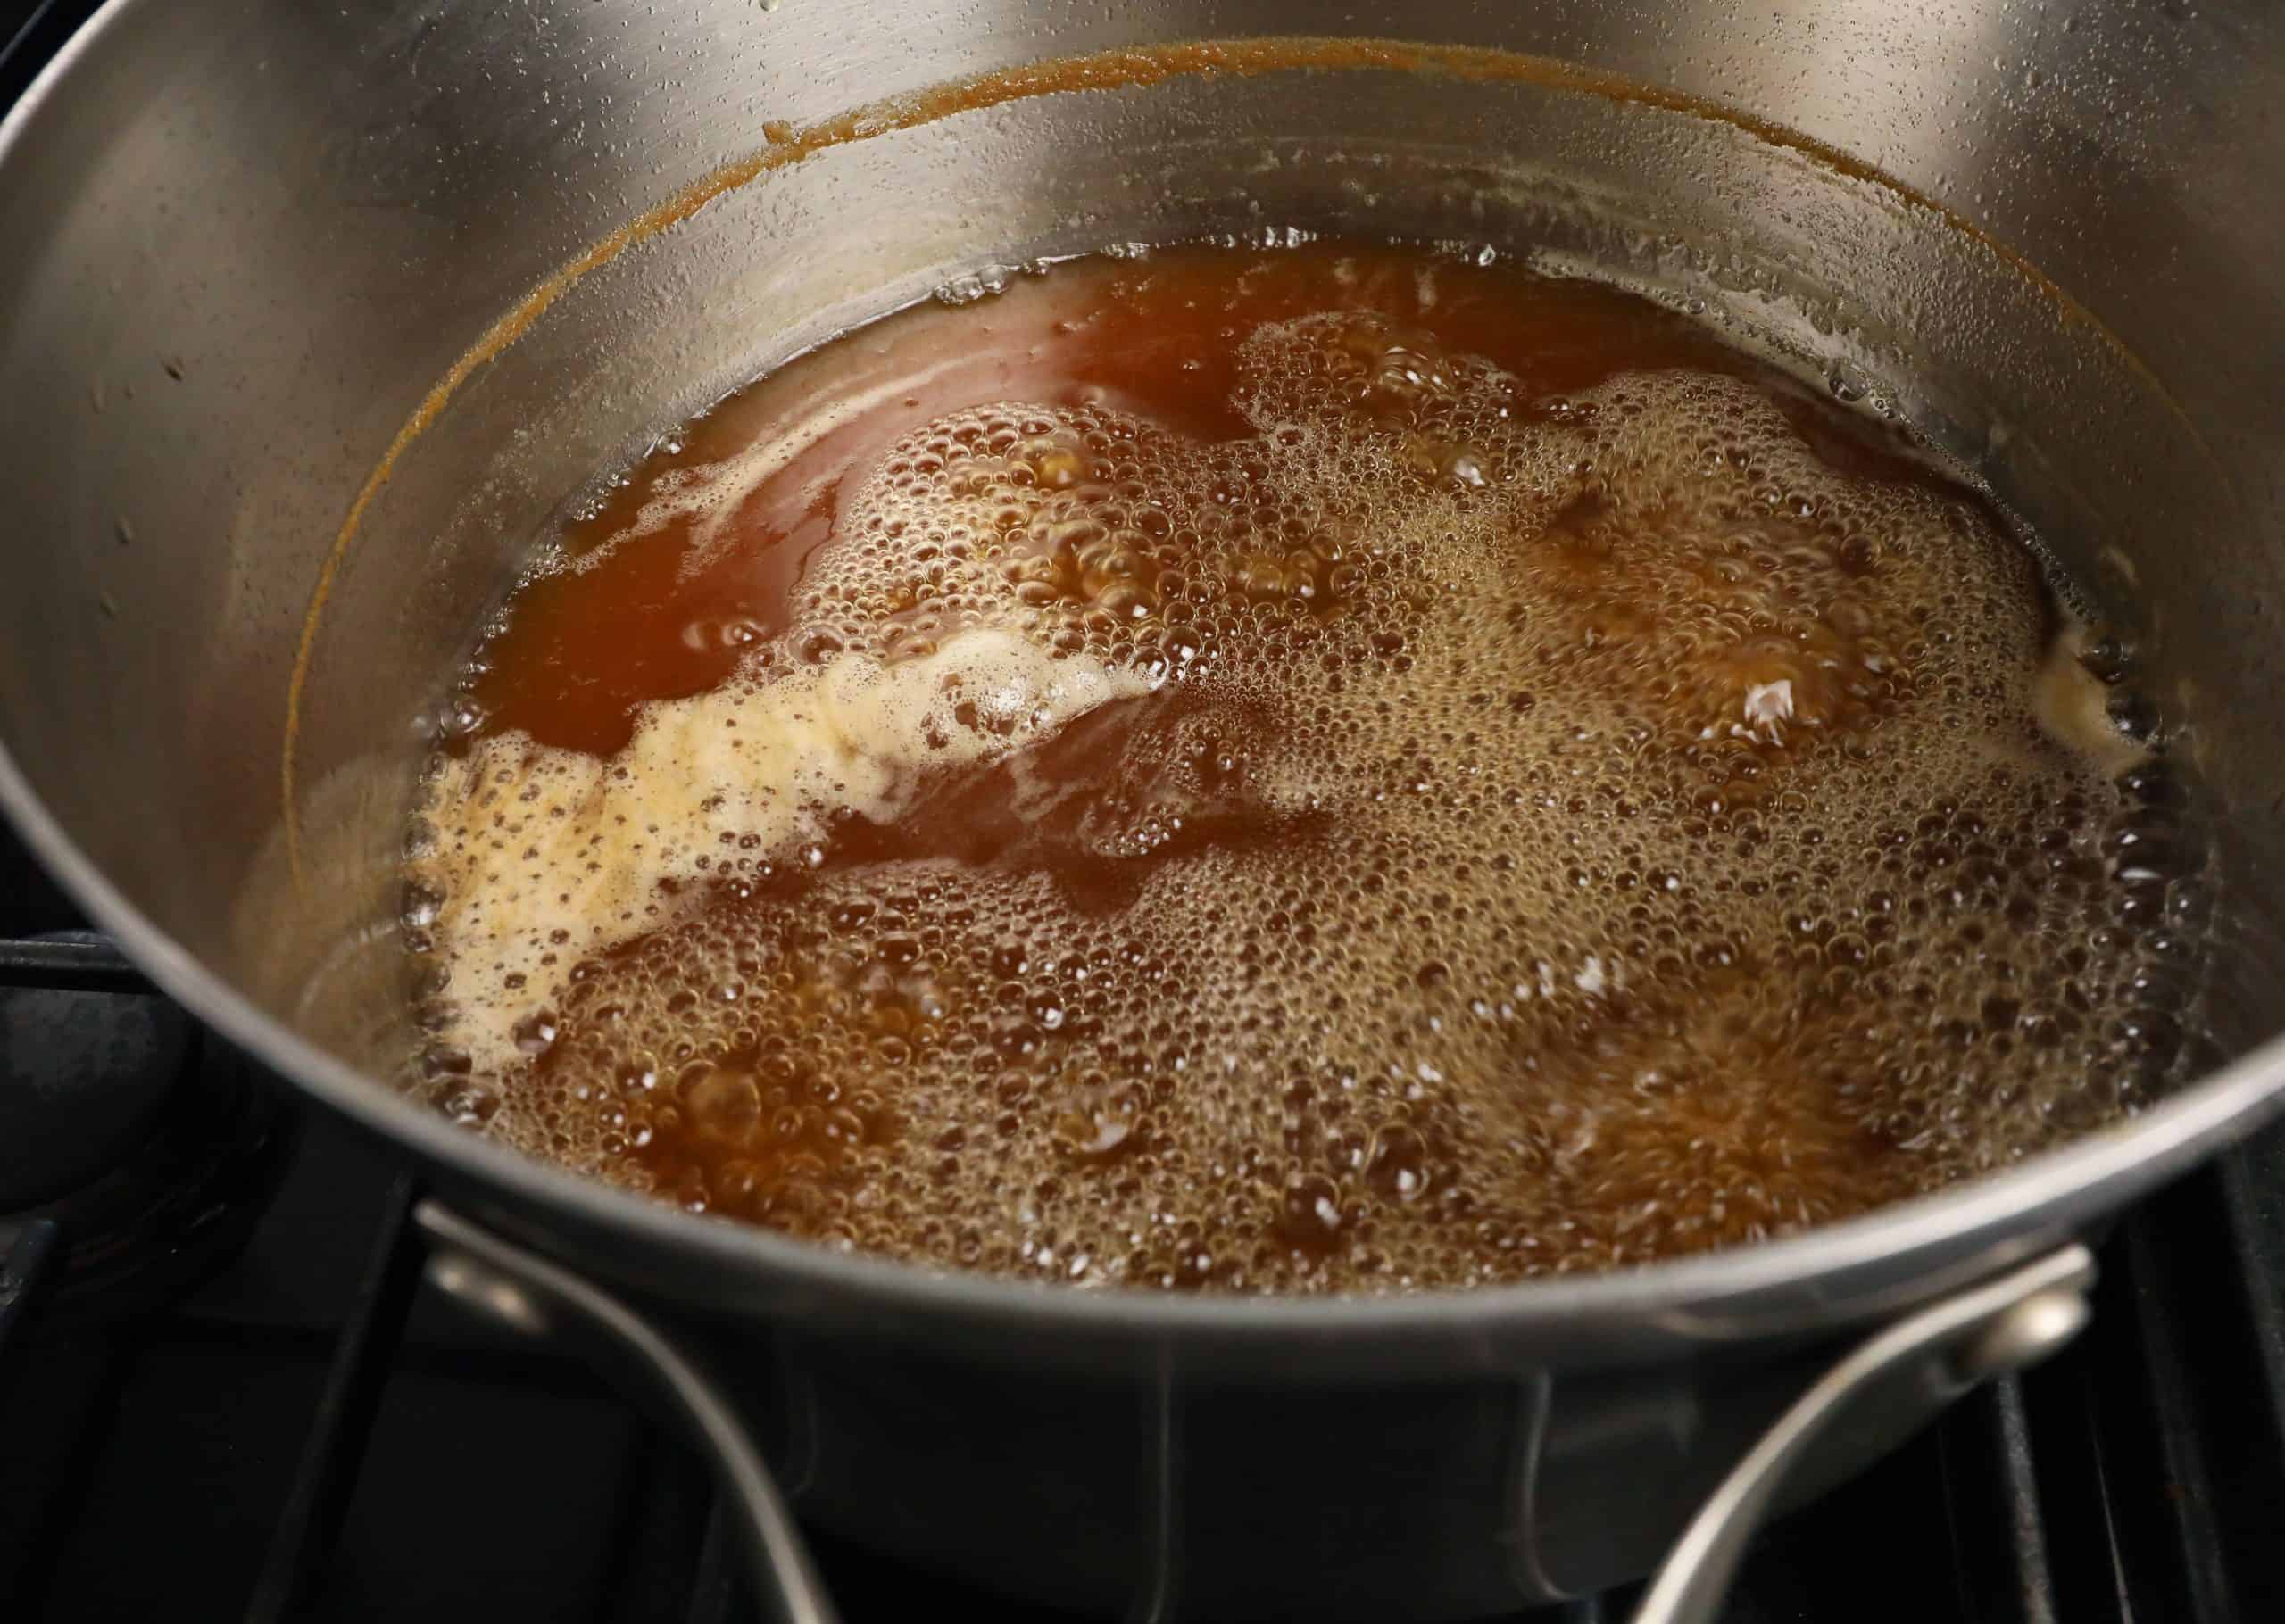
Every time I made rice syrup on the stove the cooking time was a bit different, even on the same stove with the same heat. I learned that to get the right density I could use my eyes to watch the bubbles carefully. It starts with small, foamy bubbles. Let those go a bit and then stir until you see the bubbles a half-inch in size. Then it’s time to stop cooking.
Directions
Make rice
- Put the rice in a heavy large pot. Cover with cold water, then drain. Swish the wet rice around in the pot and scrub it, then rinse and drain a few more times, until the water runs clear. Drain as much water as you can by tilting the pot.
- Add 5 cups of water and flatten the top of the rice by hand to make it even. Cover and cook over medium-high heat for 12 minutes, or until the rice is bubbling and beginning to boil over.
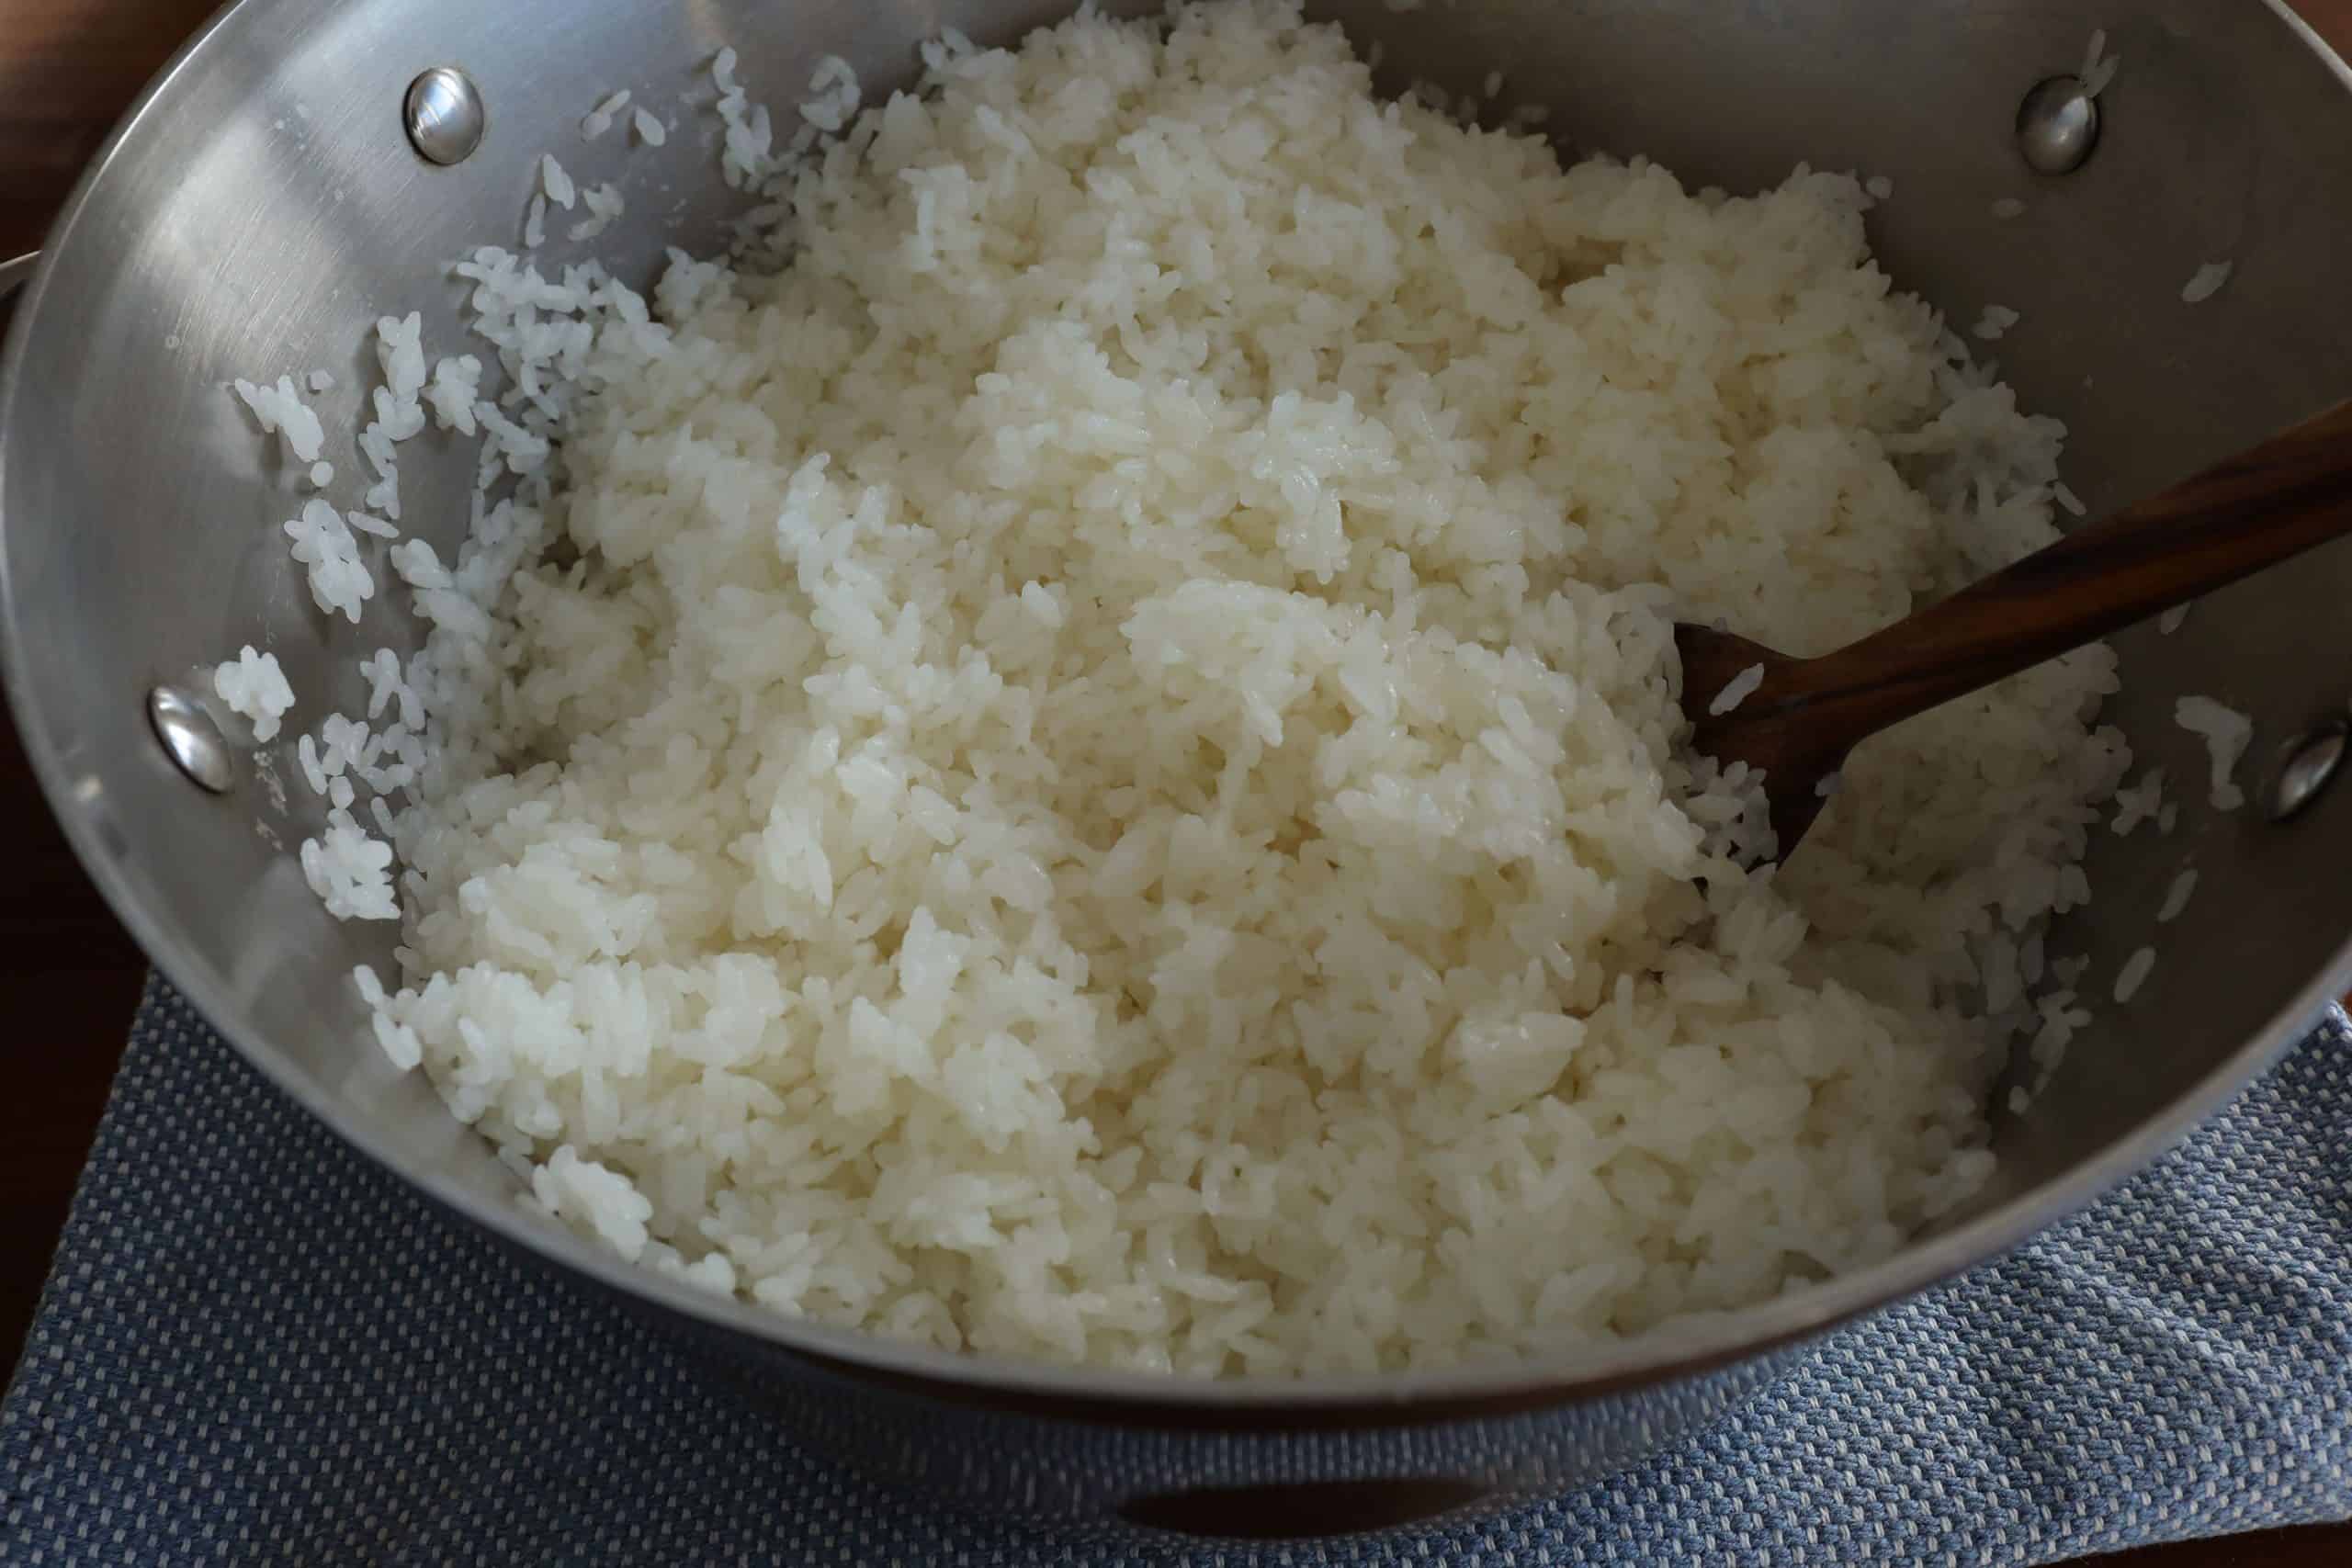
- Open and stir the rice with a wooden spoon to make sure that none is sticking to the bottom of the pot. Cover, reduce the heat to low, and simmer for another 10 minutes, until the rice is fluffy and fully cooked.
- Remove from the heat. Fluff the cooked rice with the wooden spoon. It may be a little crunchy on the bottom, but that’s fine.


Ferment with barley malt powder
- Add 8 cups of water and stir well with the wooden spoon. The temperature should be about 140° F. You can use an instant-read kitchen thermometer but it’s not necessary. Add the barley malt powder, mix well, and close the lid.


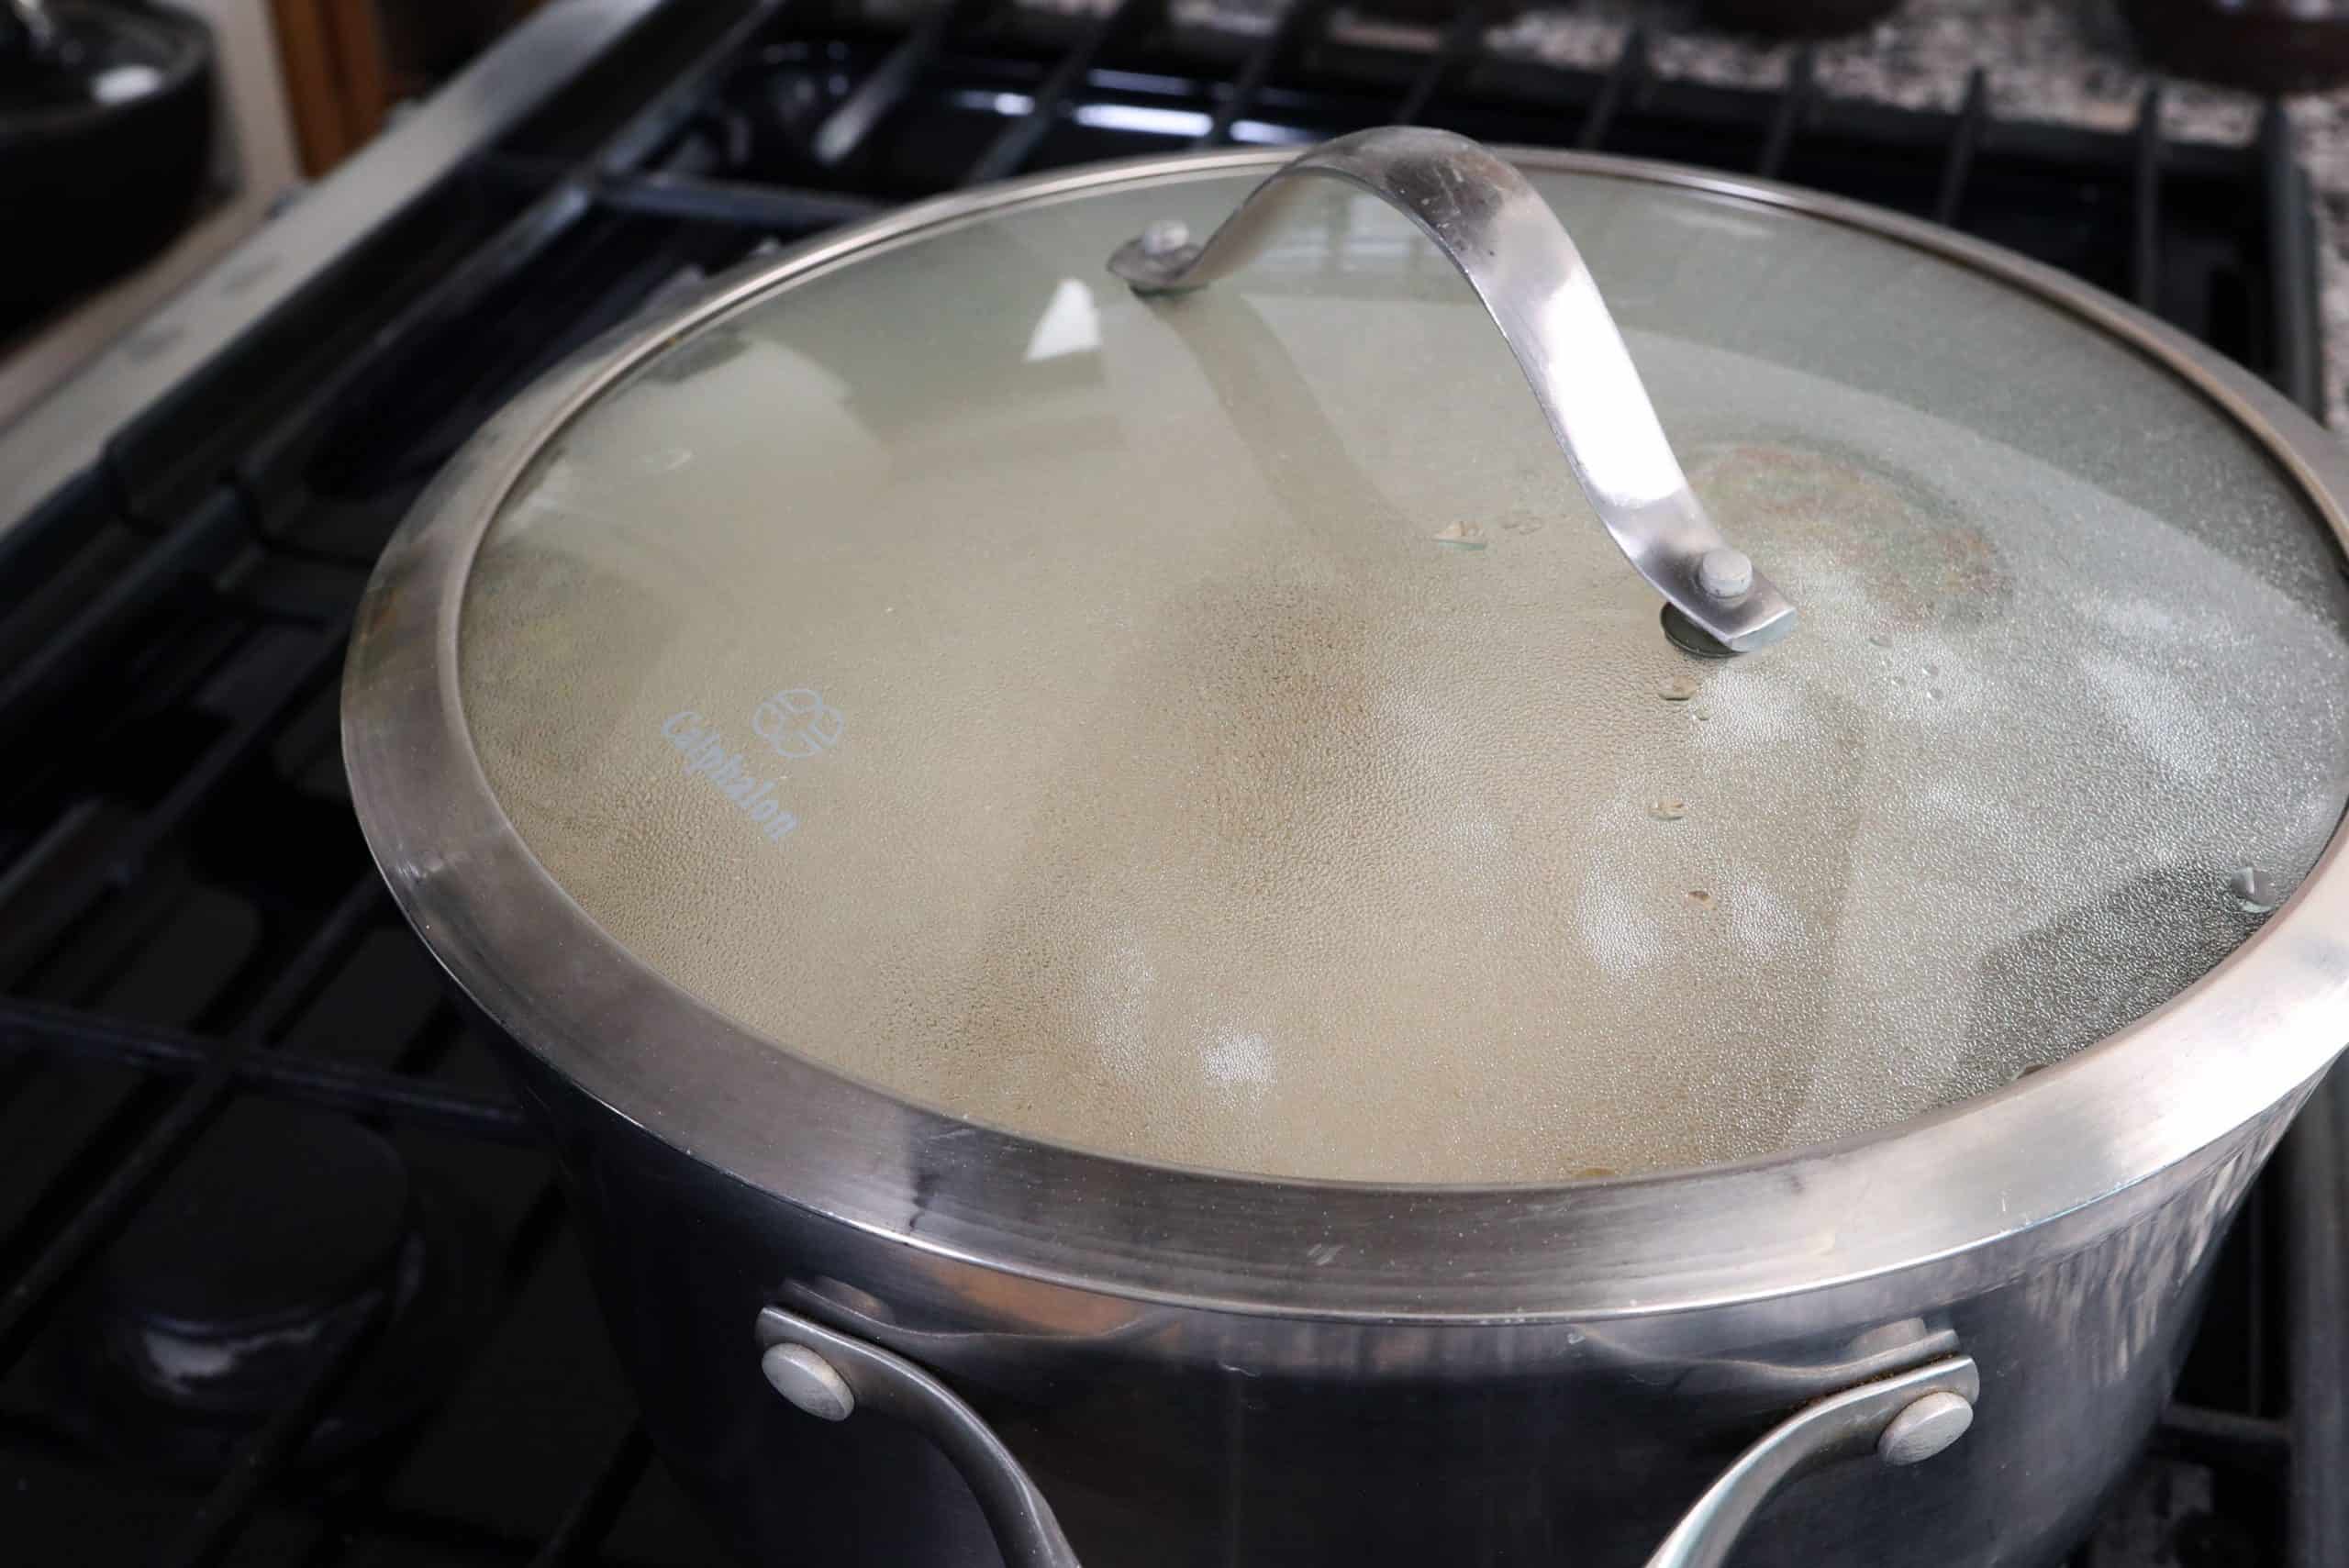
- Let sit for 1 hour. The temperature will go down to about 120° F to 130° F. Turn on the heat to medium and occasionally stir with a wooden spoon for 2 to 3 minutes until the temperature reaches 135° to 145°, then turn off the heat right away.
- Cover and let stand for 1 hour. Repeat this process—heating to between 135° and 145° and then letting it cool to 120° F to 130° F—every hour for 4 more hours. The mixture needs to ferment for 6 hours total, maintaining a temperature between 110° and 145° degrees. At this point, the mixture will be a lot thinner and will taste sweet. And the rice will be the consistency of wet paper because all the starch is drawn out.


Strain and make syrup
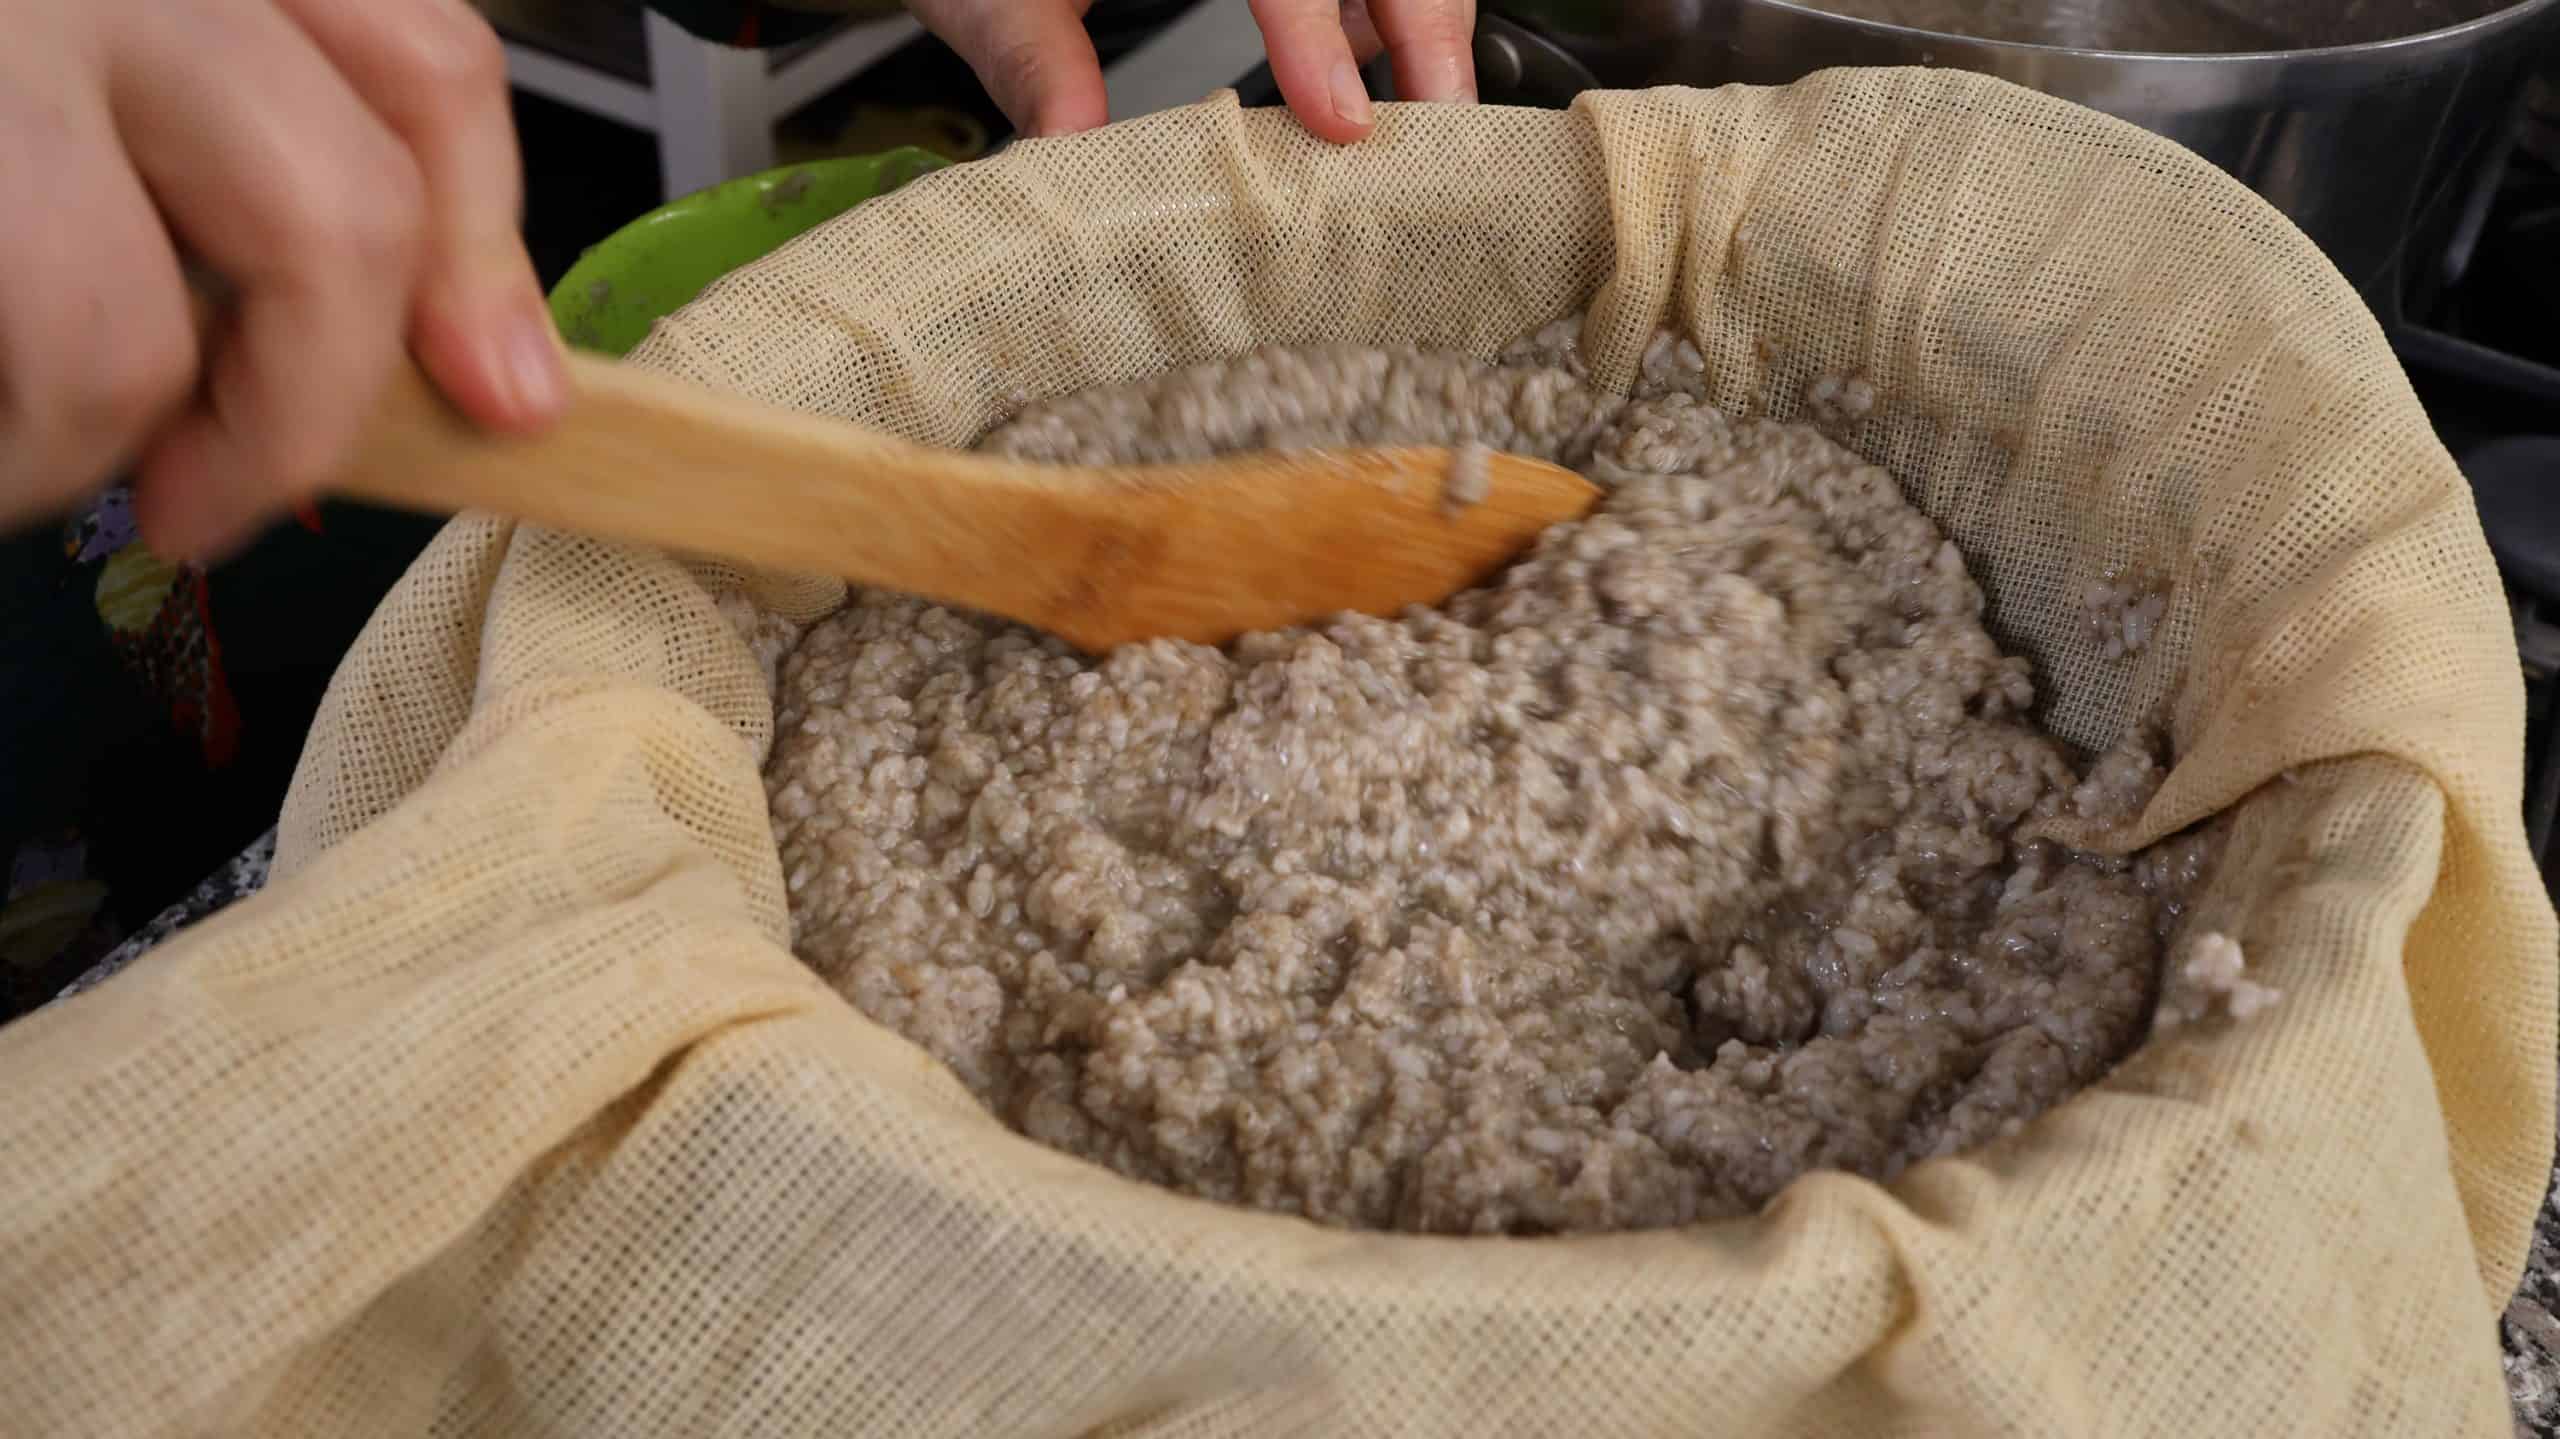
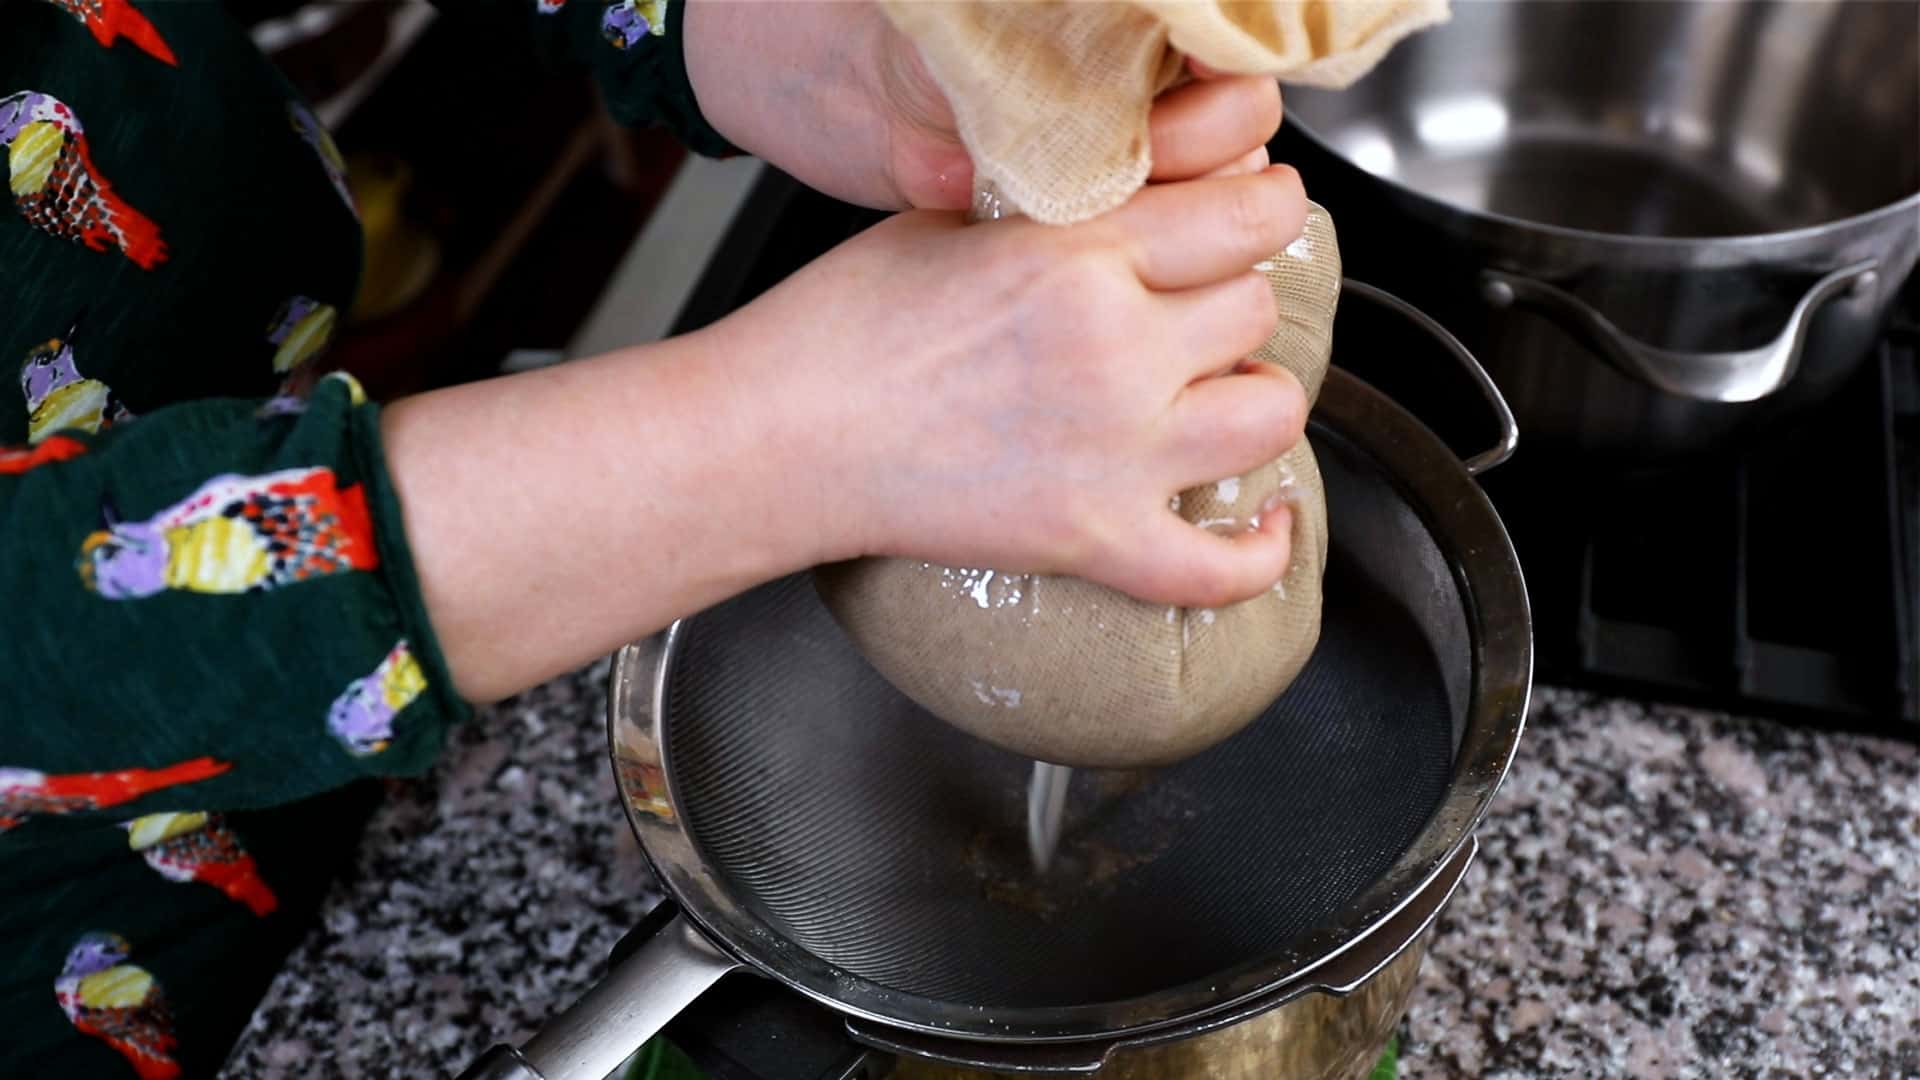
- Stir the mixture well. Line a large strainer with a large piece of hemp cloth (or double folded cheese cloth). Place the strainer over a large bowl. Pour the rice mixture into the cloth-lined strainer. Let it drain for about 10 minutes, until some liquid has seeped into the bowl and the cloth is cool enough to handle. You can stir the mixture with the wooden spoon.


- Lift the edges of the cloth and twist together to seal in the rice so that nothing leaks out, then slowly twist and squeeze out the rest of the liquid. Squeeze out as much as you can. You will have about 3½ quarts (14 cups). Discard the solids.


- Wash the pot and pour in the strained liquid. Bring to a boil over medium-high heat and boil for about 80 to 90 minutes, until a lot of small bubbles are floating to the surface and the amount reduces to approximately a little more than 1 quart. Stir from time to time and keep boiling for 10 to 20 minutes, until medium sized bubbles (about ½ inch) appear. Insert a thermometer and the temperature should be 200°-220° F.


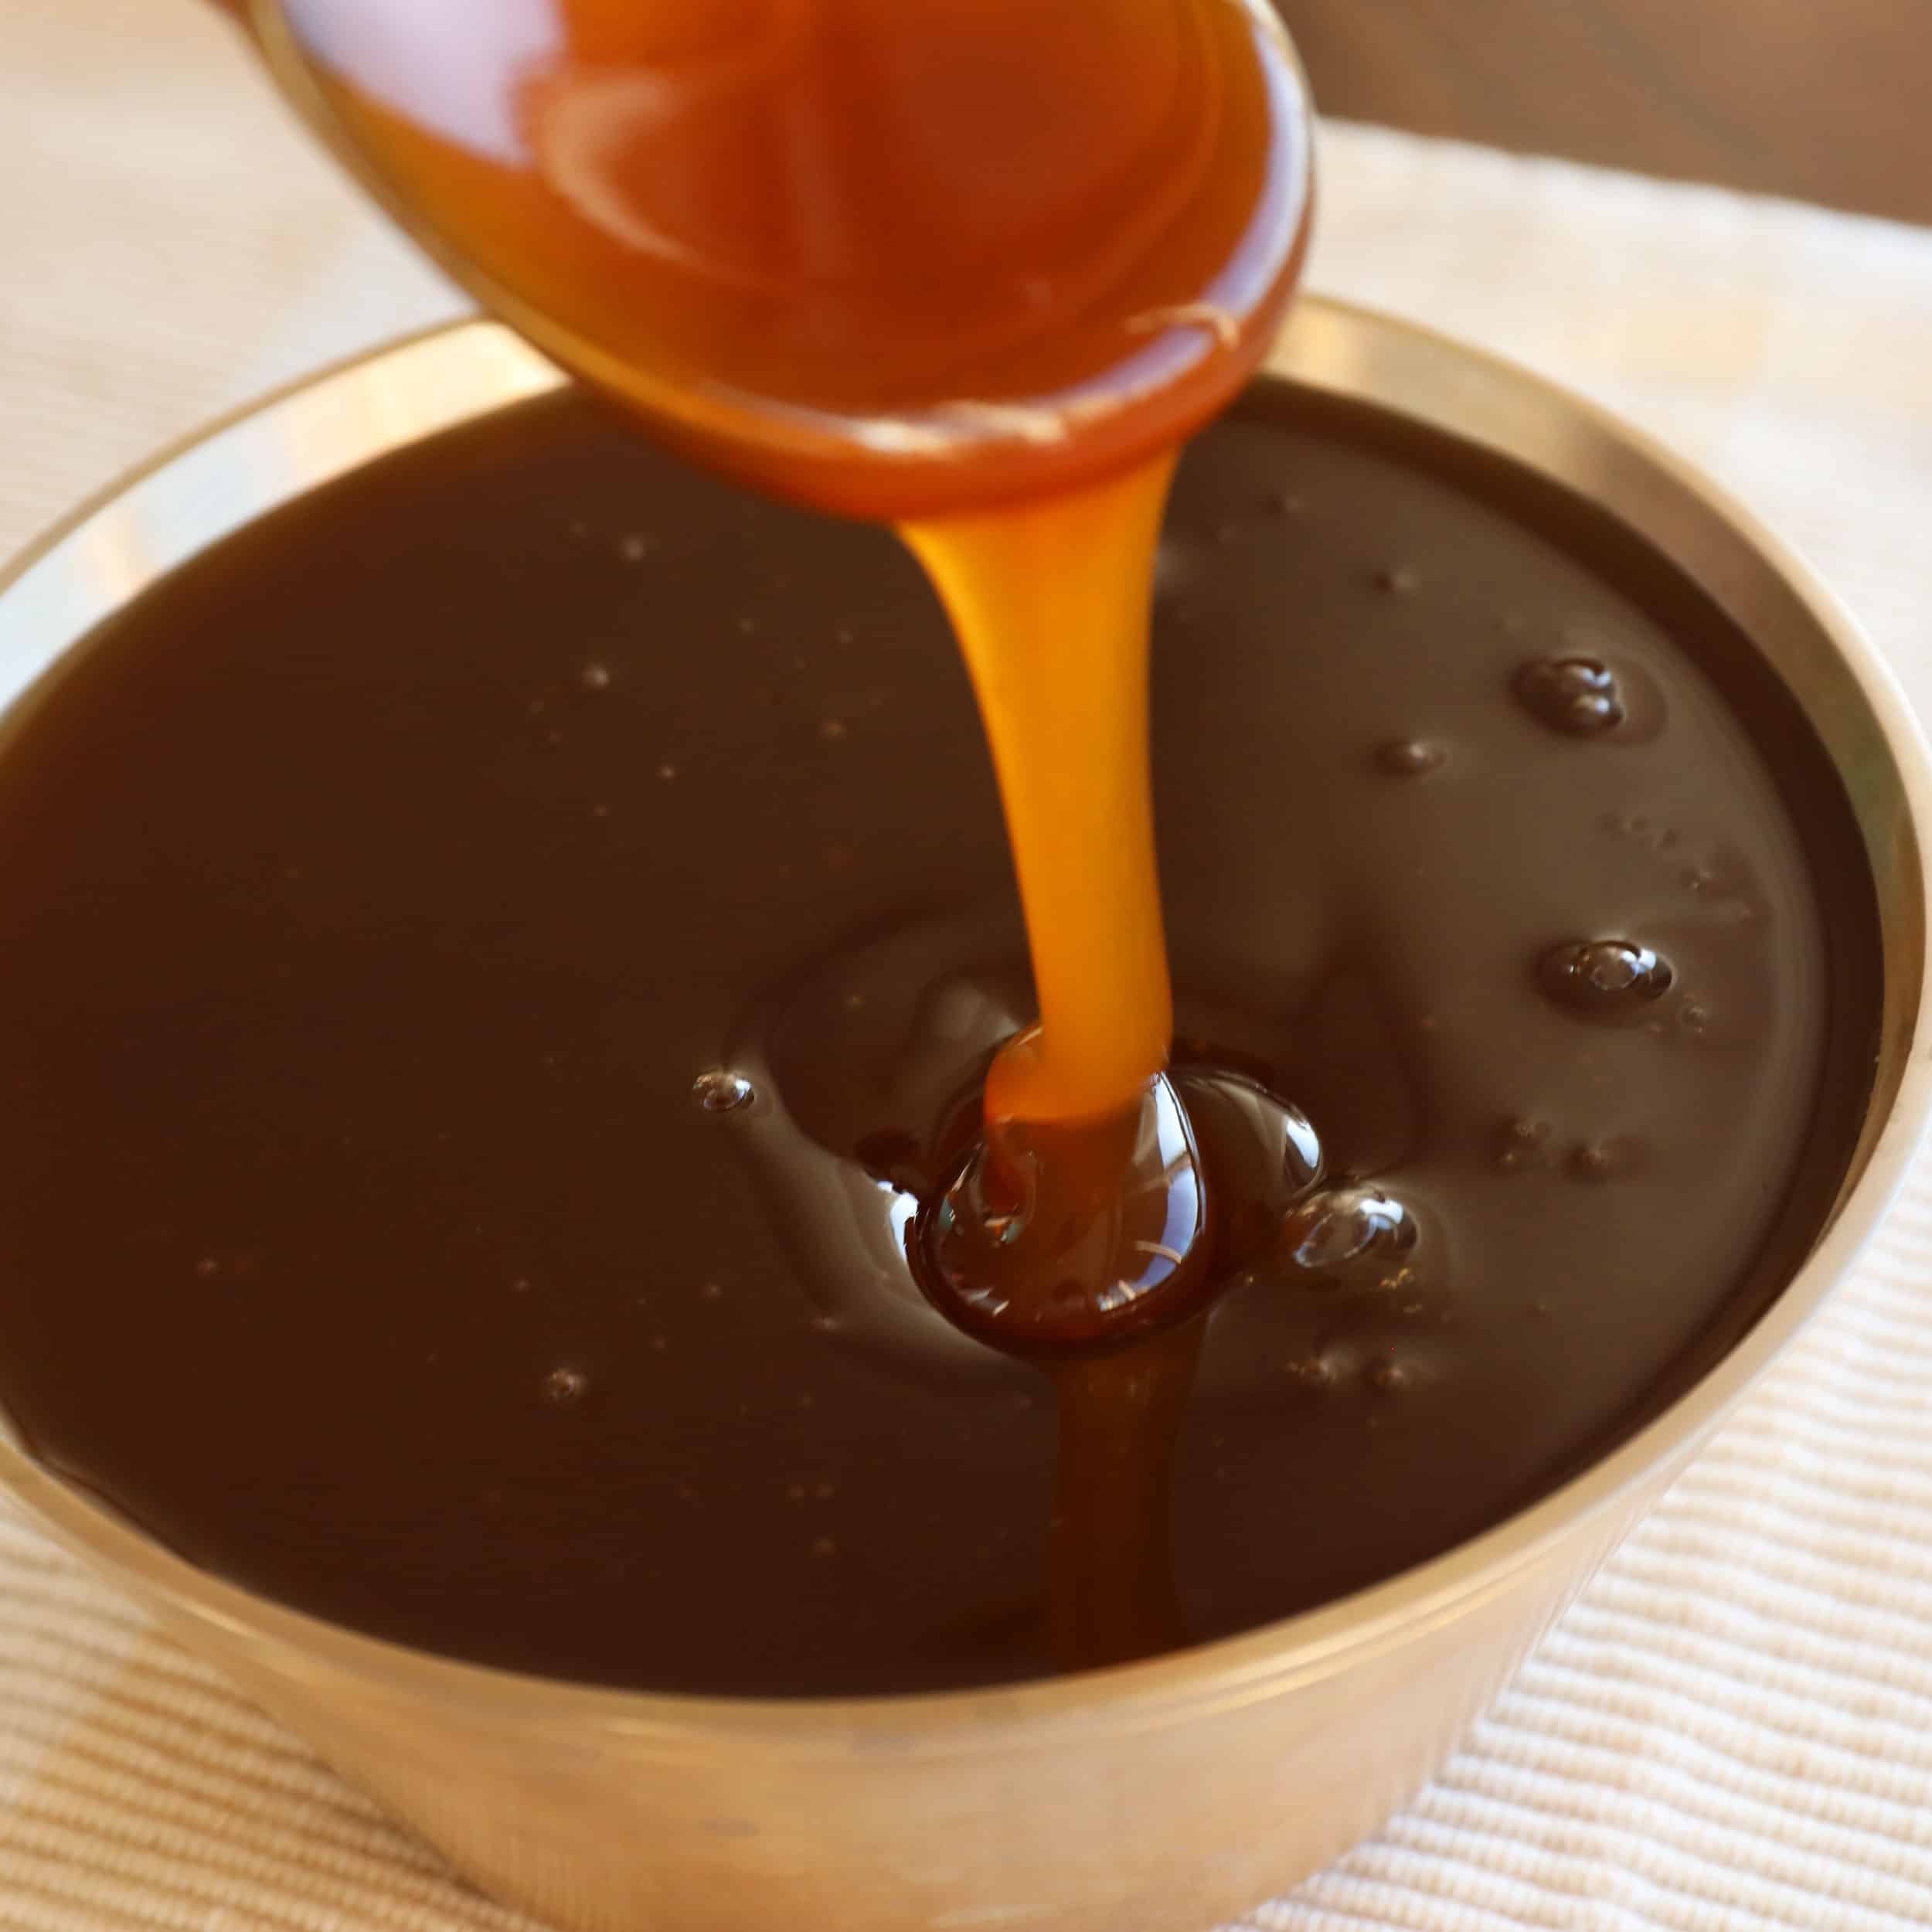
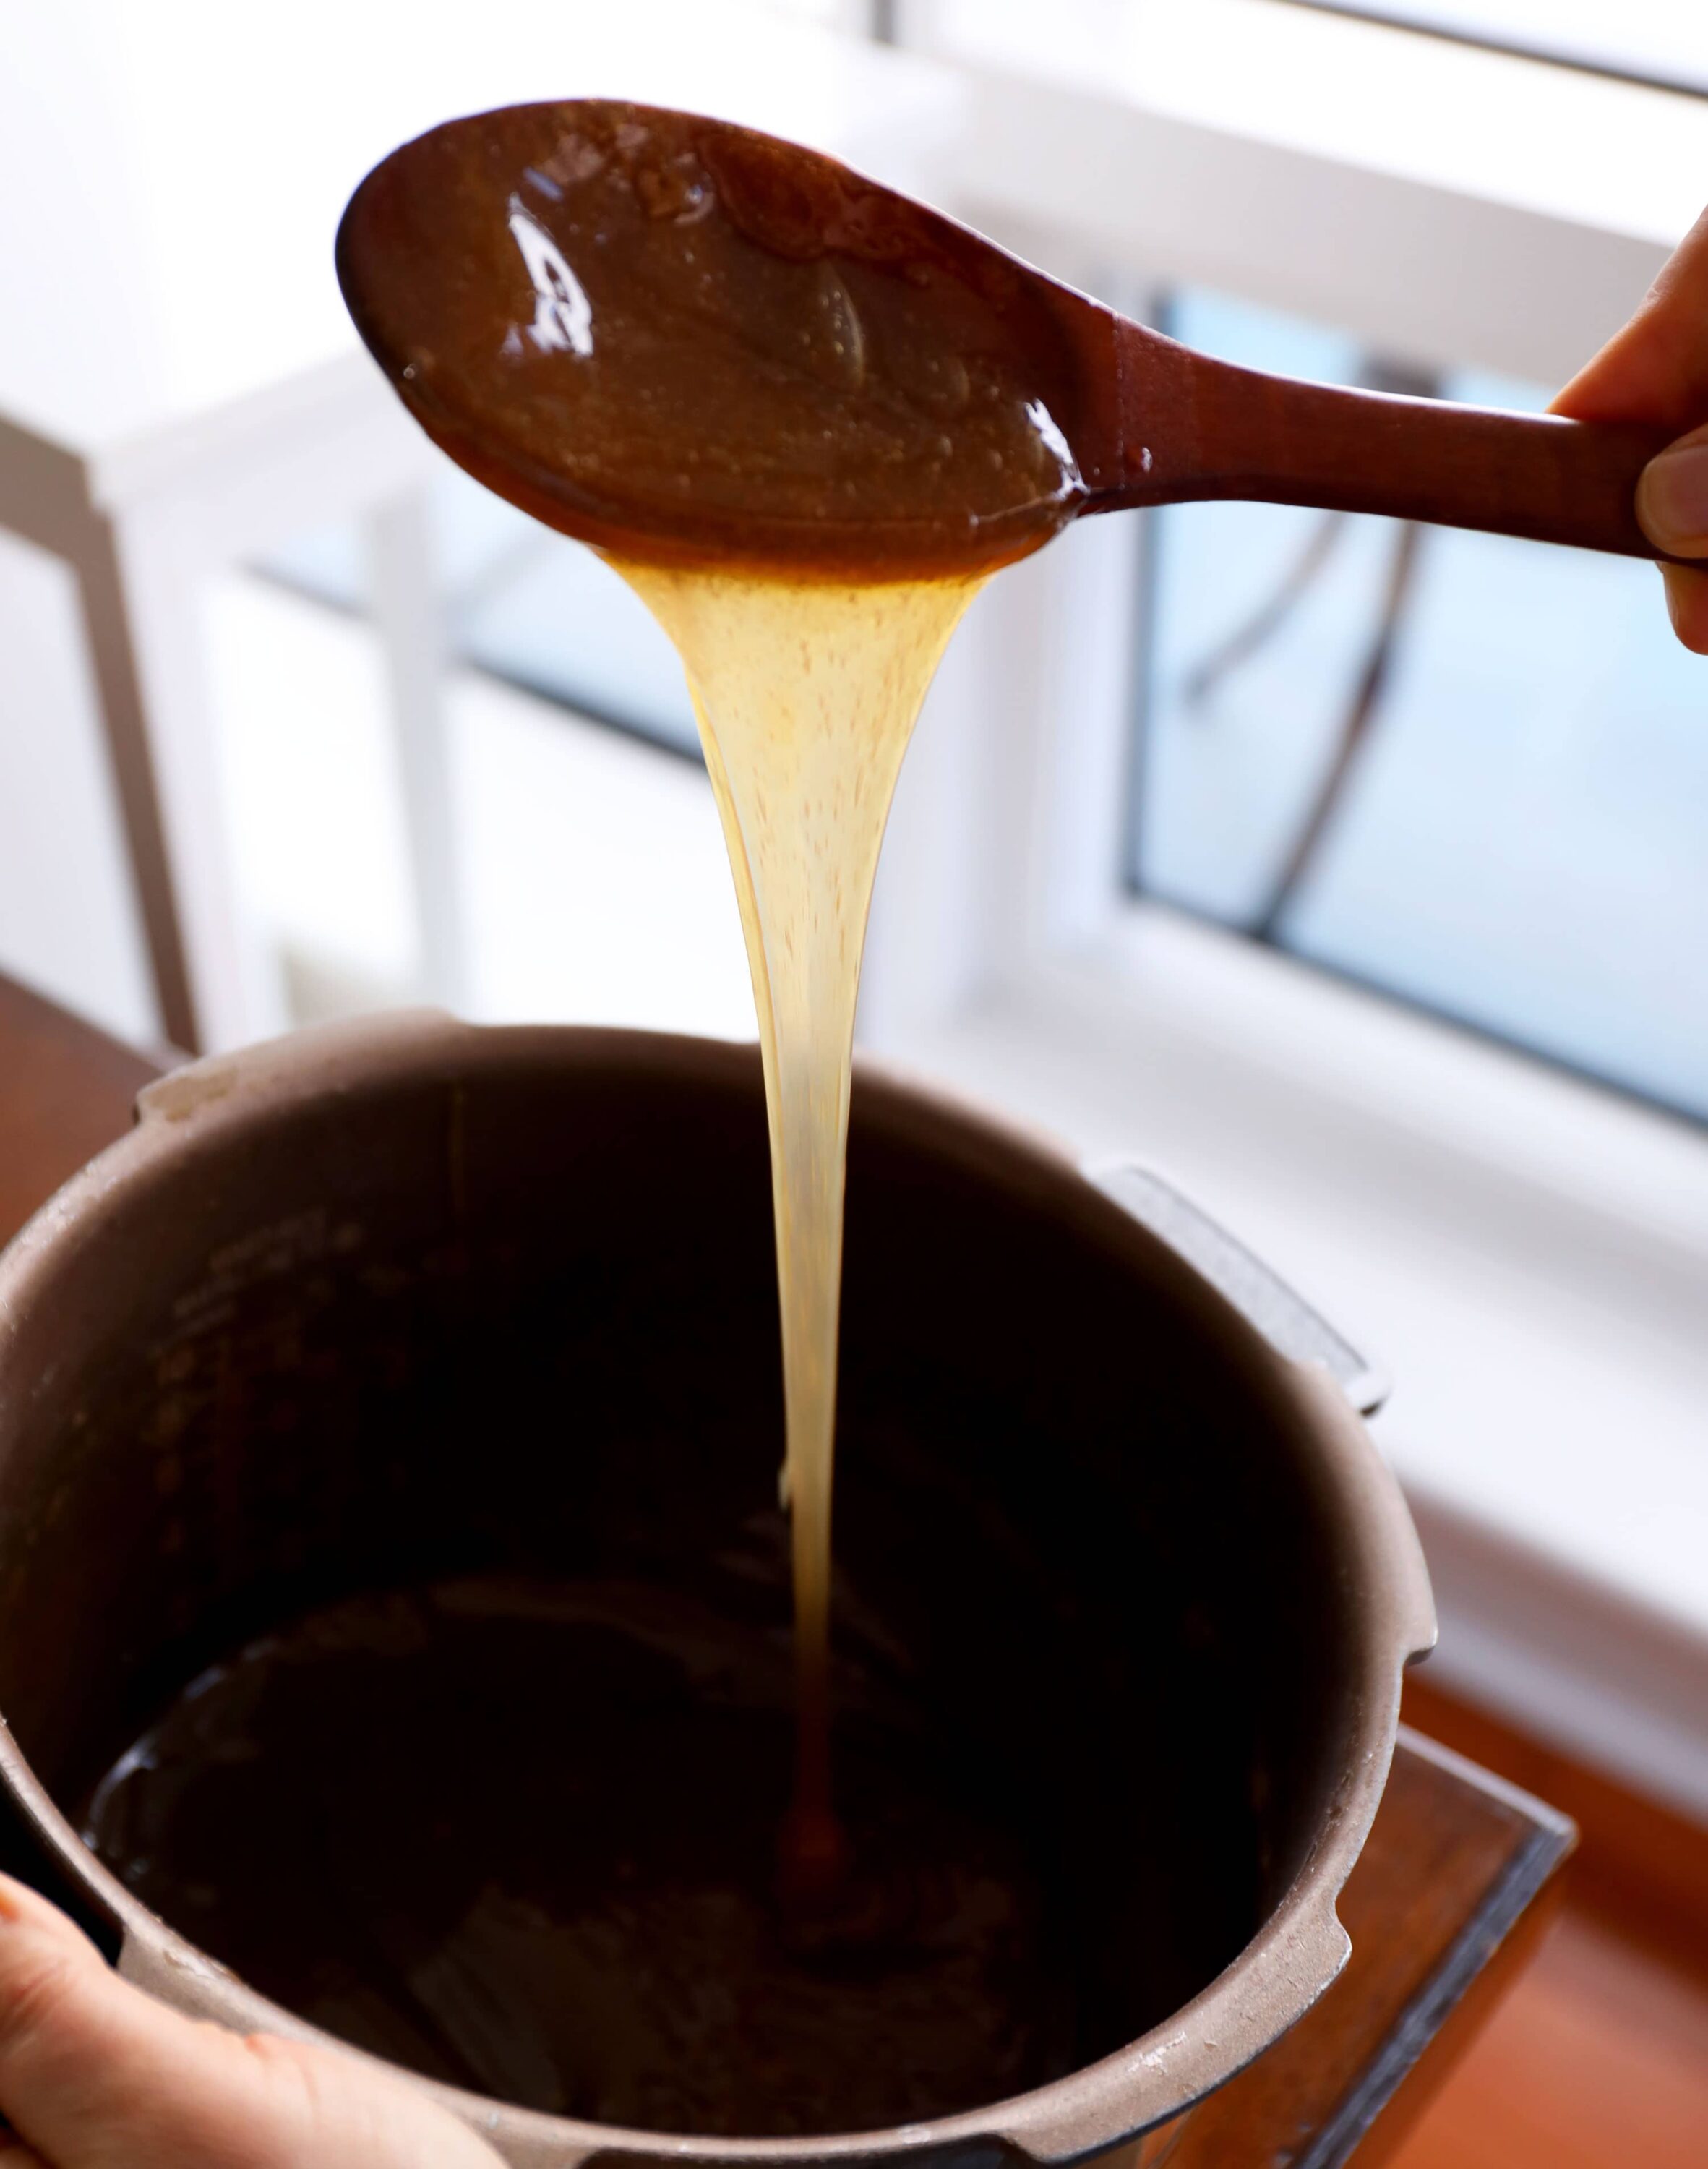
- Remove from the heat. The syrup should be stickier, sweeter, and darker. It should drizzle off a spoon in a thick, steady stream, like maple syrup. Be sure not to cook longer at this point because the hot syrup will get stickier and thicker as it cools and end up like hard candy. If this happens, thin it by adding a little bit of water, bring to a boil, then remove from the heat.
- Let the syrup to cool. Transfer to a glass or ceramic jar and refrigerate for up to 3 months.


Make the syrup in a rice cooker

Ingredients
Makes 1½ cups
- 1 pound short-grain
- white rice (about 2½ cups)
- 1 cup barley malt powder or flakes
Directions
Make rice and ferment with barley malt powder
- Put the rice in a bowl. Cover with cold water, then drain. Swish the wet rice around in the bowl with one hand, then rinse and drain a few more times, until the water runs clear. Drain and put the rice in the rice cooker. Add 2 cups water and cook the rice.
- Fluff the rice with a wooden spoon. Add 4 cups cold water and stir well. Add the barley malt powder and mix well.
- Set the rice cooker on the warm setting, cover, and let stand for 6 hours.


Strain and make syrup
- Open the rice cooker and stir the rice mixture well. Line a large strainer with hemp cloth (or double folded cheese cloth) and place the strainer over a large bowl.
- Pour the rice mixture into the cloth-lined strainer. Let it drain for about 10 minutes, until some liquid has seeped into the bowl and the cloth is cool enough to handle. You can stir the mixture with the wooden spoon. Lift the edges of the cloth and twist together to seal in the rice mixture so that nothing leaks out, then slowly twist and squeeze out the rest of the liquid. This is time-consuming, but you don’t want to lose any of the precious liquid, so squeeze out as much as you can. You will have 5 to 6 cups. Discard the solids.
- Wash the inner pot of the rice cooker and put it back in the rice cooker. Add the strained liquid.
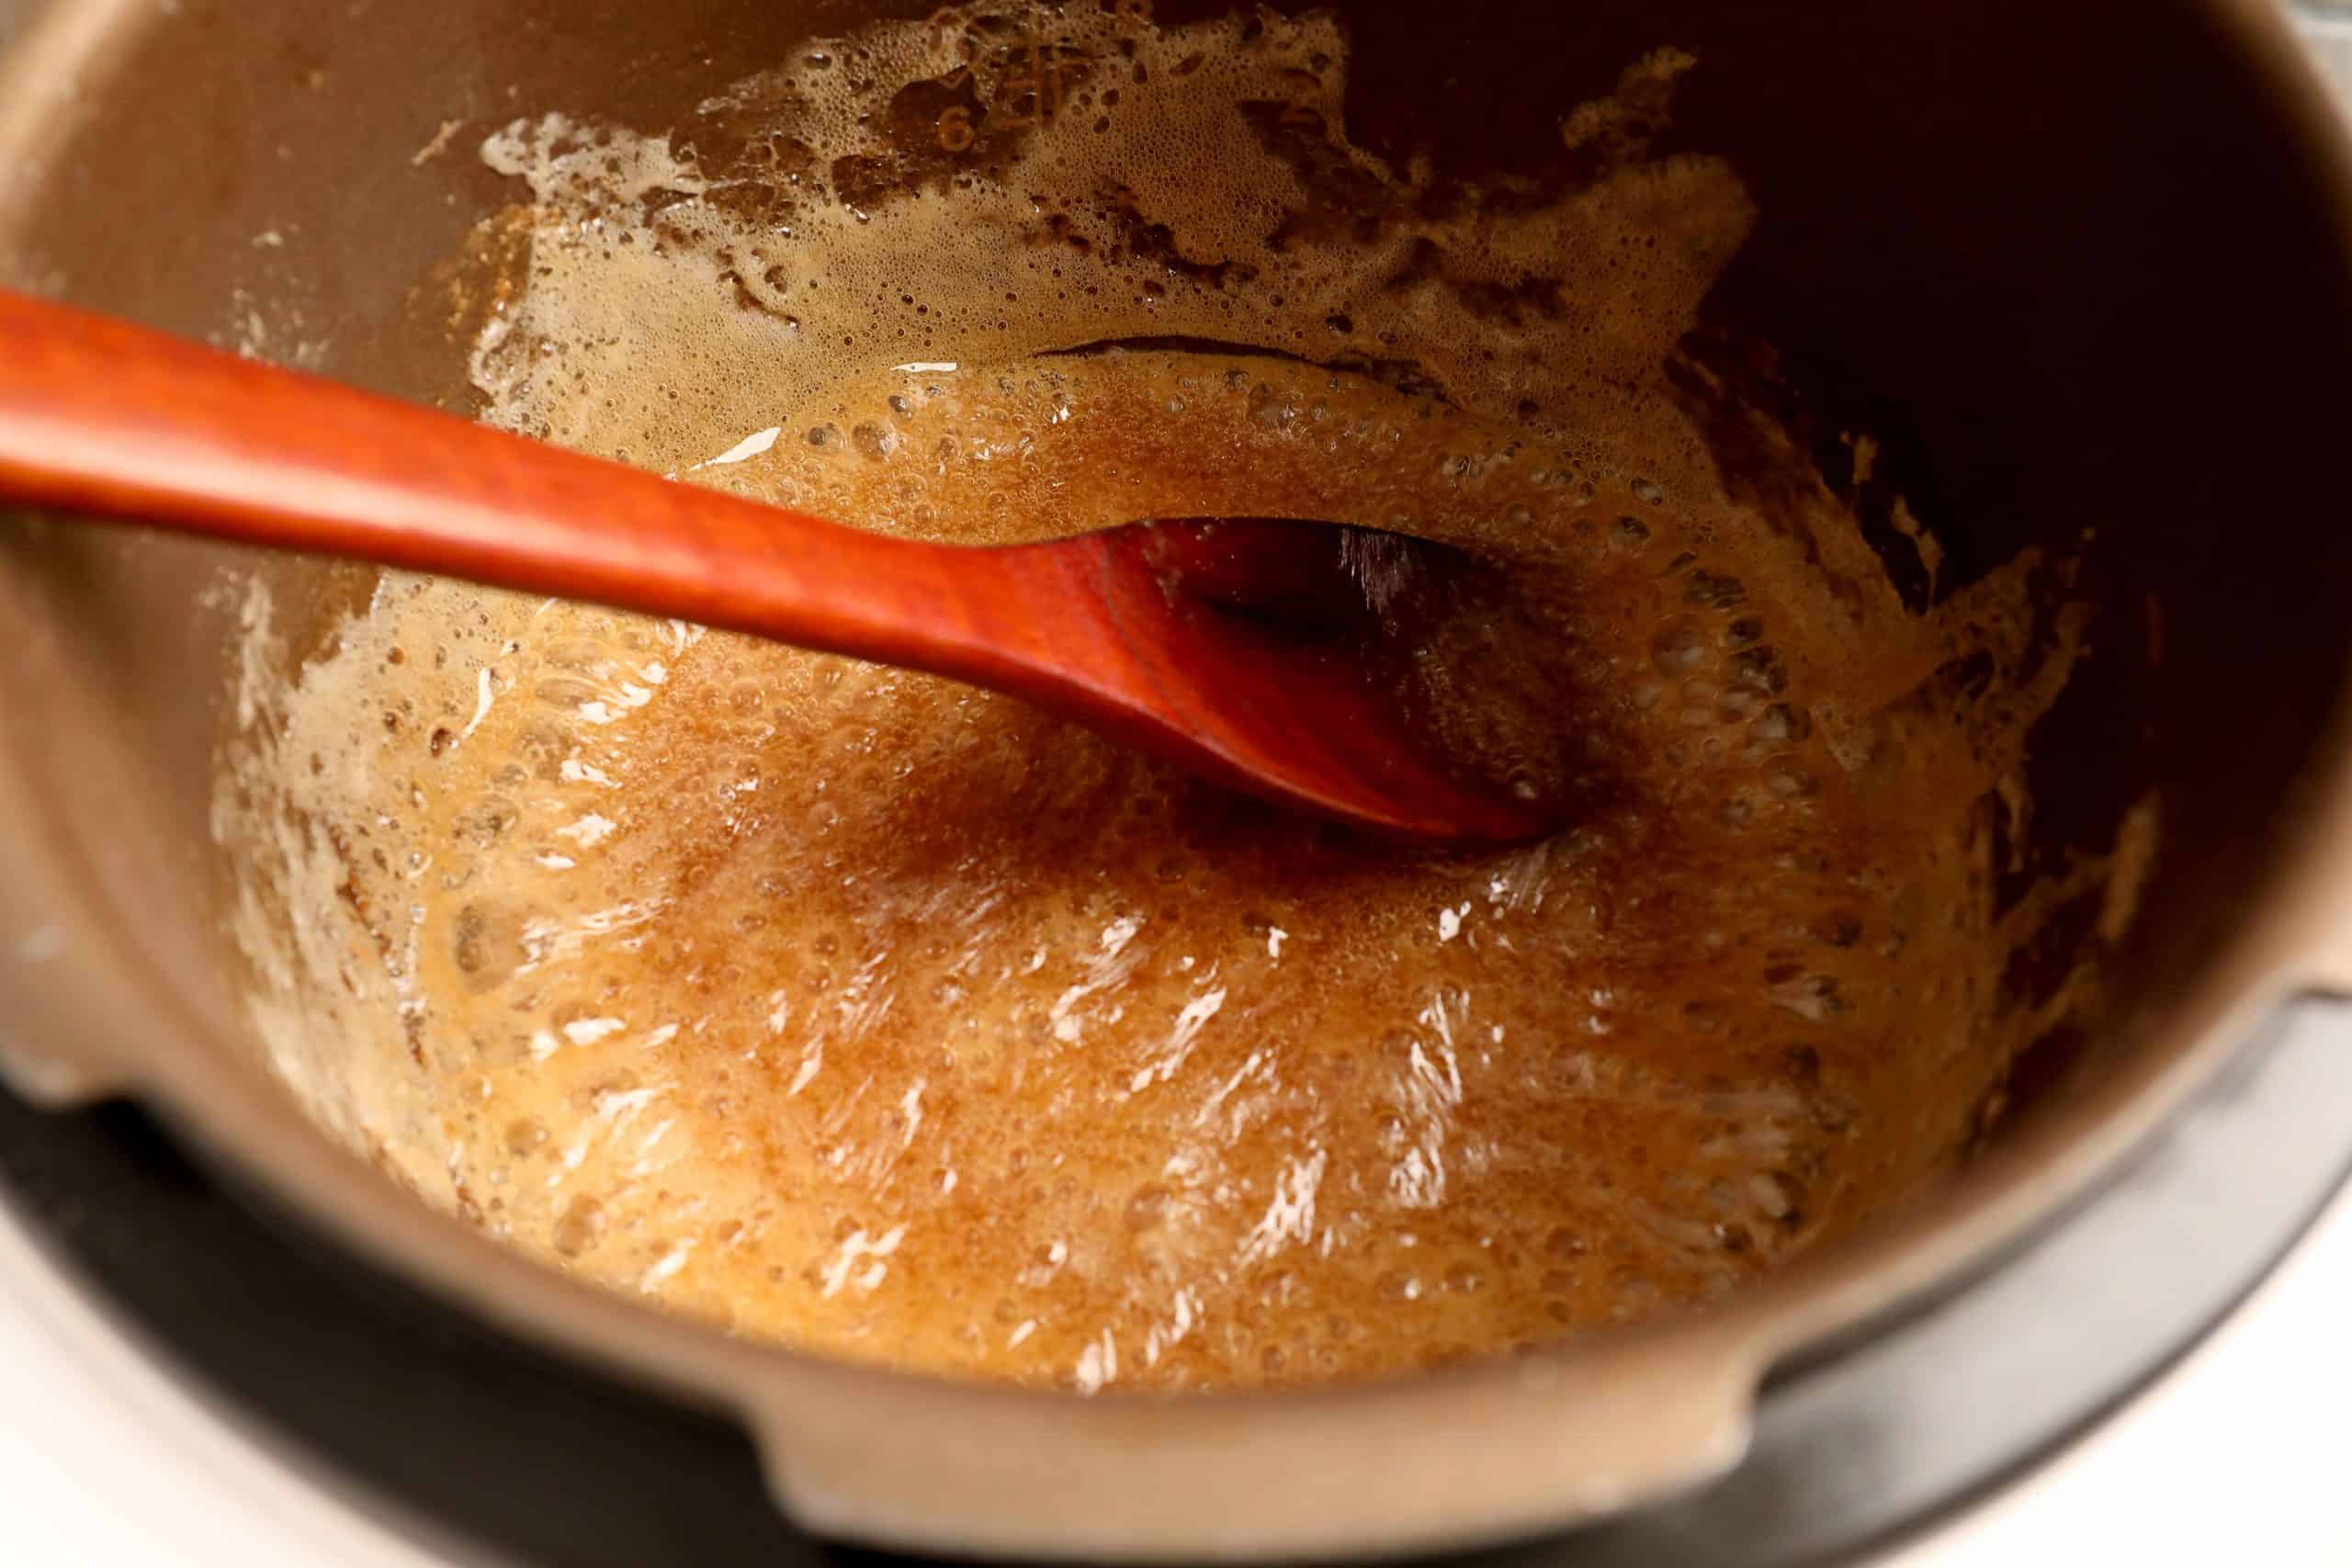
- Set the rice cooker to cooking with the lid open, and cook for 30 minutes, or until large bubbles appear.


- Stir with a wooden spoon. Turn off the rice cooker. You will have about 1½ cups rice syrup. If your rice syrup is too sticky, thin it by adding a bit of water, bring to a boil, then remove from the heat.


Buy this recipe's ingredients online
I really like Weee! they deliver quality packaged and fresh Korean ingredients to the continental USA. Cheaper and better than Amazon! Check them out!
Ingredients are also on Amazon:
Sorry, we're unable to load product information at this time.

Hi Maangchi,
Thank you for this recipe!
I did this recipe today but the syrup didn’t turn out to be as dark as it should be. The texture instead got thicker. The taste is amazing but I just didn’t get the “maple syrup” colour and texture. Instead I got a light brown colour syrup. What have I might done wrong in the process ? Would appreciate your advice on this. Kamsahamida
Homemade rice syrup color is less dark than store-bought rice syrup but as you said the taste is amazing. It tastes less sweet than store-bought rice syrup, too. Congratulations!
Is there a substitute for barley that can be used.
Hello Maangchi!
I have a lot of Jasmine Long grain rice in my cupboard, do you think that would work for this recipe?
I visited Seoul a year ago December and bought so much of the nut candy while I was there and could not figure our why the flavor was different from what I grew up eating (nut brittles). Now I know and I am SO excited.
Not having a rice cooker I did the old fashioned way and being ambitious I doubled the recipe. Followed your instructions and I now have 2 beautiful quarts of rice syrup! Next up…Crunchy nut candy!
“I now have 2 beautiful quarts of rice syrup!” Fantastic! I made rice syrup recently, too!
Good luck with making delicious Crunchy nut candy (Yeot-gangjeong)!
Hi Maangchi!!
Thanks again for all your wonderful recipes. I have a question concerning barley malt powder: is it absolutely necessary for making rice syrup? I wanted to make the crunchy nut candy, so I bought the nuts, and forgot that barley malt powder was needed. I’m gluten sensitive so I try avoiding it as much as possible and I actually don’t know where to find b
* where to find barley malt powder where I live (almost the middle of nowhere regarding korean ingredients :p ).
So, can I skip it, or can I replace it with something else?
(sorry for the splitted comment..)
Yes, you need barley malt powder to make rice syrup. Check out a Korean grocery store in your area and good luck! https://www.maangchi.com/shopping/france
I dumped the failed ‘try’ and remade using the right rice and it turned out beautifully. It’s been two days and its almost done! My hubby already asking when I’ll make more, he’s been putting it on toast lol…
You are such a passionate cook because you made this again even though the first try didn’t work. Happy cooking!
can you pls tell me exactly which rice did you use?
I tried this today, and failed! Electric stove was difficult to guage the right temperature. Will try again :(
Also, can medium grain rice be used? I couldn’t find any small grain in the store. Thank you.
I wonder if this can substitute for corn syrup in pecan pie. Thanks.
wow, this was so fun to make! I made it in my Instant Pot and it worked perfectly. it tastes delicious!
Hi deedle2038! Congratulations on making the rice syrup! Did you do the recipe exactly, or did you double it? 1 1/2 cups seems a small amount. For cooking the liquid, did you use the pressure cooker setting as shown in the pics? I tired the stove top method today and it didn’t work :(
Thanks.
I made it just as the recipe states. I ended up with about 1.75 cups, which is all I wanted. and yes, I used the pressure cooker settings as shown. I hope it works for you!
I have a mini Instant Pot that only holds 3 quarts (I only feed 2 people); if you have a regular 6 quart one, I’m sure you can double it. good luck!