


This quinoa nurungji can make a tasty and delicious scorched rice soup with the extra nutrition and benefit of quinoa! Comfy, nutty, warm and comforting, the soup is a great as breakfast or lunch when paired with a few other side dishes or kimchi.
The Korean word nurungji (누룽지) means scorched rice that’s burnt onto the side or bottom of the the pot left over from making rice. You can scrape it off with a spoon (see how to do it in my rice recipe). It’s hard and crispy, has a nutty flavor and can be a crunchy snack. And you can make soup with this scorched rice, just simply boil it in water. The soup is usually served for breakfast but it’s also good for those who need or want something easy on the stomach and easy to digest. It tastes mild and soft with a lightly toasted flavor. It goes great with a few flavorful side dishes, but just this soup and kimchi is enough for a nice meal.
Koreans love nurungji and because it’s a byproduct of making rice in a thick pot, it’s something that we have been eating for a long time. Now that electric rice cookers are used by pretty much every modern family in Korea, getting scorched rice naturally from a metal or stone pot is not so common. But Koreans love nurungji so much that Korean companies actually manufacture it from white rice or many different kinds of multigrains or seeds and sell it in grocery stores.
It’s kind of expensive though, and I love nurungji so much I developed my own special blend from rice, grains and quinoa. Quinoa is not a common Korean grain. It’s mostly grown in South America. It doesn’t contain much starch and it has lots of protein and it’s been proven to be a very healthful food so I experimented with adding it to my Korean nurungji to give it a nutritious boost.
It turned out great, and I love the almost couscous-like texture of those seeds. Last year I gave a big pack of this quinoa nurungji to my mother and she really enjoyed it, so this year I’ll make another large batch for her and bring it to her during the holidays. I think it would be a great healthy gift for anyone you love, plus because it’s dried out it travels and preserves well. And no one would ever guess this gift!
Ingredients
- 1 cup brown rice
- 1 cup glutinous rice (or any kind of white rice)
- 1 cup quinoa
- ¼ cup black sweet rice (or black rice)
Directions
Make multi-grain rice
You have 3 options for making the rice. If you have a pressure cooker with a setting for multigrain rice its simplest and fastest. If you have a regular rice cooker you can use that, but you’ll need to soak everything first for a few hours. And thirdly you can always make multi-grain rice in a regular, heavy saucepan on the stove, it just takes a little longer (just like I do in my multigrain rice recipe). I explain all three below.
Using a pressure cooker with a multigrain function:
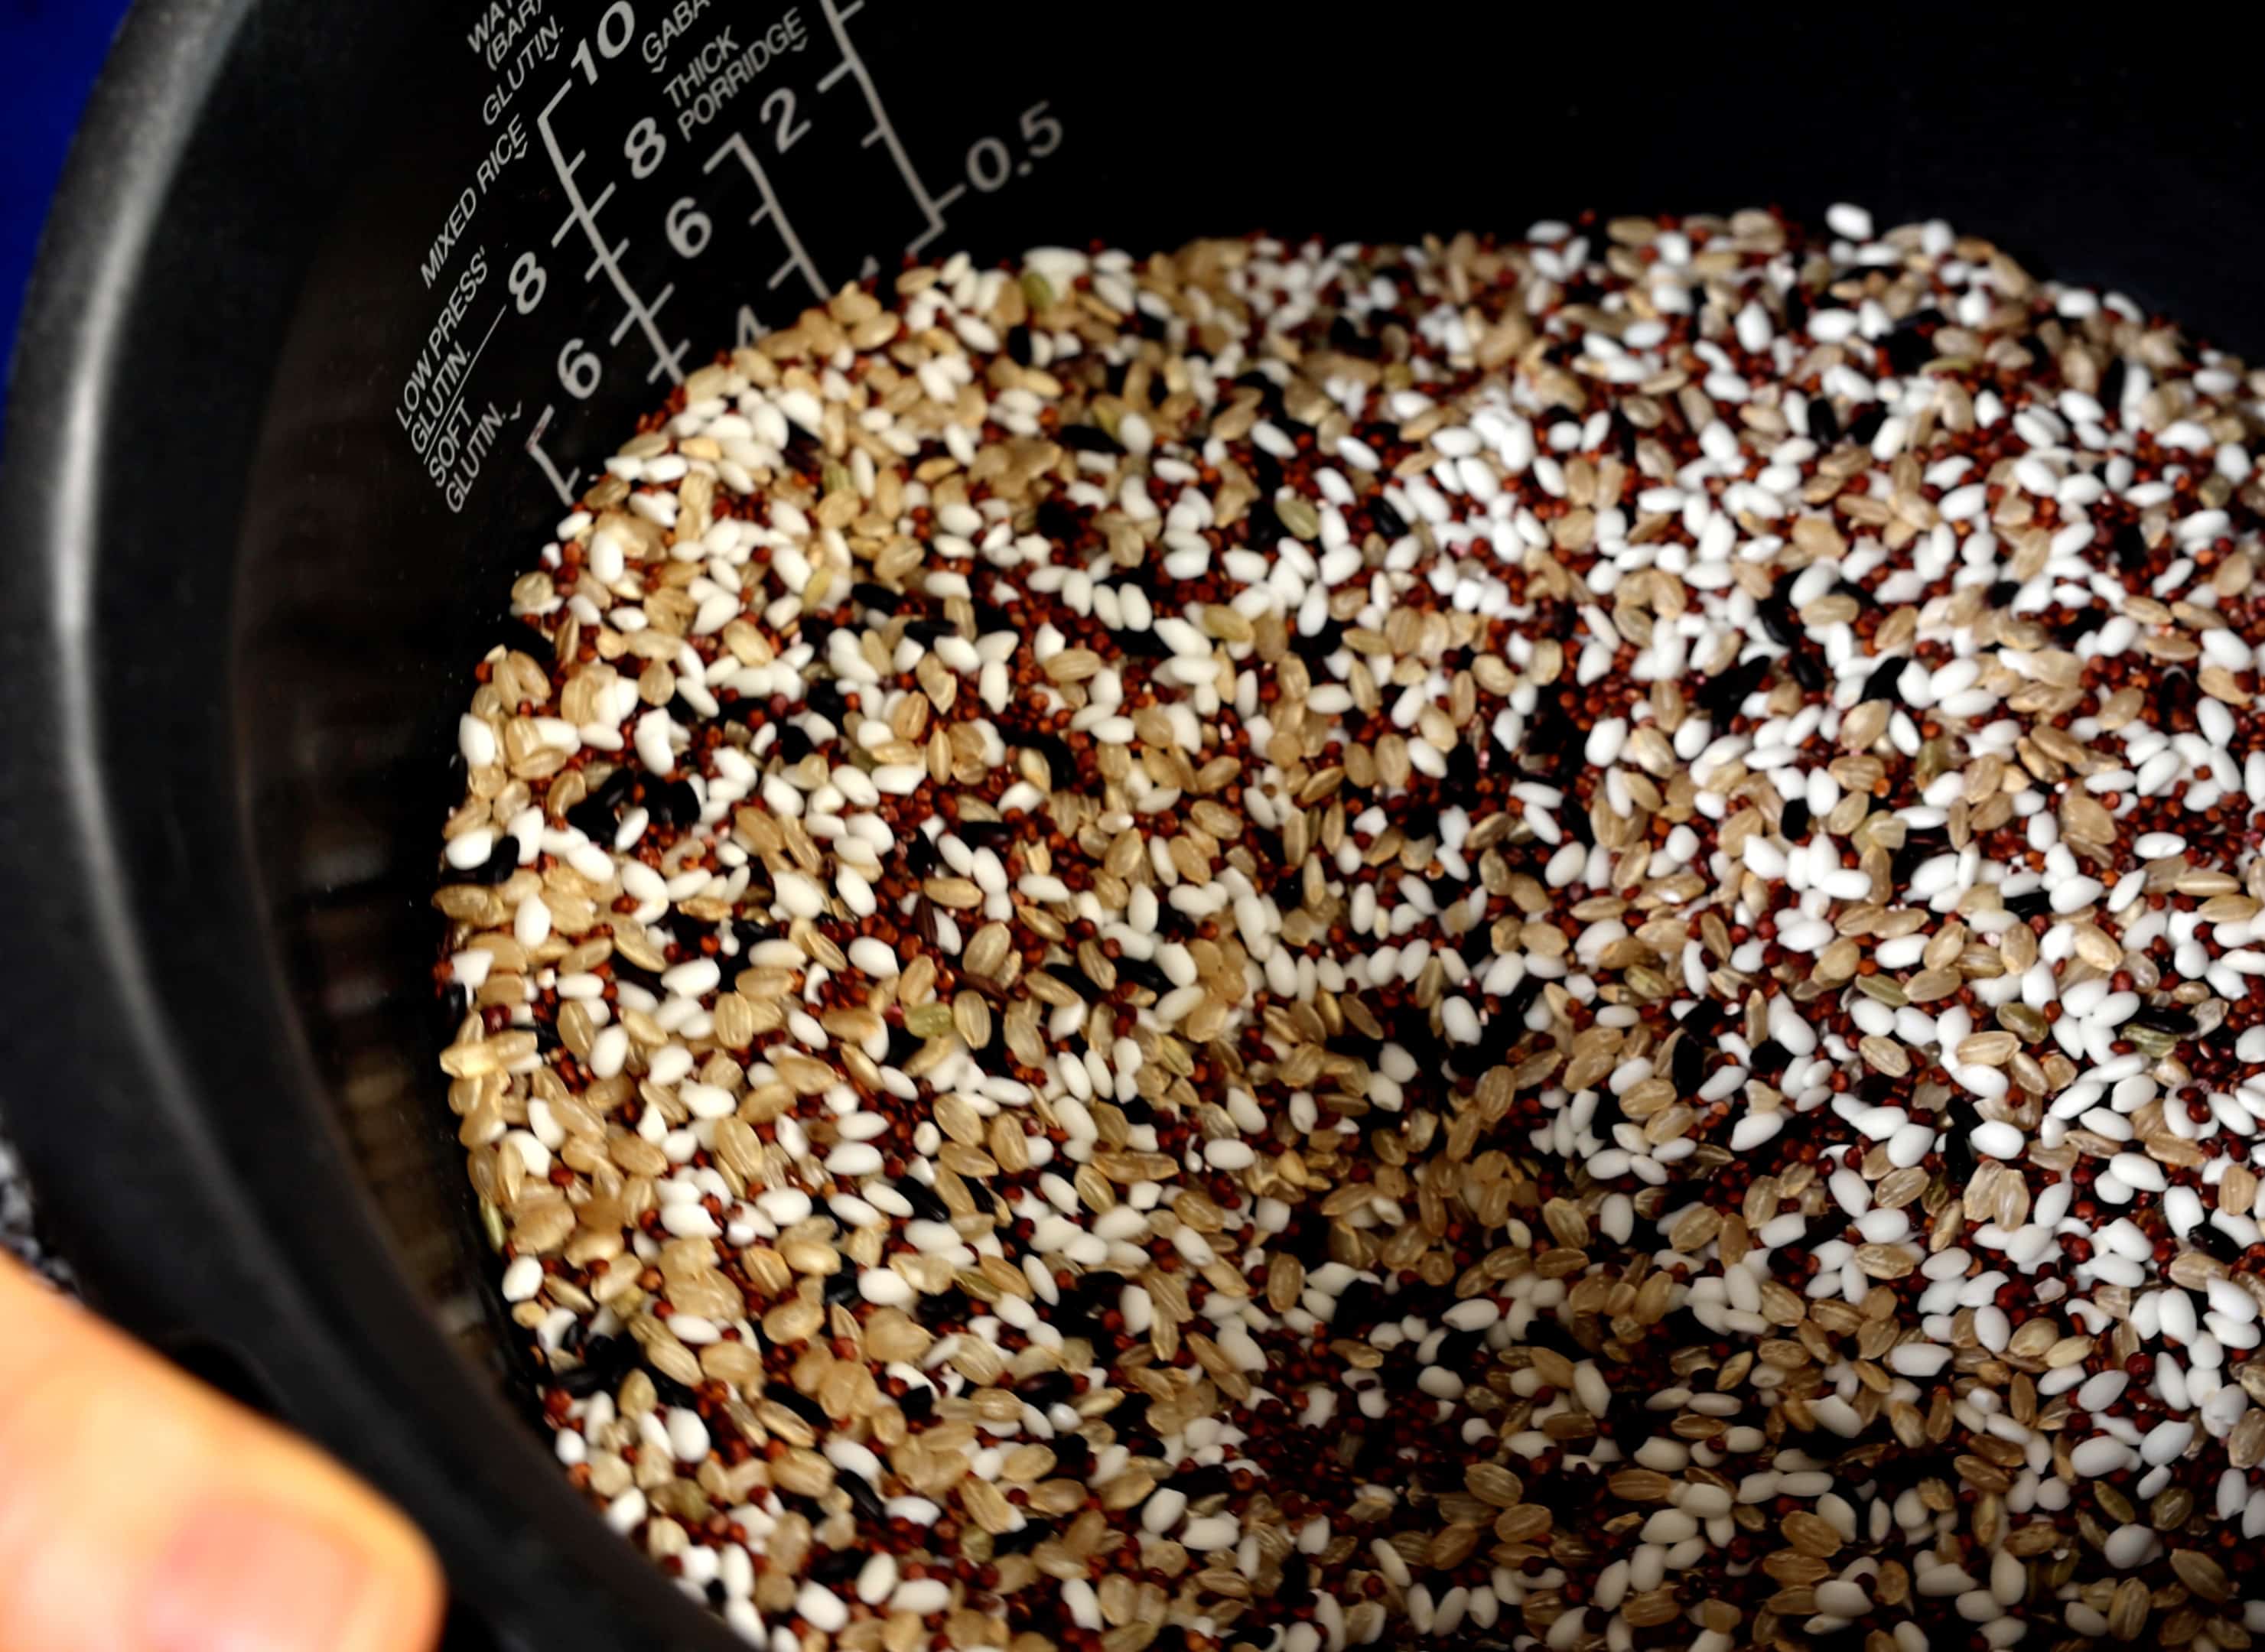
- Combine the grains and seeds in the inner pot of the pressure cooker. Cover with cold water and carefully tilt the pot to slowly pour out the water, taking care not to pour out any grains or seeds.
- Swish the wet grains and seeds around in the pot with one hand, then fill the pot with cold water again. Swish, and drain, do this a few more times, changing the water each time, until the water runs clear. Drain as much of the water as you can. The grains and seeds will still be wet.

- Add 3 cups cold water. Dry off the outside of the pot and place it into the pressure cooker.
- Close the lid, set for multigrain rice, press start and let it cook. When it finishes, fluff it with a rice scoop and then use.
Using a rice cooker:
- Combine the grains and seeds in the inner pot of the rice cooker. Cover with cold water and carefully tilt the pot to slowly pour out the water, taking care not to pour out any grains or seeds.
- Swish the wet grains and seeds around in the pot with one hand, then fill the pot with cold water again. Swish, and drain, do this a few more times, changing the water each time, until the water runs clear. Drain as much of the water as you can. The grains and seeds will still be wet.
- Add 3 cups cold water. Dry off the outside of the pot and place it into the rice cooker. Close the lid and let soak for at least 3 hours, or overnight.
- Press start and let it cook. When it finishes, fluff it with a rice scoop and then use.
Using a heavy pot:
- Combine the grains and seeds in a saucepan and cover with cold water. Carefully tilt the pan and slowly pour out the water, taking care not to pour out any grains or seeds.
- Swish the wet grains and seeds around in the pan with one hand, then fill the pan with cold water again. Swish, and drain, do this a few more times, changing the water each time, until the water runs clear. Drain as much of the water as you can. The grains and seeds will still be wet.
- Add 3 cups cold water, cover the pan, and let soak for at least 3 hours, or overnight.
- Heat up the pan, still covered, over medium-high heat and let the water come to a boil. This should take 8 to 10 minutes. The cover will shake and the water will begin to boil over. As soon as this happens, remove the lid to allow steam to escape.
- Stir the grains and seeds with a rice scoop to make sure that none are sticking to the bottom of the pan.
- Cover, reduce the heat to low, and simmer for 8 to 10 minutes.
- Taste to see if it’s fully cooked and fluffy. If it’s still slightly hard, cover and simmer for 3 to 5 minutes more, until it’s fully tender. When it finishes, fluff it with a rice scoop and then use.
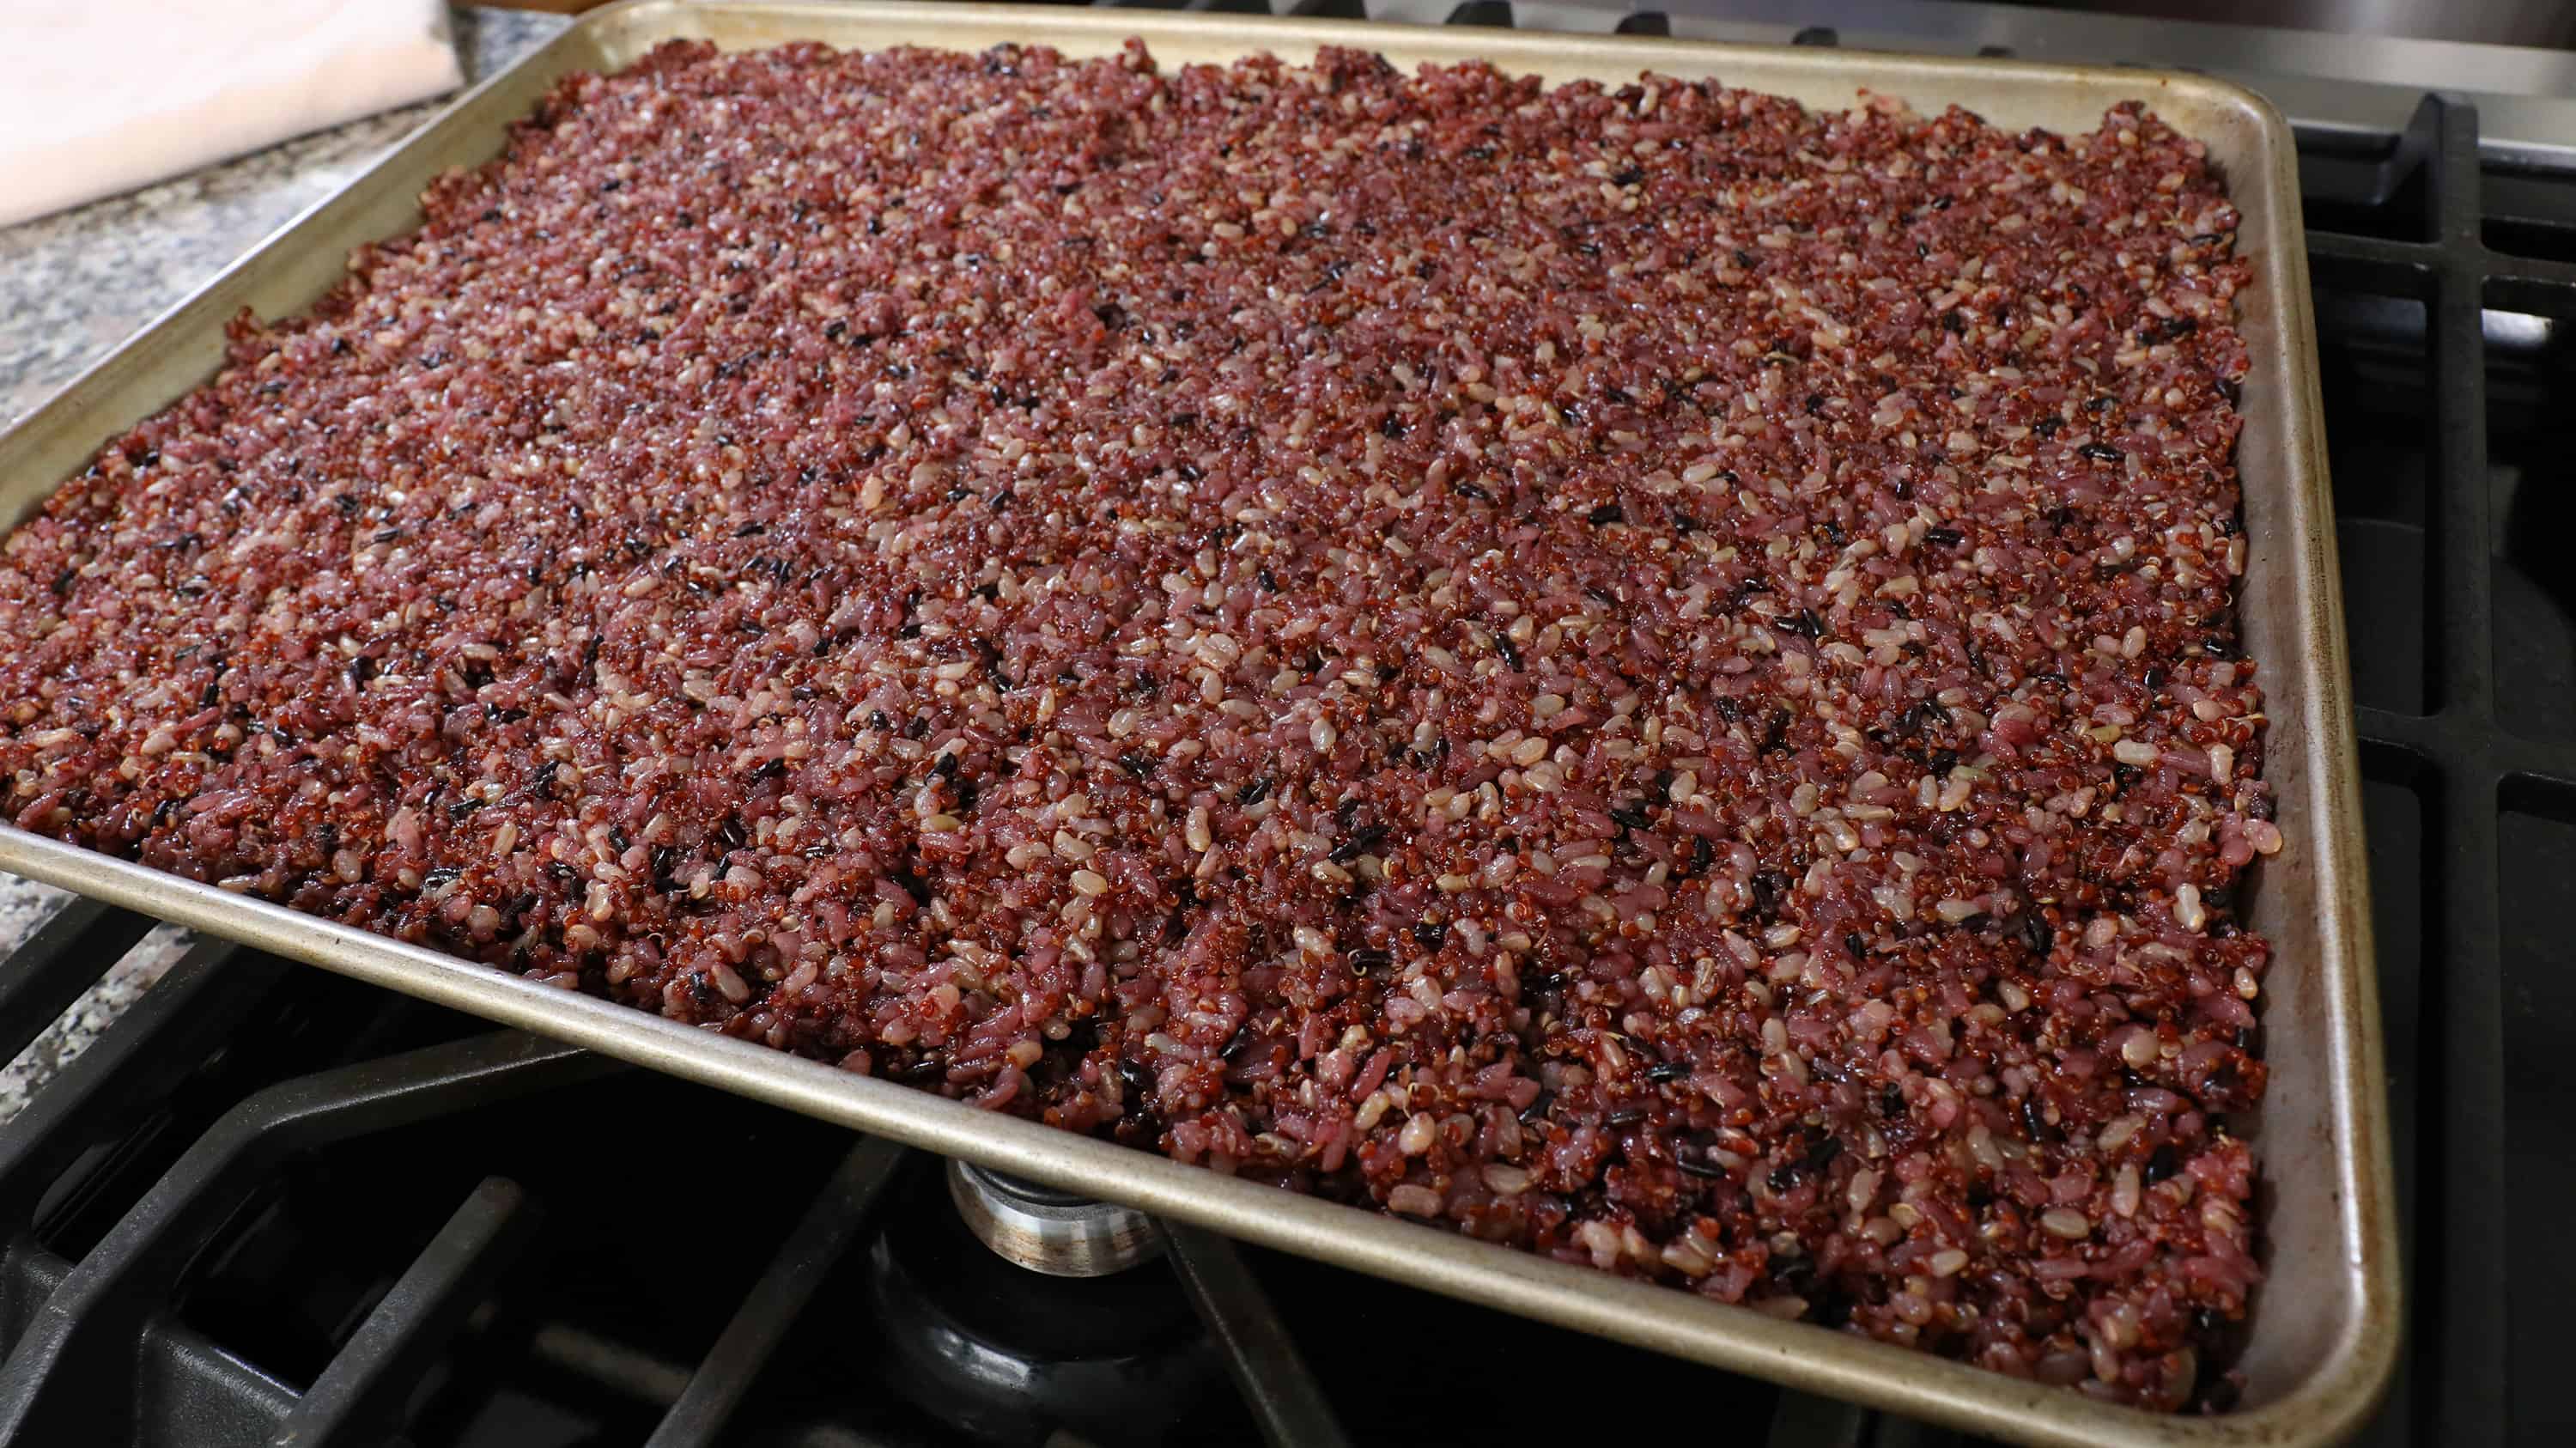
Bake the rice
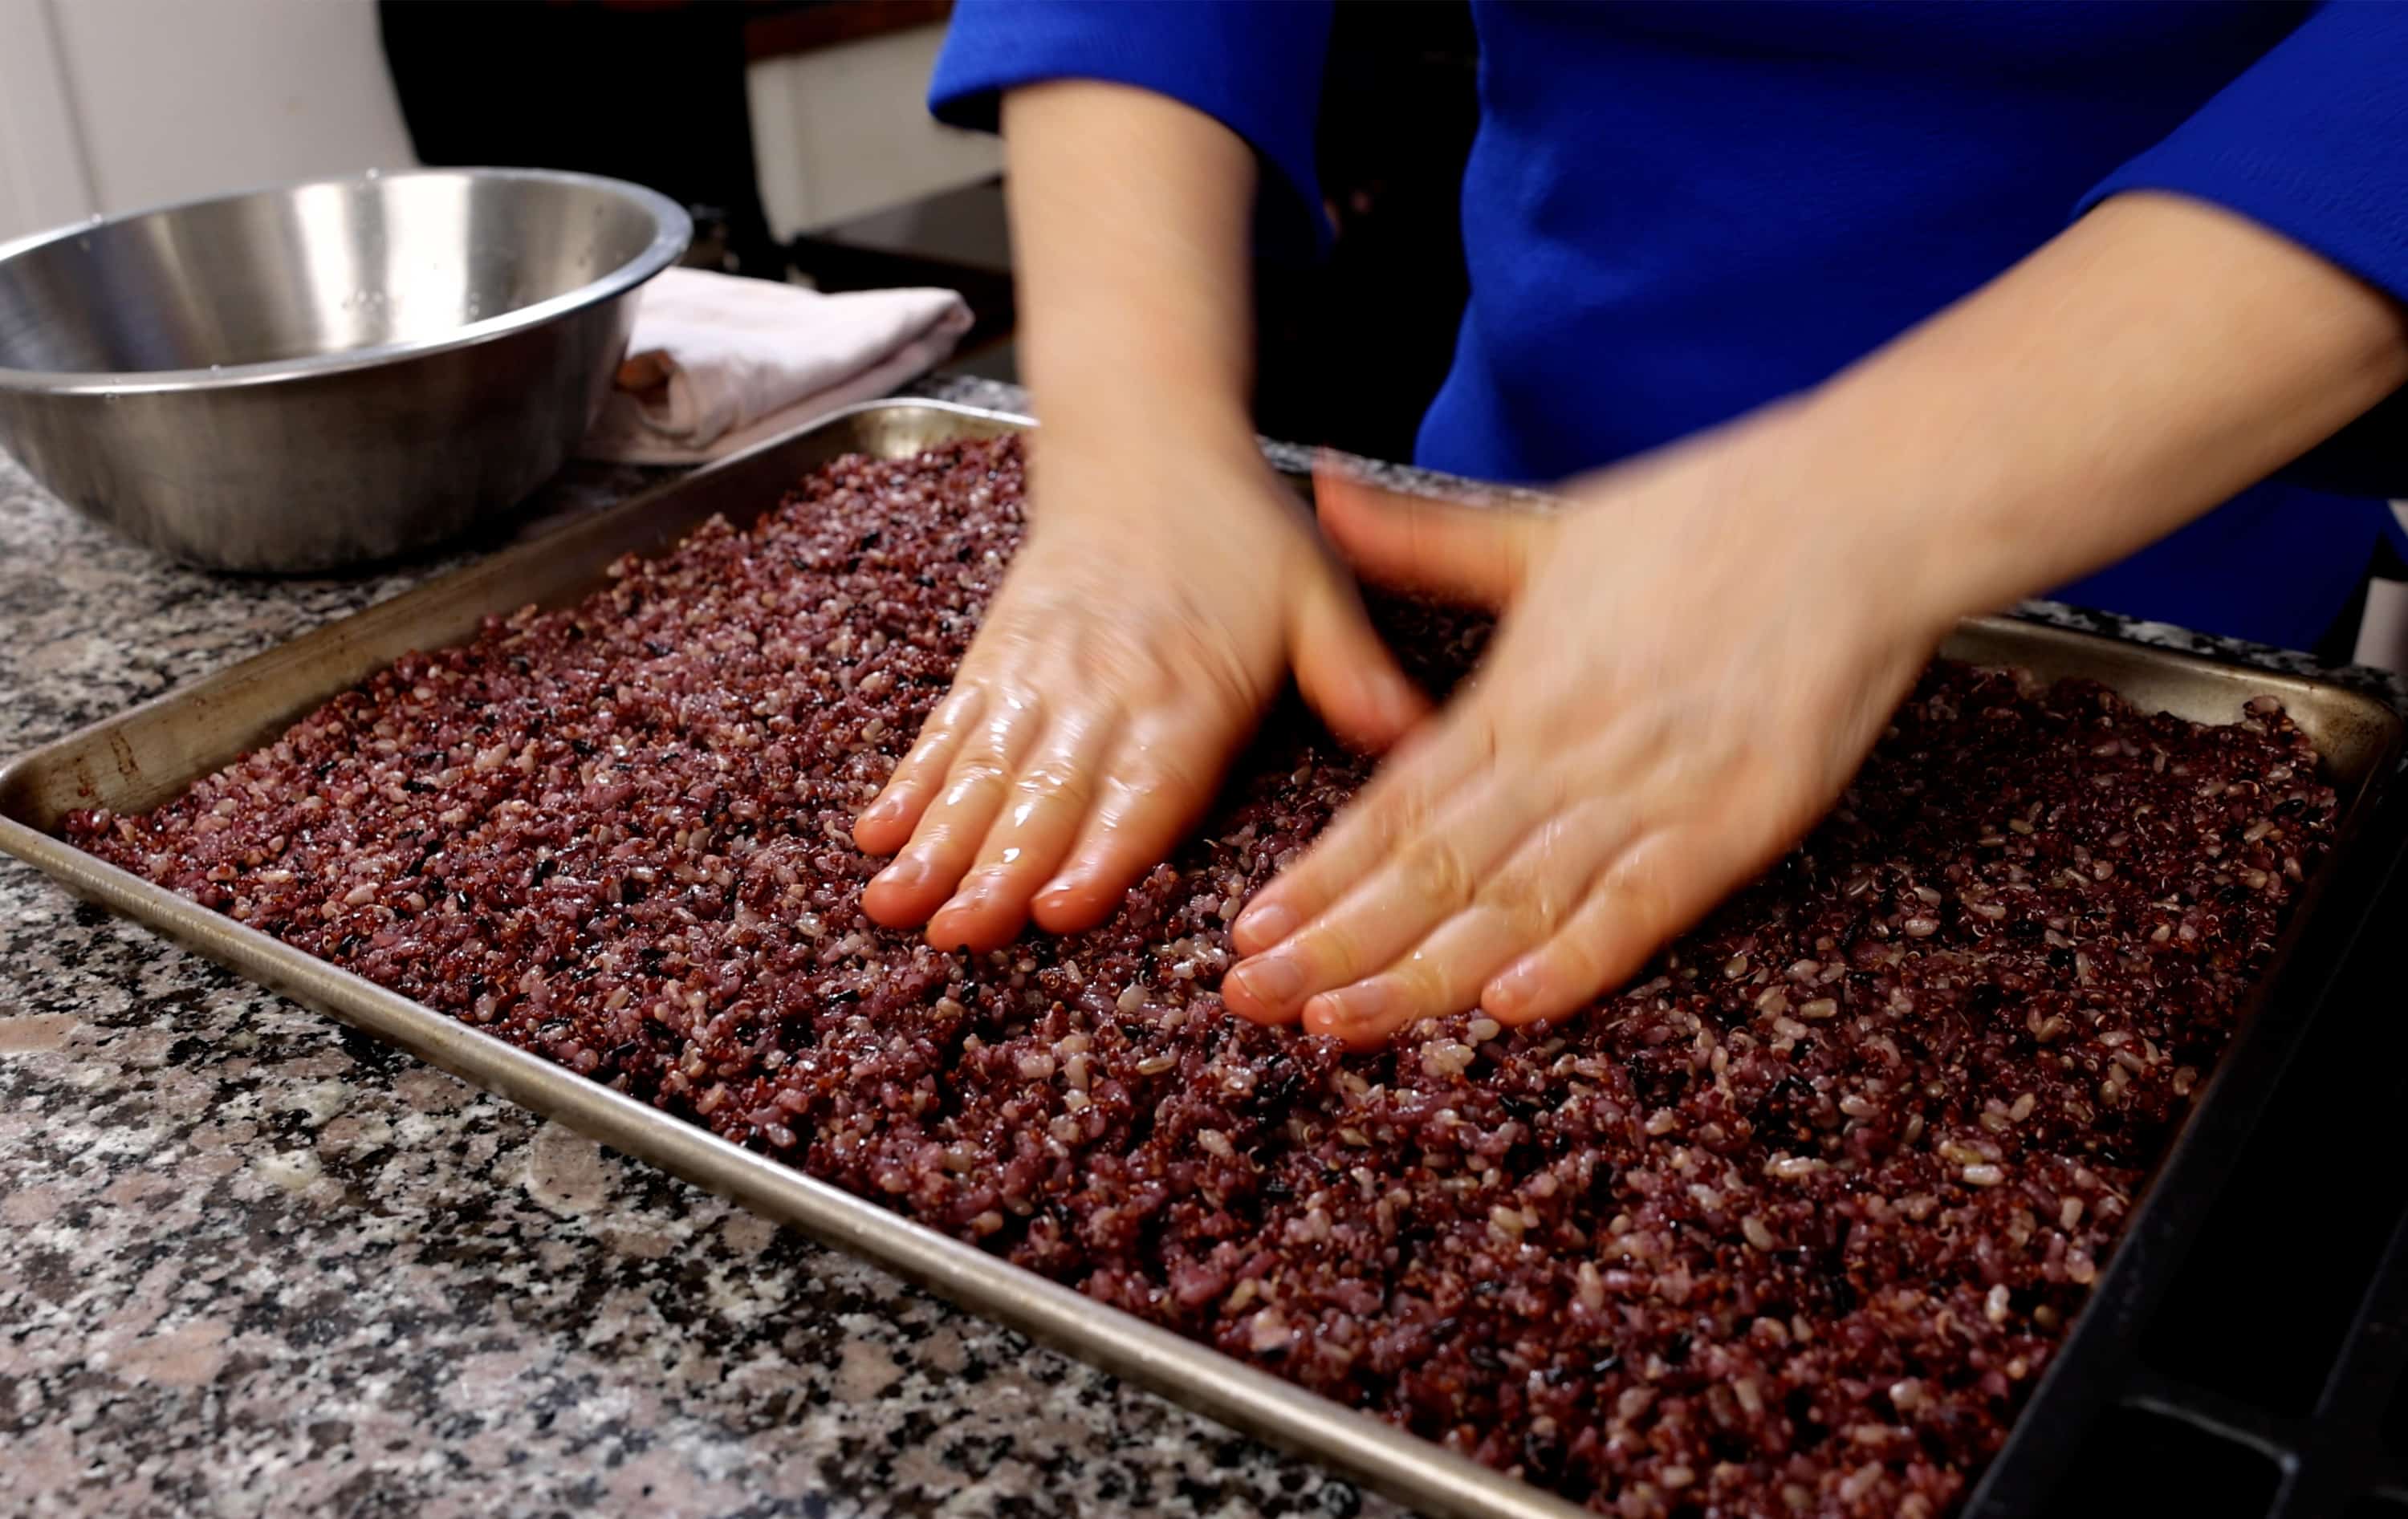
- Evenly spread the rice with a rice scoop or a wooden spoon over the bottom of 16-by-12-inch baking sheet lined with parchment paper.
- Dip both your hands into a small bowl of cold water and then press down on top of the rice so that it’s packed and all sticks together.


- Preheat your oven to 400°F (204˚C) and bake it for 1 hour on the middle rack.
Cut into cubes and bake some more
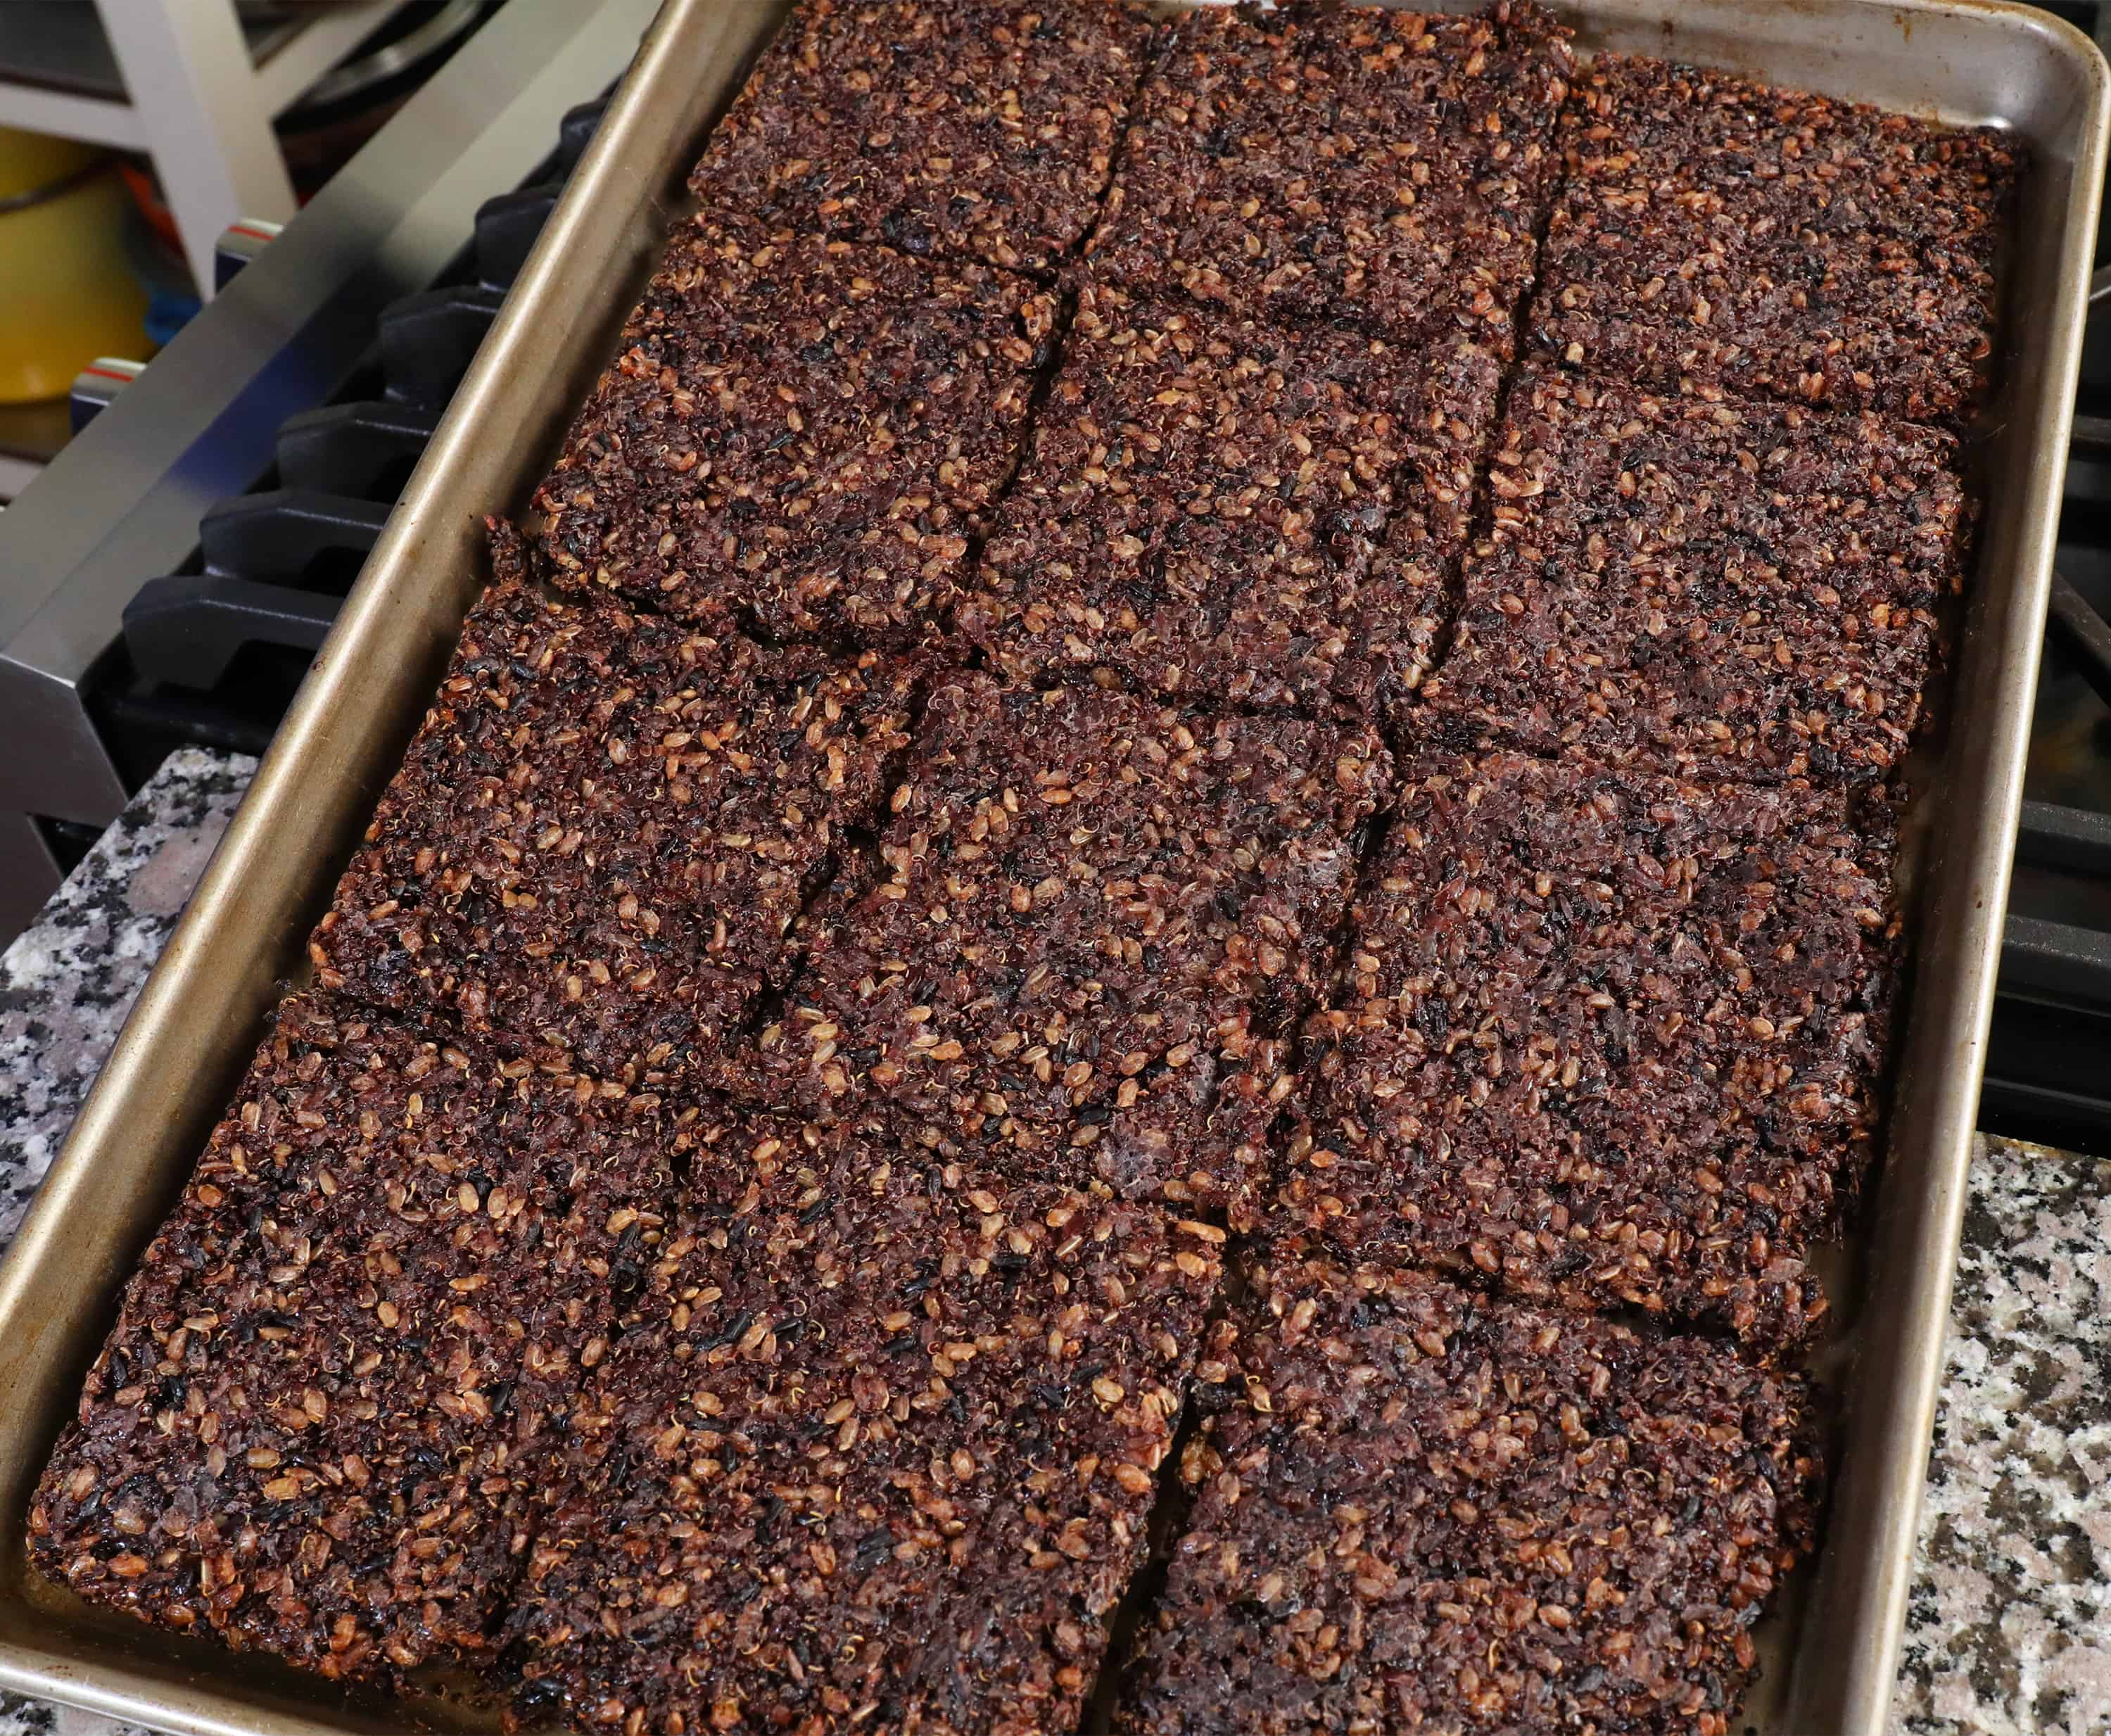
- Remove it from the oven and put it on the kitchen table. Flip it over using a large spatula and remove the parchment paper.
- Divide into 12 to 16 pieces with a spatula or a scraper, then cut with kitchen scissors to totally separate them but leave them in place.


- Put it back to the oven and bake for another 30 minutes until very crunchy and nutty.

Finish and pack
- Remove from the oven and let it cool down.


- Let it cool down a little bit. Then carefully separate each piece of nurungji and put them into a plastic bag or an airtight container.
Serve
- When you’re ready to make soup with them, add 2 or 3 pieces into a saucepan for one serving.
- Add a little more than enough water to submerge the nurungji, boil, and then simmer until the soup is flavorful and the grains are soft.
- Serve with kimchi or with a few more side dishes.

Buy this recipe's ingredients online
I really like Weee! they deliver quality packaged and fresh Korean ingredients to the continental USA. Cheaper and better than Amazon! Check them out!
Ingredients are also on Amazon:
Sorry, we're unable to load product information at this time.


What a toasty, comforting soup! Delicious.
This too :D Thank you~
I made it Maangchi!